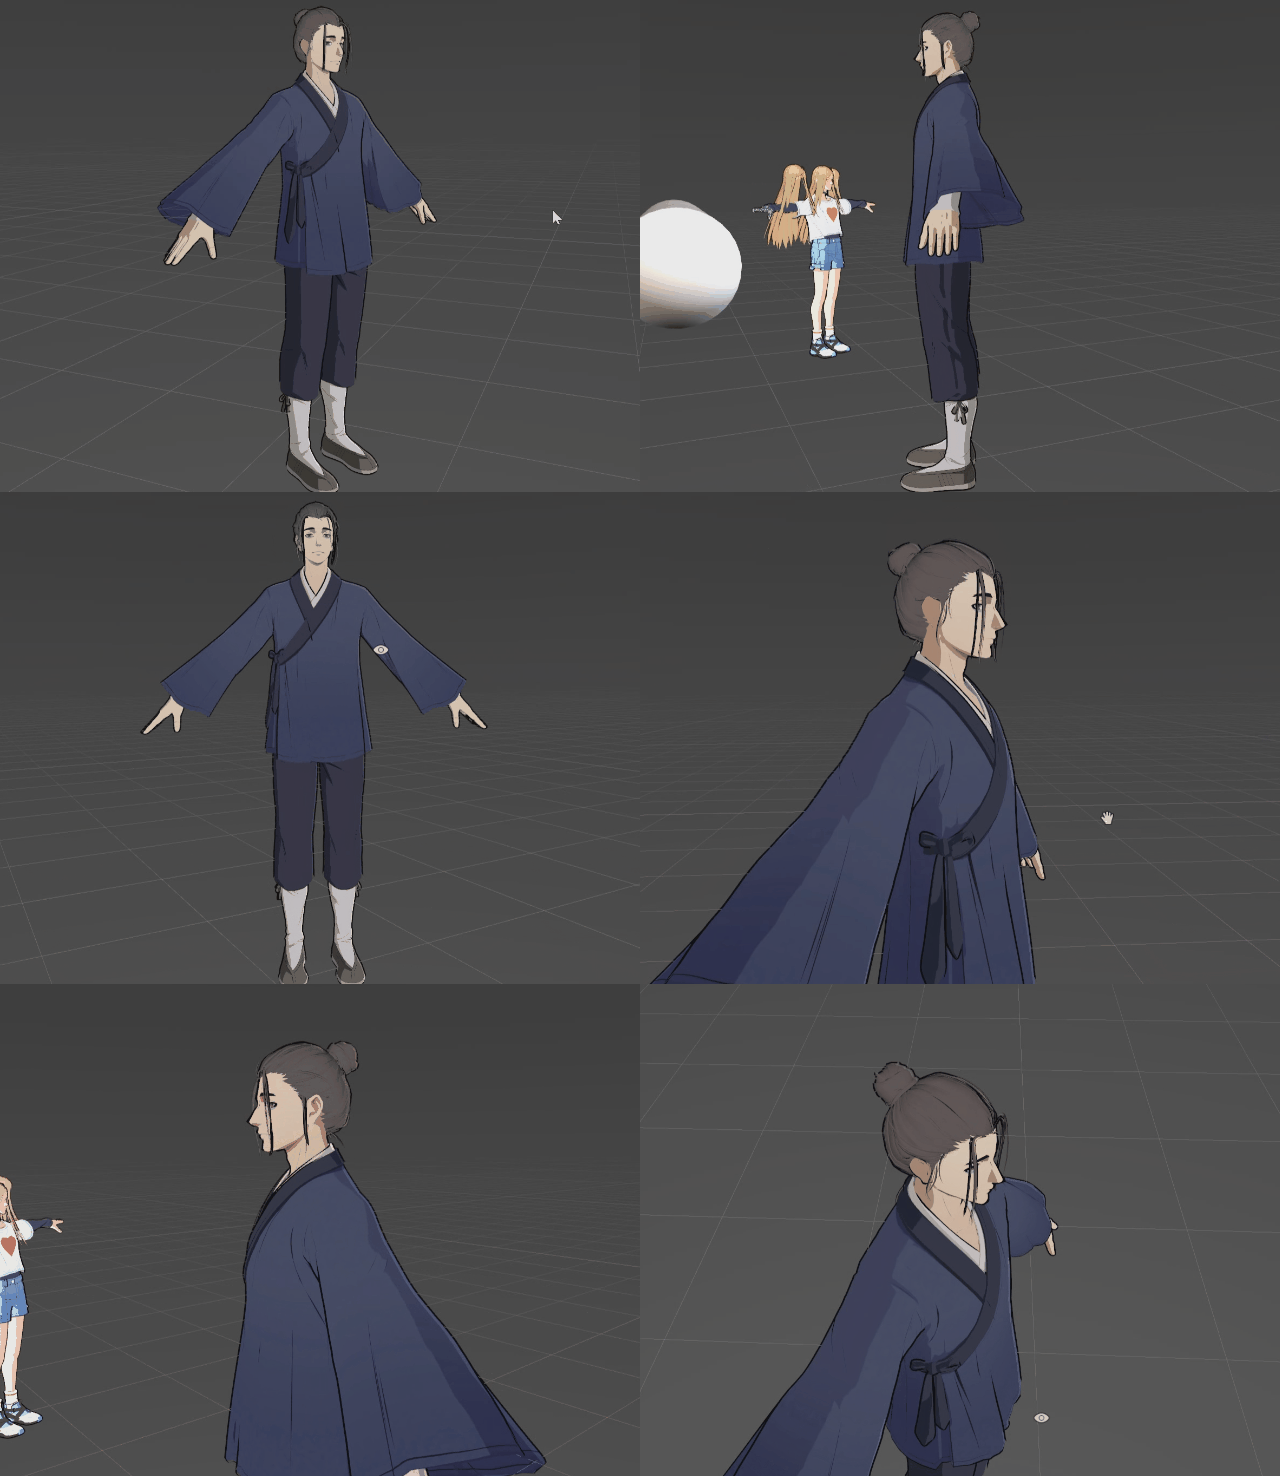
Unity URP Custom Pipeline
Unity URP
Unity URP stands for Unity Universal Render Pipeline, which provided scriptable structures that can be easily customized. Also, it comes with the SRP Batcher draw call optimization that is very suitable for mobile game projects, which the Built-in Render Pipeline does not support.
URP Shader Structure
URP comes with some default shaders, and different with Cg, it using HLSL as the shader language. Usually, a valid shader comes with three files:
xxx.shaderxxx_Inputs.hlslxxx_ForwardPass.hlsl
.shader
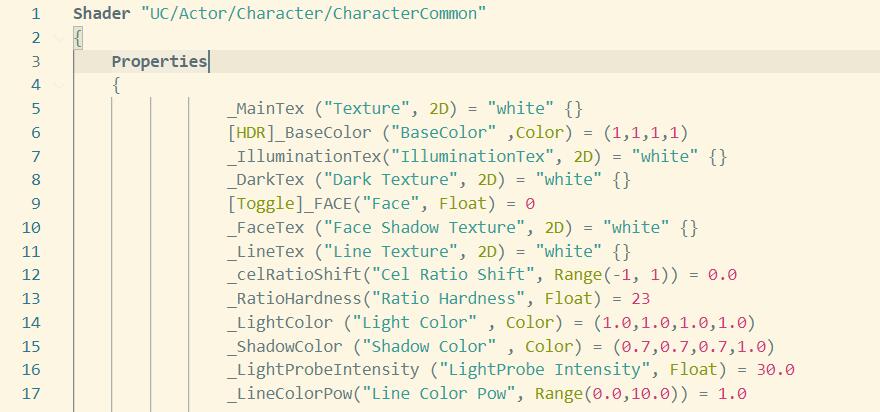
Where, xxx.shader is like the Cg shader file’s part that list all the properties:
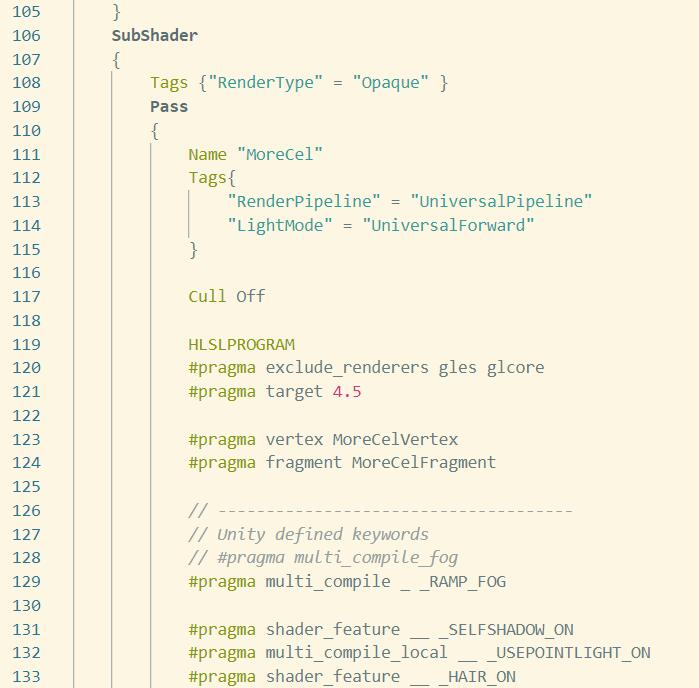
and subshader with passes, tags, pragmas, defines and includes:
_Inputs.hlsl
xxx_Inputs.hlsl is the file you state your variables and its data types. They should under the CBUFFER_START(UnityPerMaterial) macro otherwise the shader won’t be compatible with the SRP Batcher:
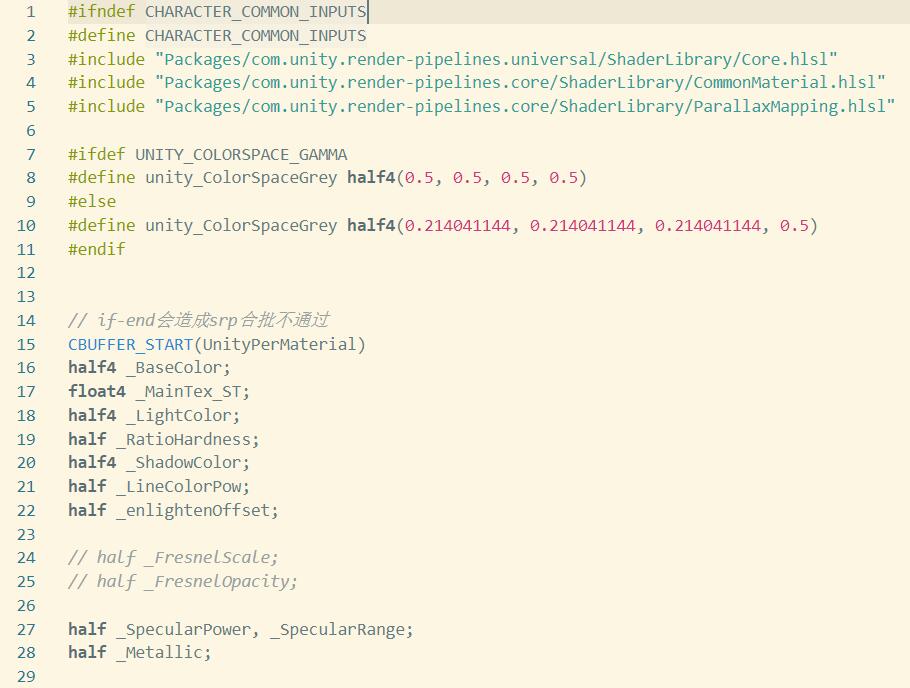
You can also put the functions you want to use in this file.
_ForwardPass.hlsl
xxx_ForwardPass.hlsl is the main part of your shader. It contains struct, vertex shader and fragment shader:
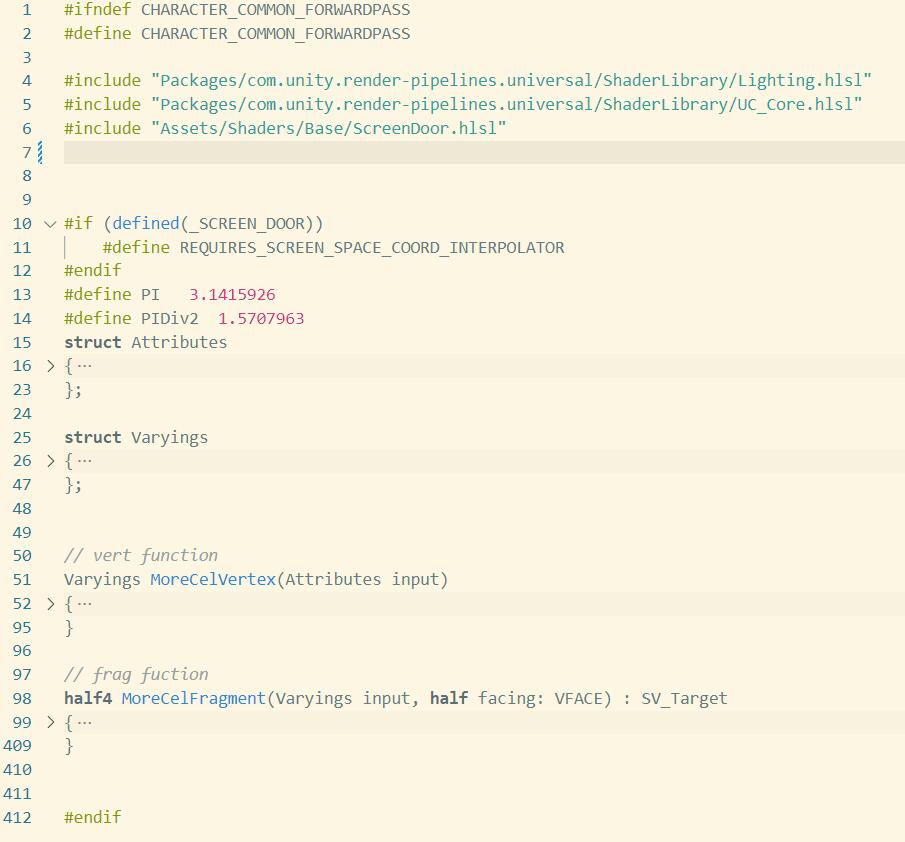
For syntax such as data types, samplers, math functions, etc., just search for DirectX HLSL syntax.
Custom Lit Shader
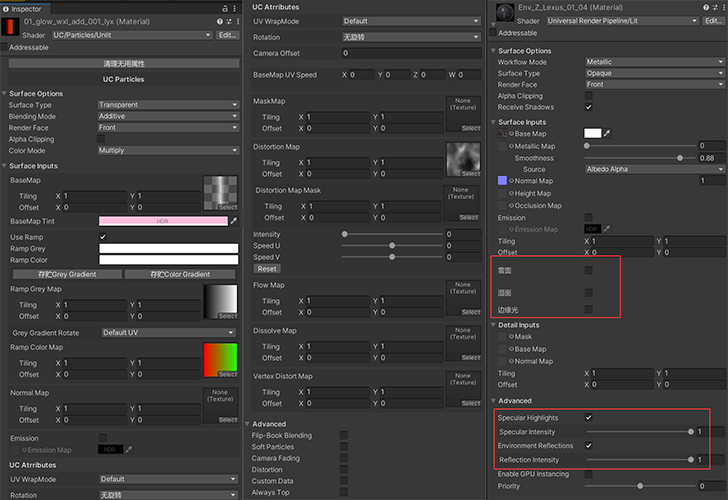
In Under One Person project, I made some modifications on the default lit shader for the environment artists. See the material inspector, I added custom selections to differentiate the surface type (snowy surface, damp surface, or the surface needs rim light), as well as the control of the original specular intensity and environment reflection intensity:
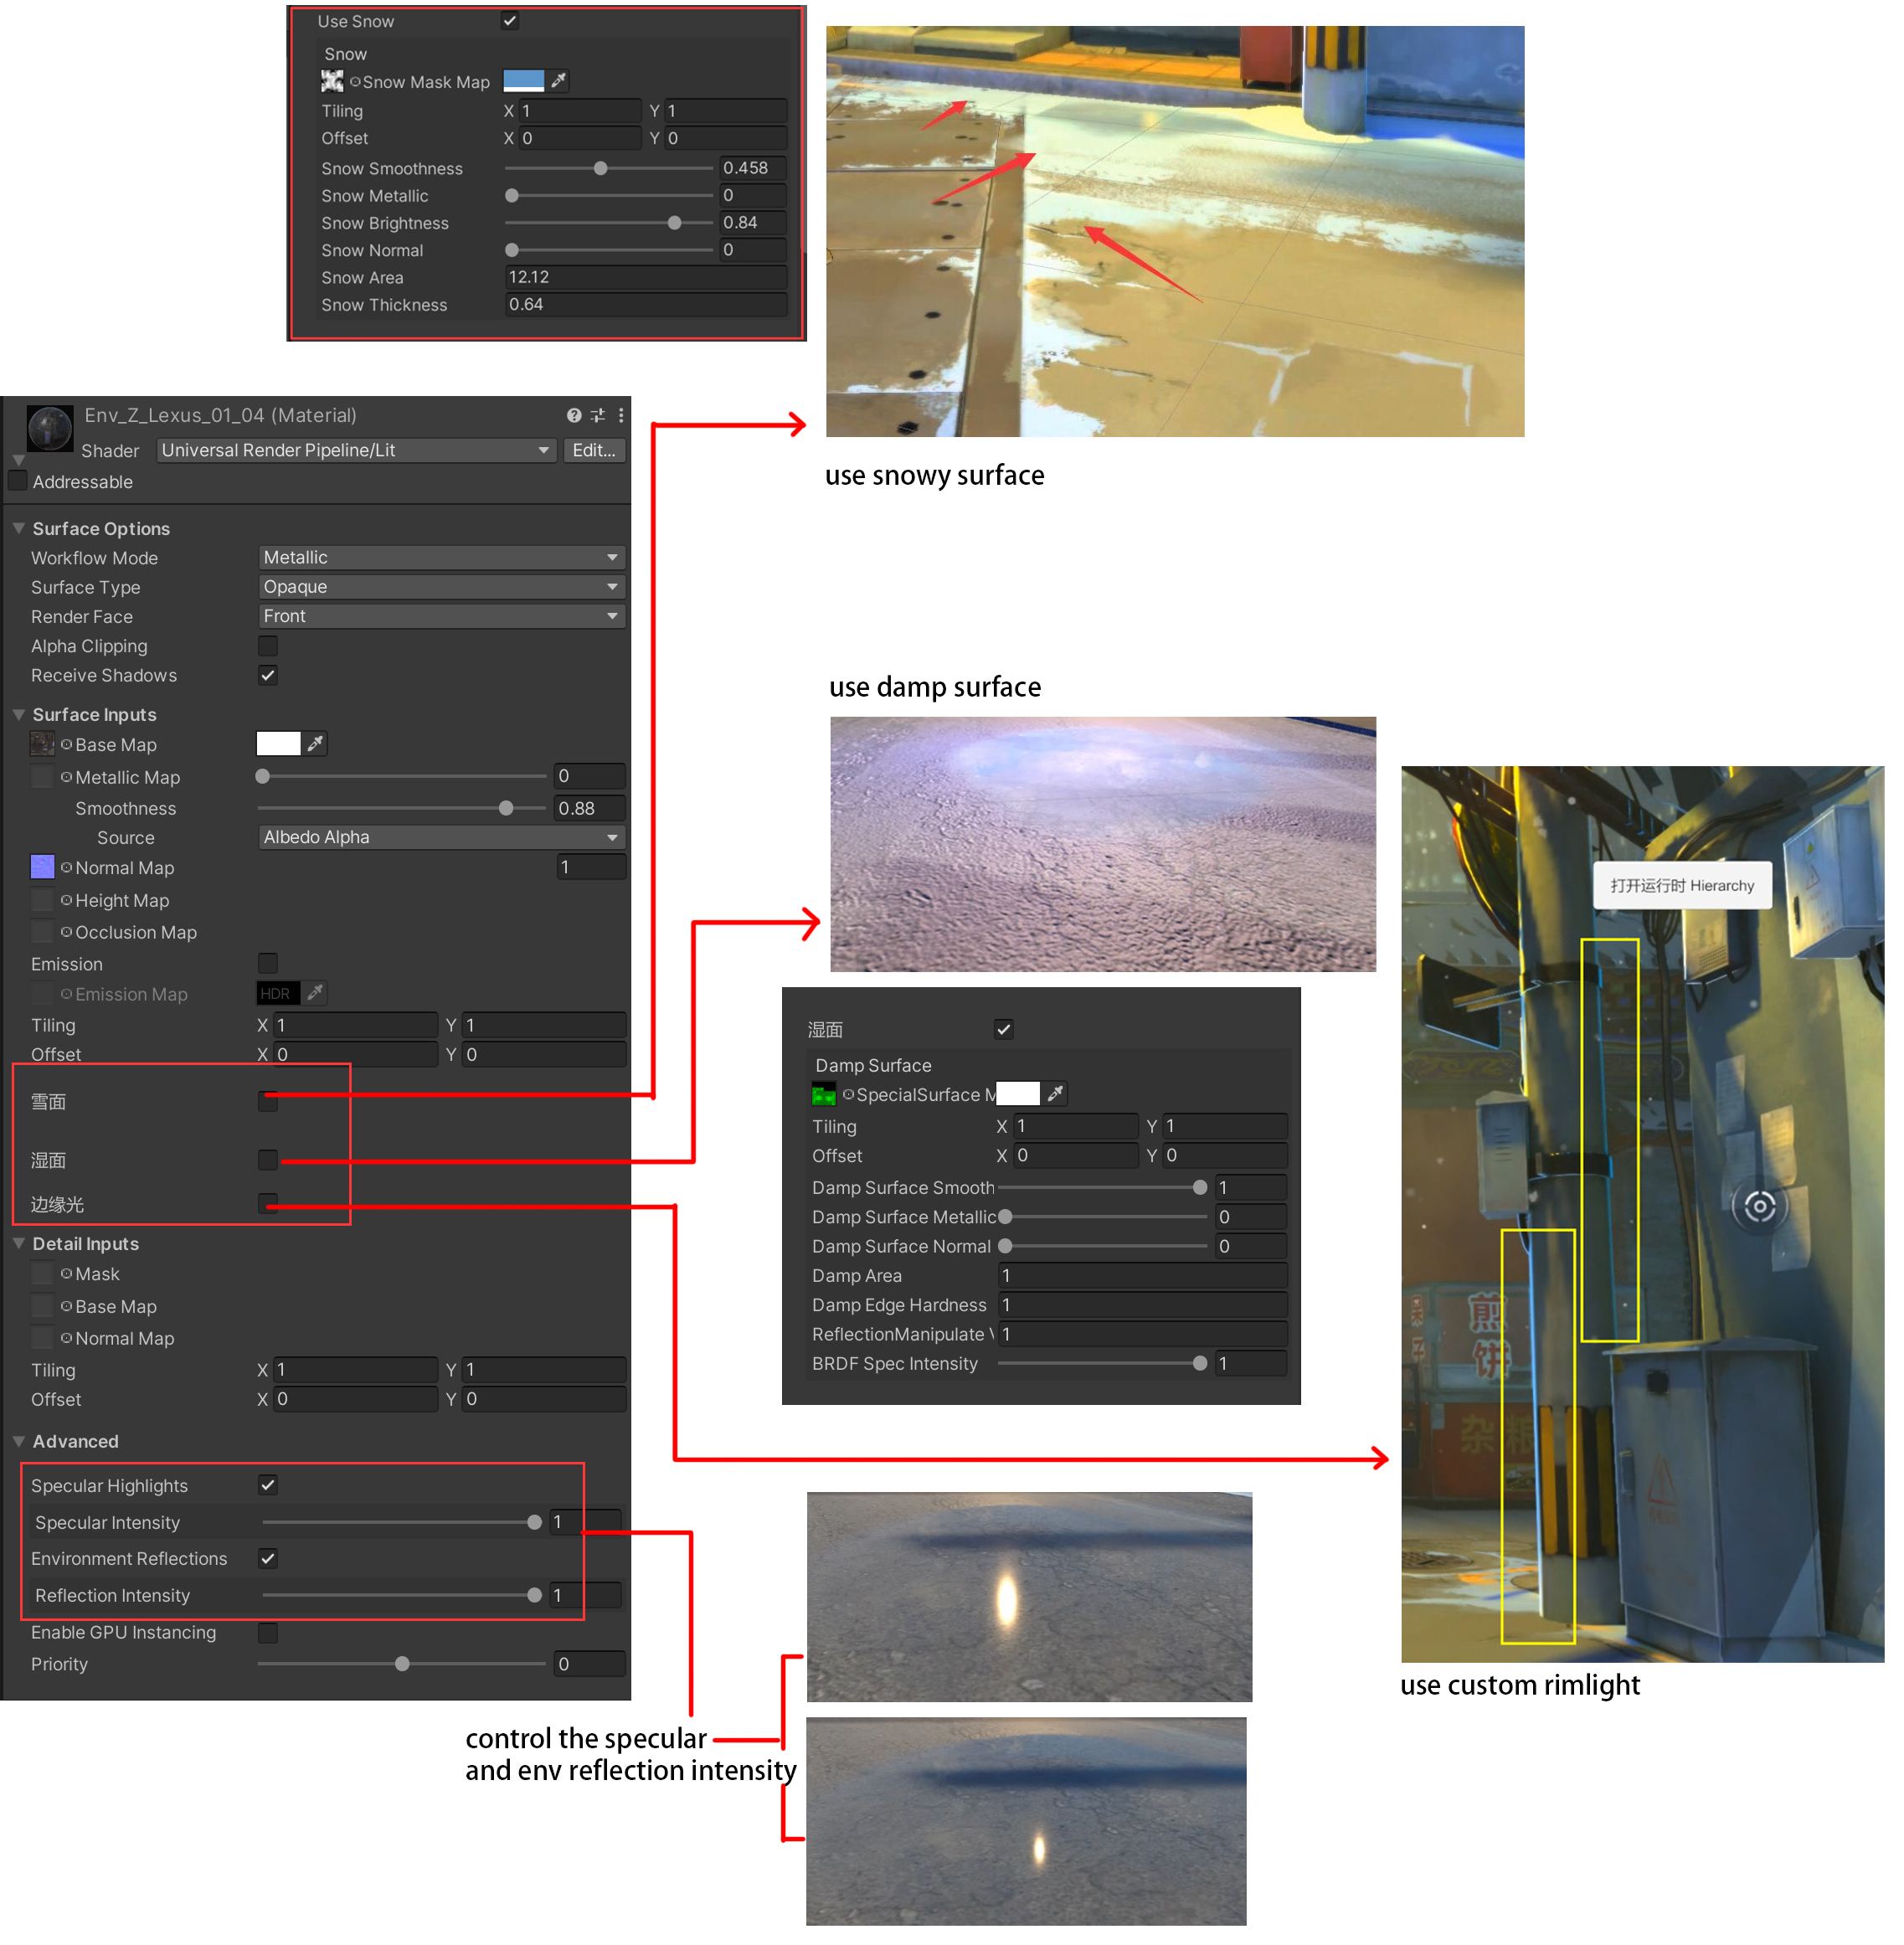
So, if you want to revise the lighting behavior like I did, go to this lighting file:#include "Packages/com.unity.render-pipelines.universal/ShaderLibrary/Lighting.hlsl"
If you need to revise the shaderGUI of the default shader like Lit.shader, you need to go to Packages\com.unity.render-pipelines.universal\Editor\ShaderGUI\ directories to revise the shaderGUI C# files to make it work.
Custom Rim Light
For the custom rim light, it’s a request to achieve the clear cut edge handpainted rim light, for example: 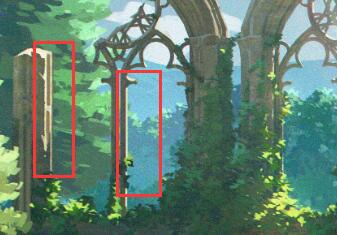
To achieve this, 3D artists use the tool developed in Maya to store the hard edge normal into vertex color RGB, and paint the rim mask and store it into vertex color Alpha channel. In the Lit shader I grab the vertex color and transform it into normal vectors:
#if _USERIM
    output.color = input.color;
    //output.rimData.xyz = max(input.color.r, max(input.color.g, input.color.b)) > 0.001 ? TransformObjectToWorldNormal((input.color.rgb*2-1)) : normalInput.normalWS;
    output.rimData.xyz = TransformObjectToWorldNormal((input.color.rgb*2-1));
    output.rimData.w = 1 - saturate(distance(GetCameraPositionWS(), vertexInput.positionWS) / _rimFadeFar);
#endif
    ....
    //then apply it after half4 color = UniversalFragmentPBR(inputData, surfaceData);
SET_RIM_COLOR(color.rgb, input.rimData, inputData.normalWS, inputData.viewDirectionWS, inputData.positionWS, inputData.bakedGI, input.color.a, rimParam, _rimNormalMix);
I also developed corresponding maya shader and SP shader for out-source artists to create the assets without using engine to verify the output:
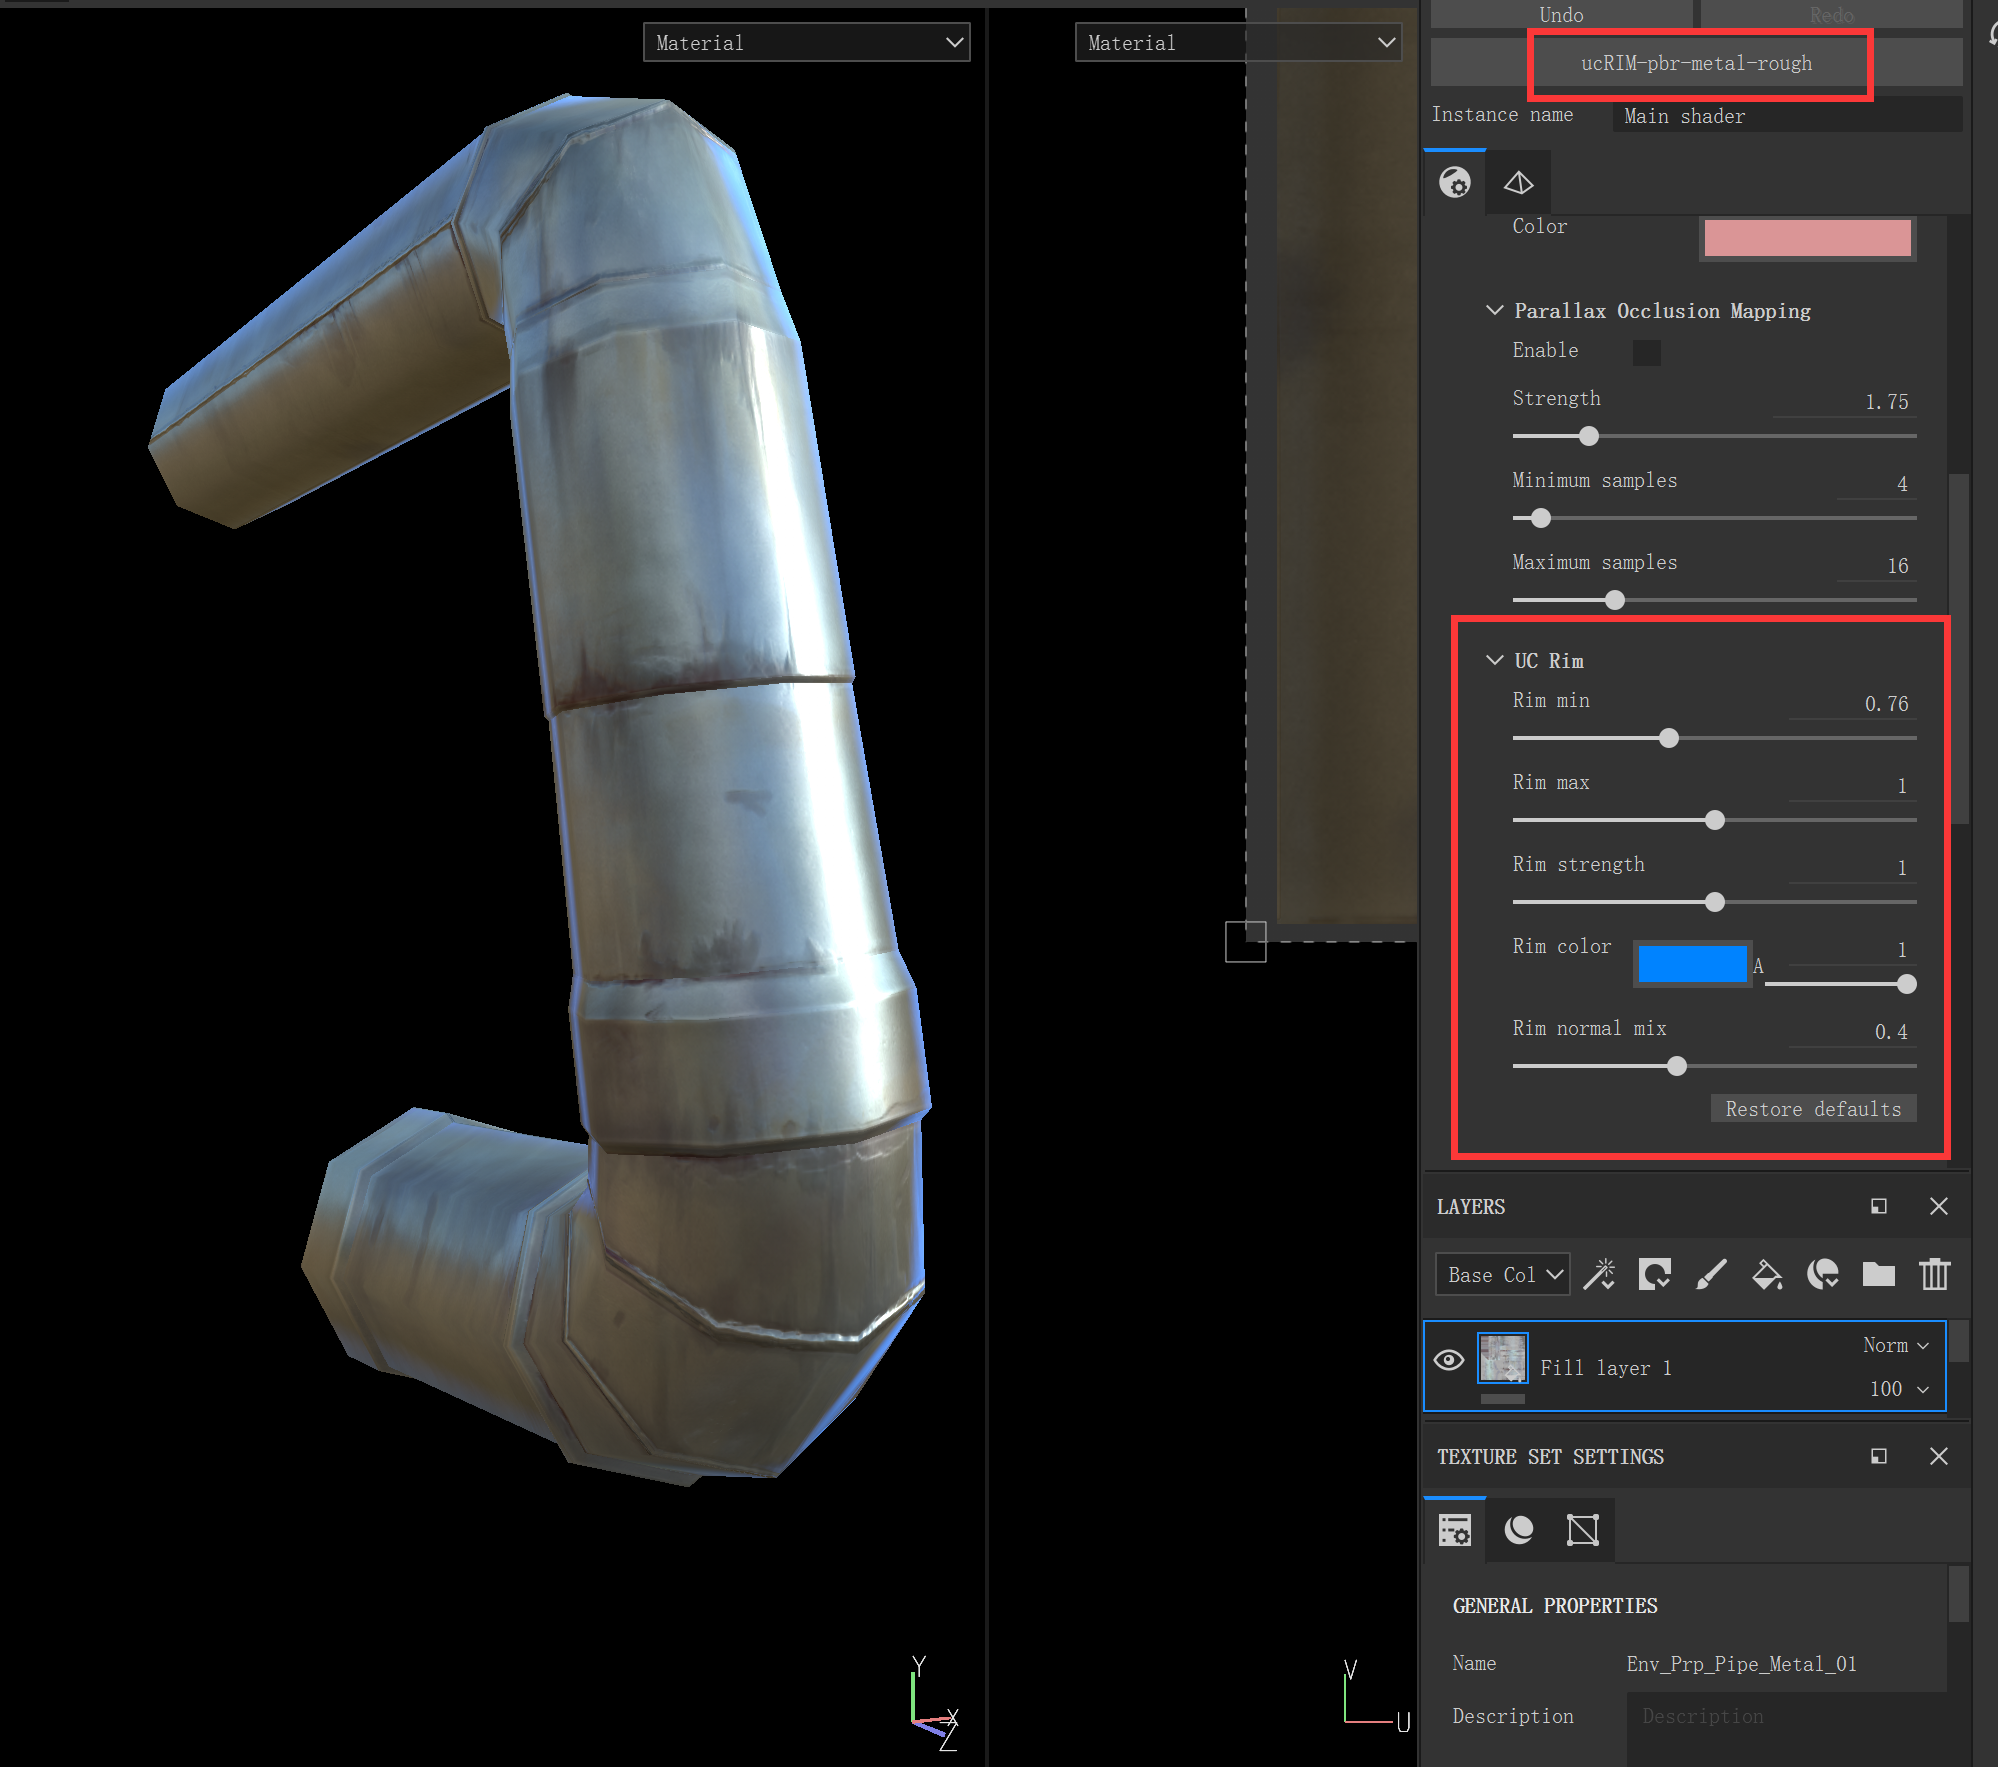
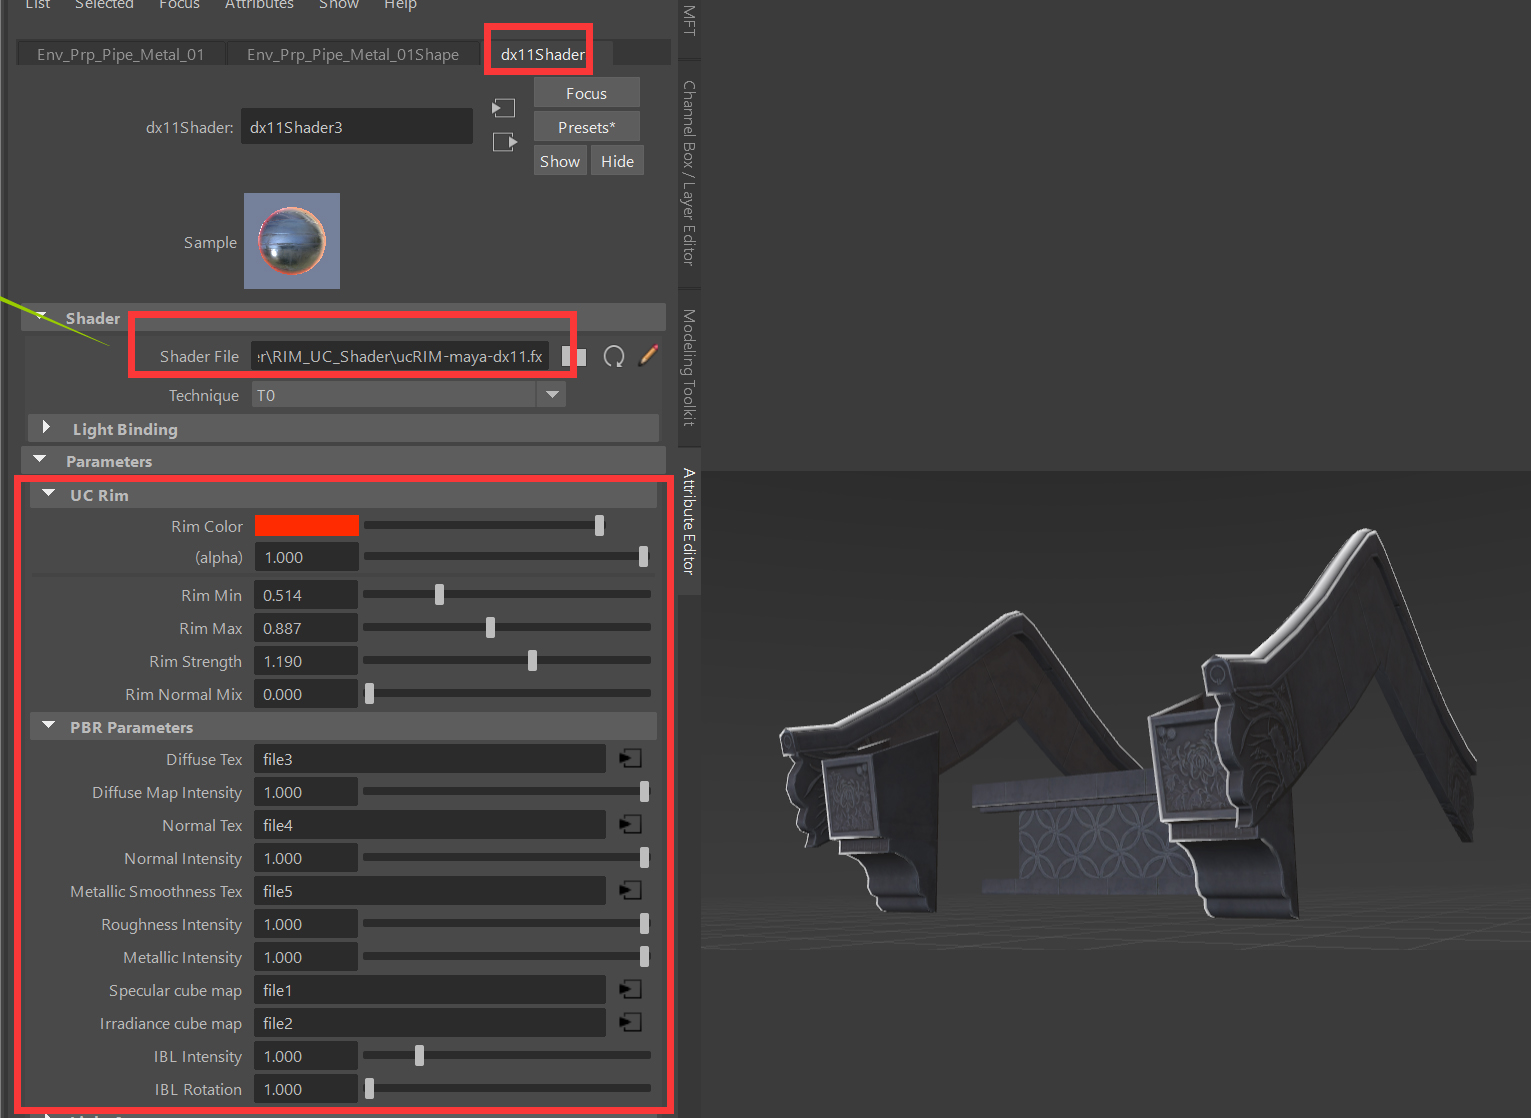
Custom Unlit Shader for Particles
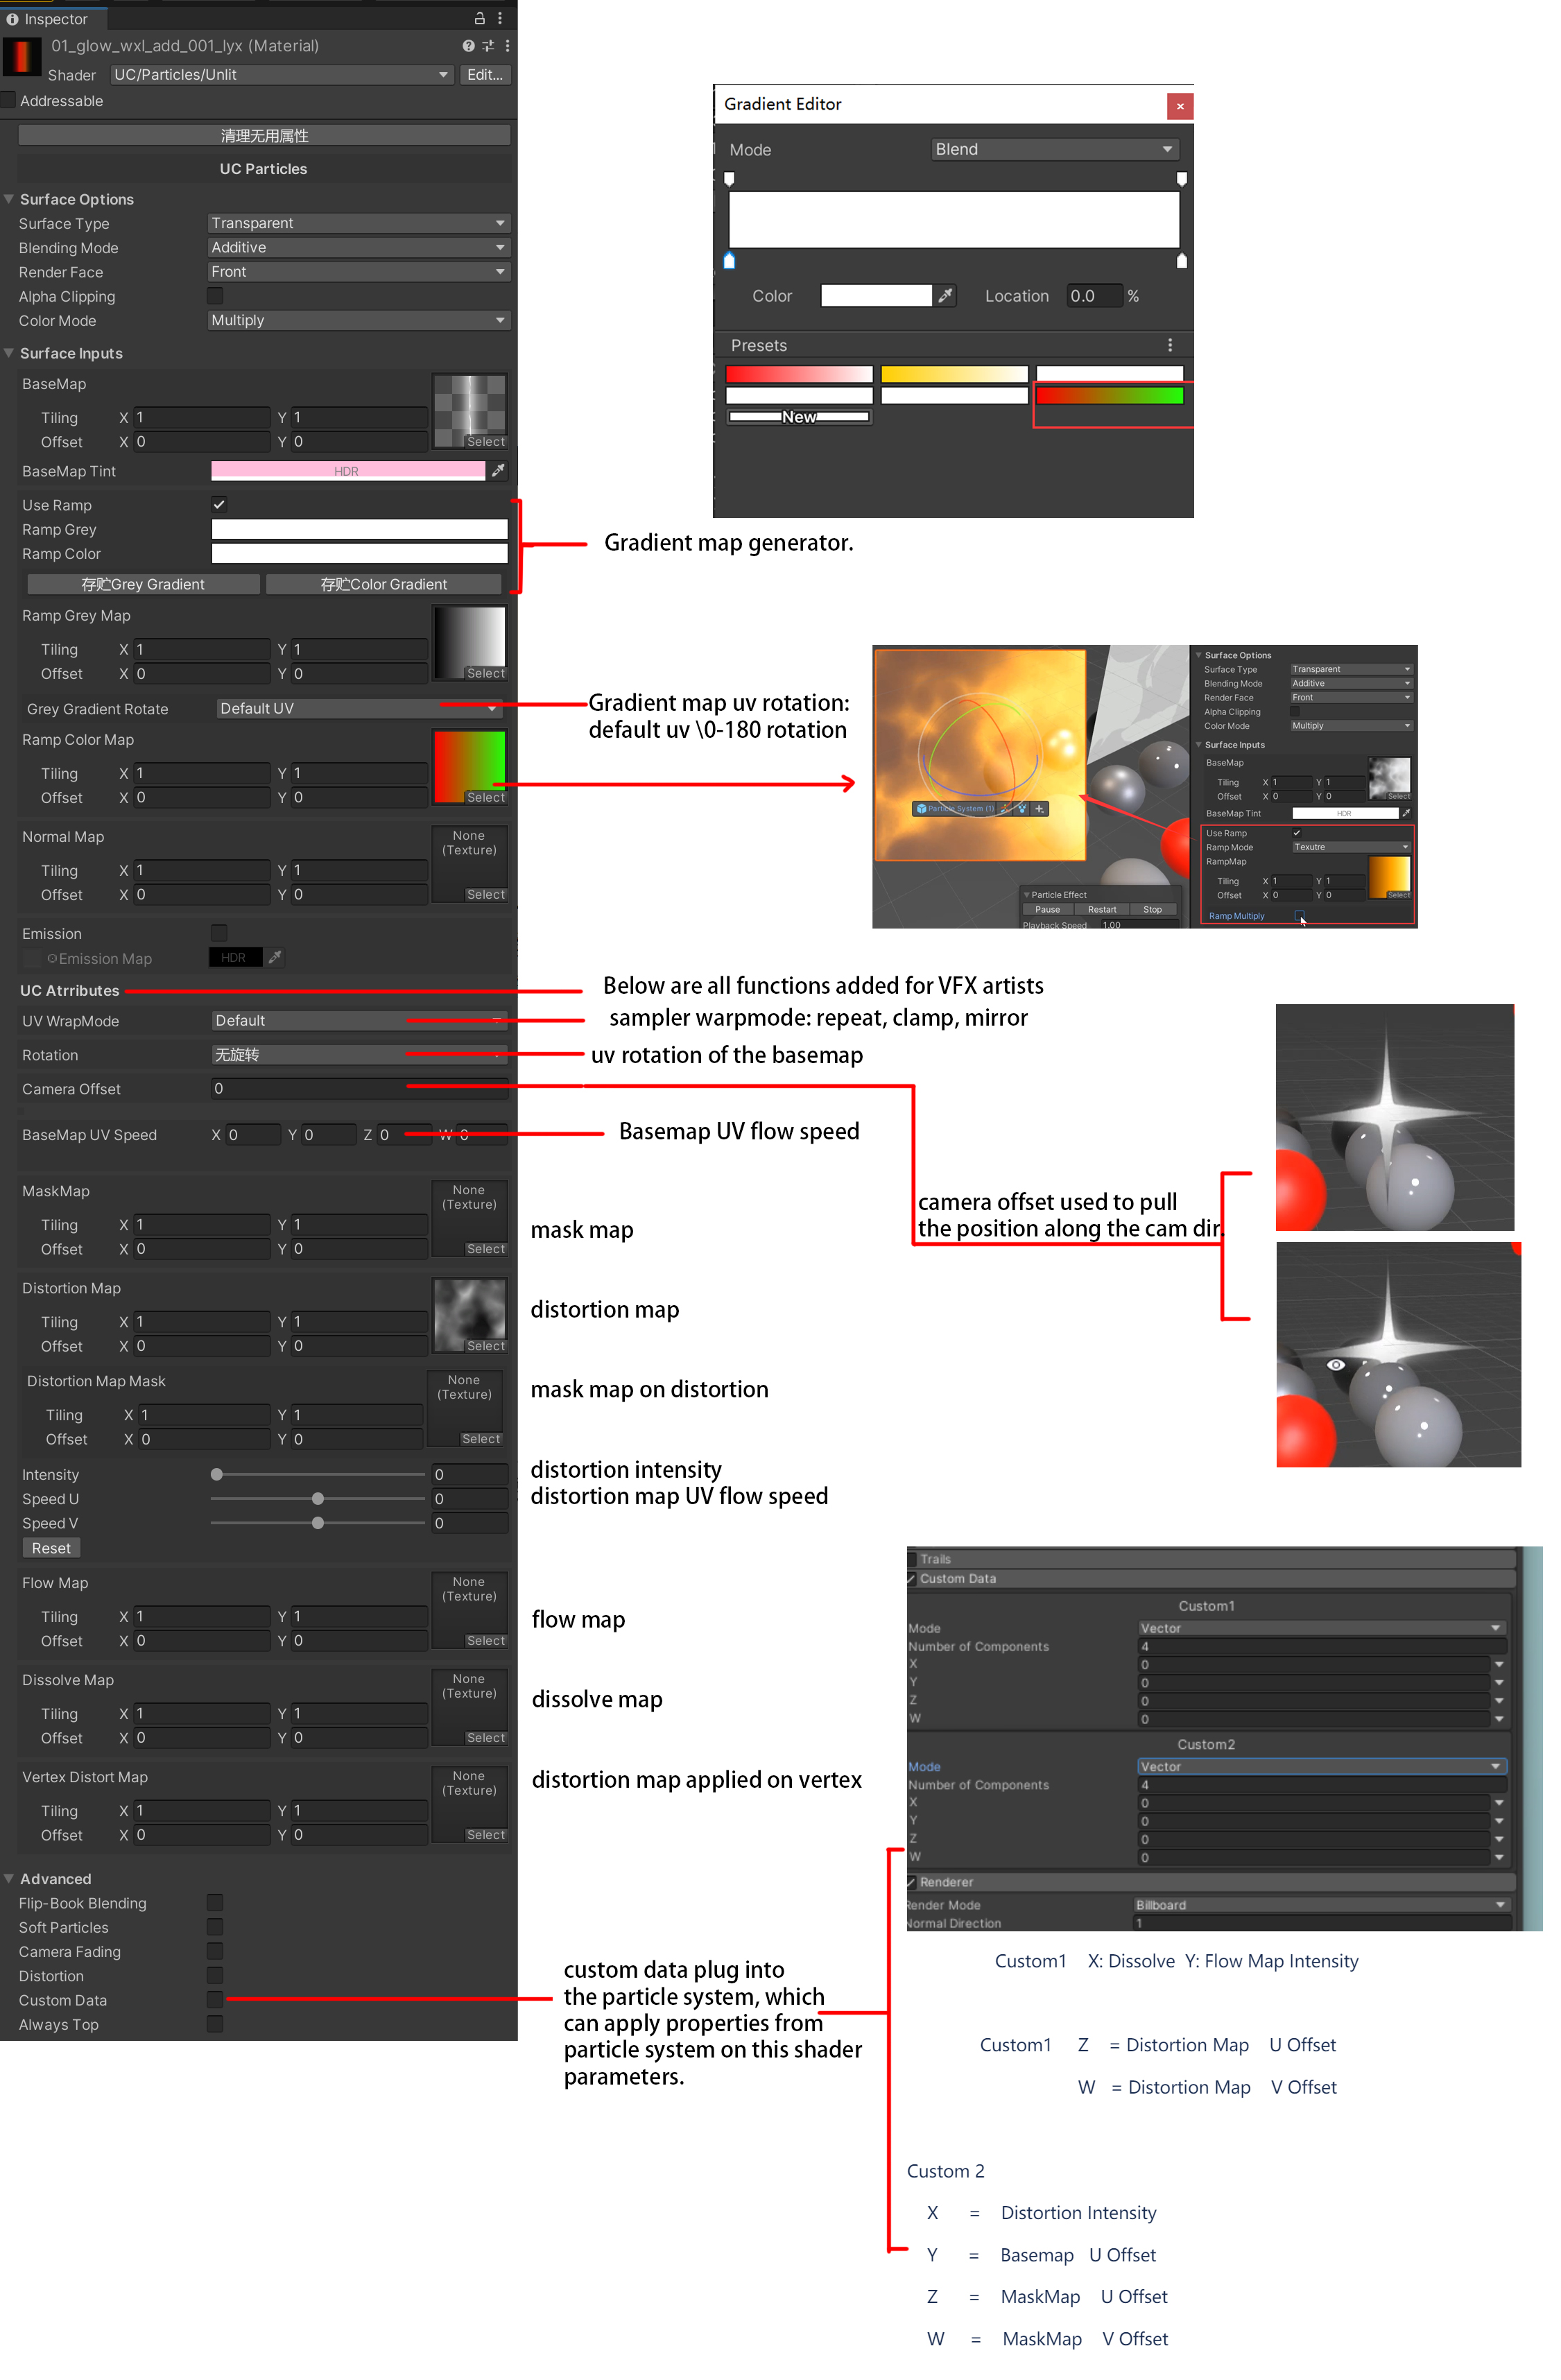
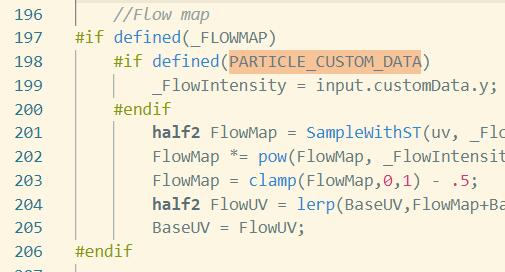
To ensure that the Particles/Unlit shader is able to use commonly in different situation, I added custom features based on VFX artists’ request on the default particle shader. Features are such as distortion, UV rotation, UV flow, dissolve, ramp map creating, mask map, flow map, vertex distortion, etc. Also, for particles, as each particle will have self random value, that’s why it needs to use Custom Data of the particle system as the dynamic parameters to plug into the shader, otherwise every particle will show same behavior at the same time.
URP Renderer Feature
A Renderer Feature is an asset that lets you add extra Render passes to a URP Renderer and configure their behavior. For example in the project, I added render feature to make red and blue channel pixels shifting for some fighting moments to increase the feeling of fast actions:
![]()
Rim light created through the traditional Fresnel effect has lots of problems, such as cannot precisely control the width and range in some perspectives, like the image shows: 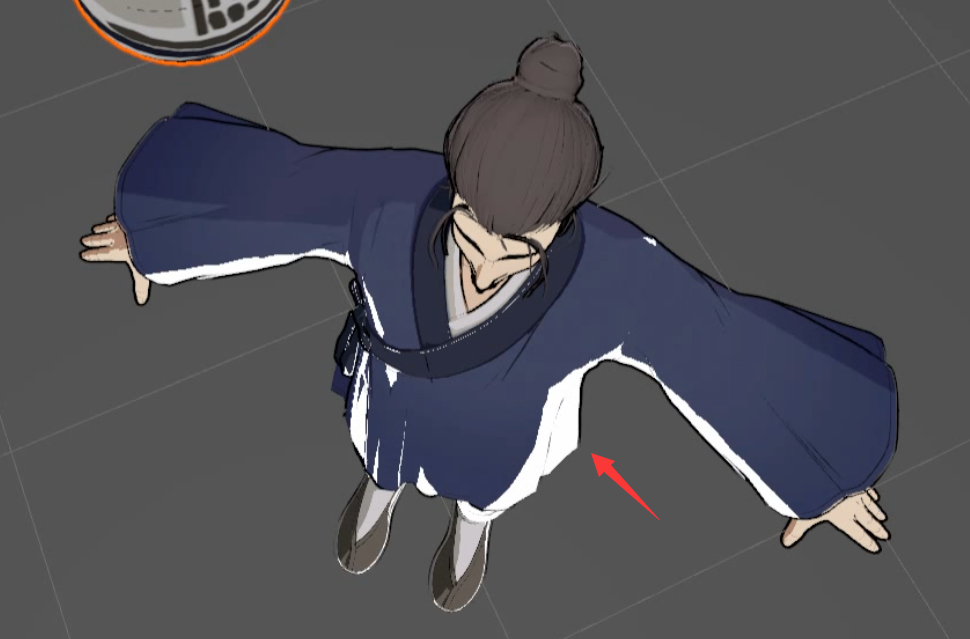
Therefore I wrote a custom render feature to get a pure white buffer that silhouetted the character figure:
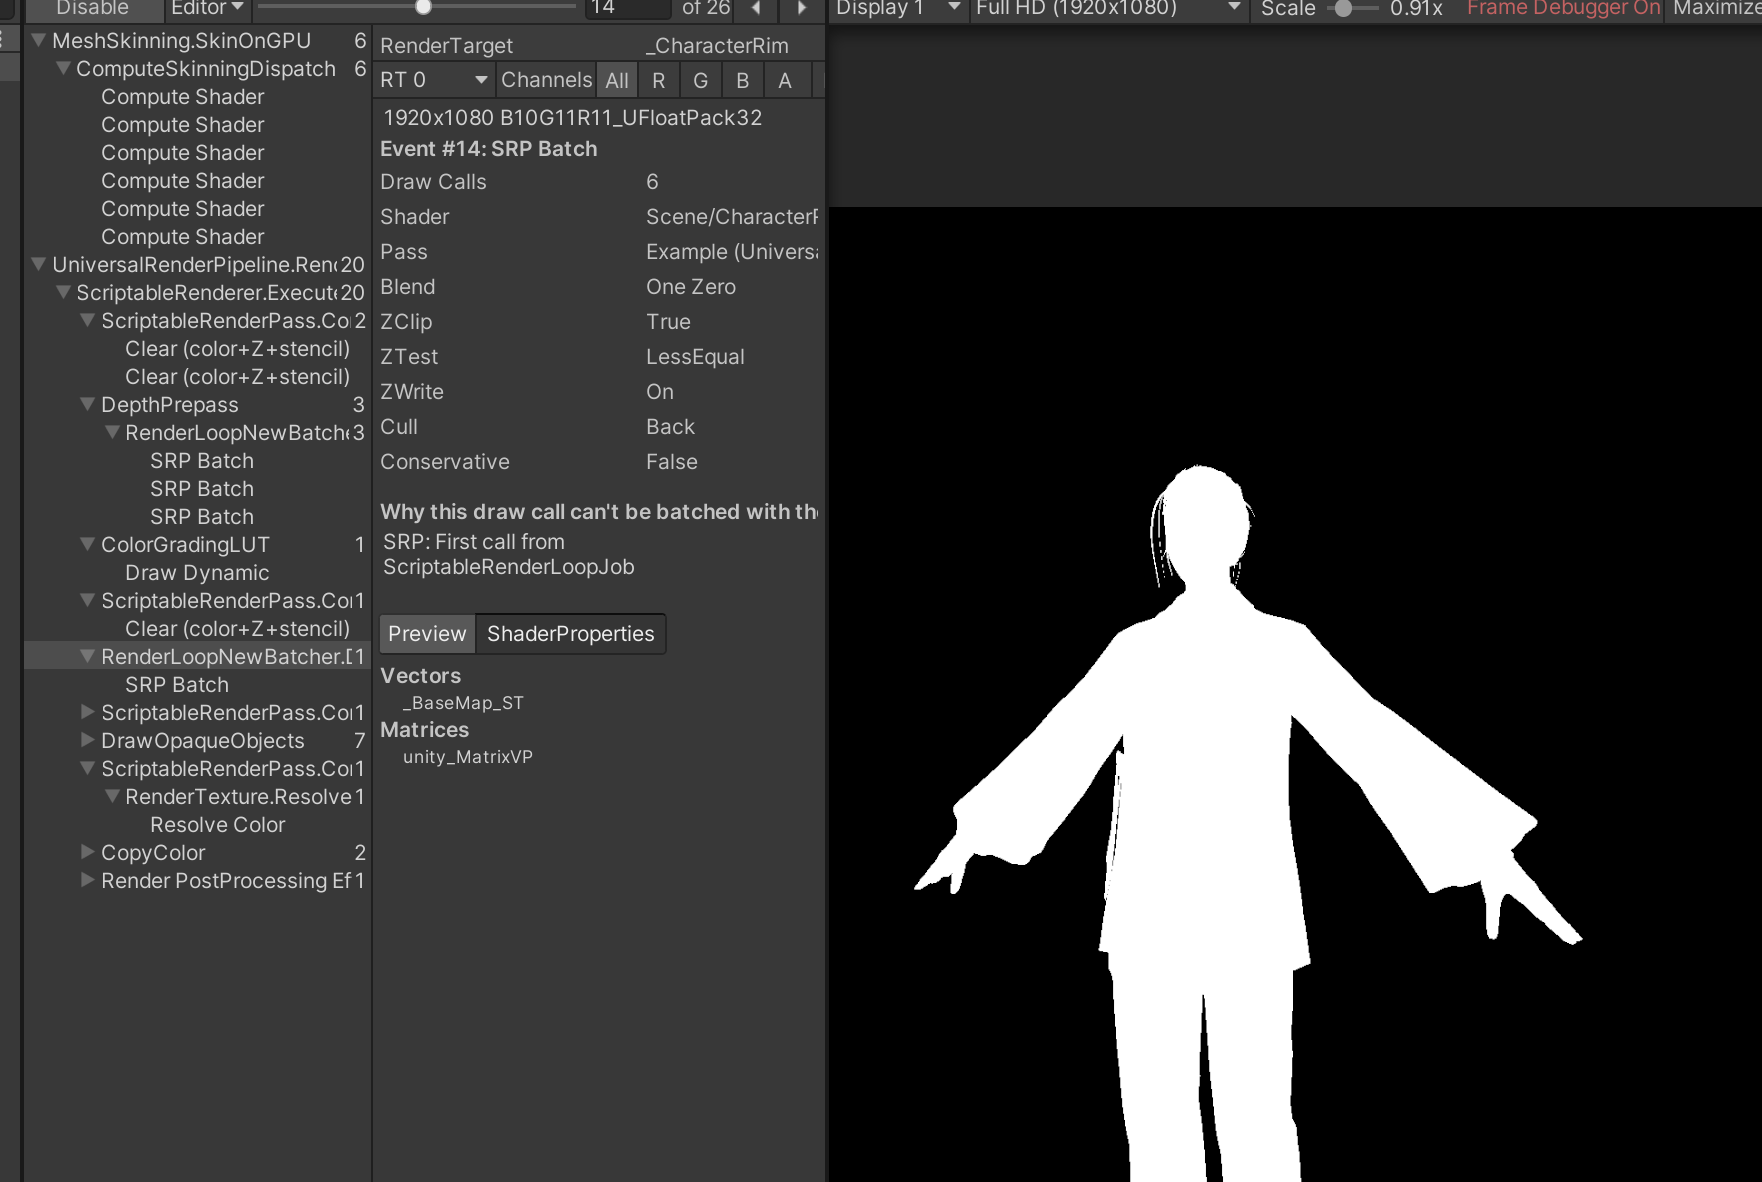
then pass that buffer to my shader, then I could manipulated the screen uv with the influence of normal, view direction and pass that sample point to that texture, to get a constant, evenly rim light that will not appear in undesired area:
