Stylized Character Rendering
Ace Force and Hitori no Shita: The Outcast Projects
In Ace Force project and Hitori no Shita: The Outcast project, I’ve been mainly in charge of the character shading. The character rendering pipeline developed from Unity to Unreal Engine, from pure cel style to half cel half PBR, with many explorations of the possibilities of stylization.

Cel Pipeline
Shadow
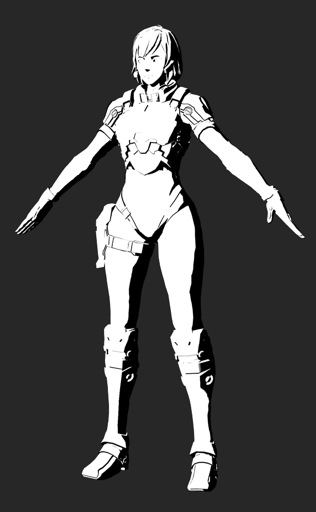
Like every cel shading, the most important step is to make division on light and shadow area. We used half lambert NoL to calculate the ratio. The shape of the black white division is up to the mesh’s topology, so it’s strict for 3D artists when modelling.
Well, the shadow does not always follow the light. Some particular areas such as under eyelids, under bangs, and under some narrow edges that can emphasize the structures of mesh, will be painted a certain grey value as a channel of a texture, and applied in the calculation of NoL, so that those area will always be in shadow.
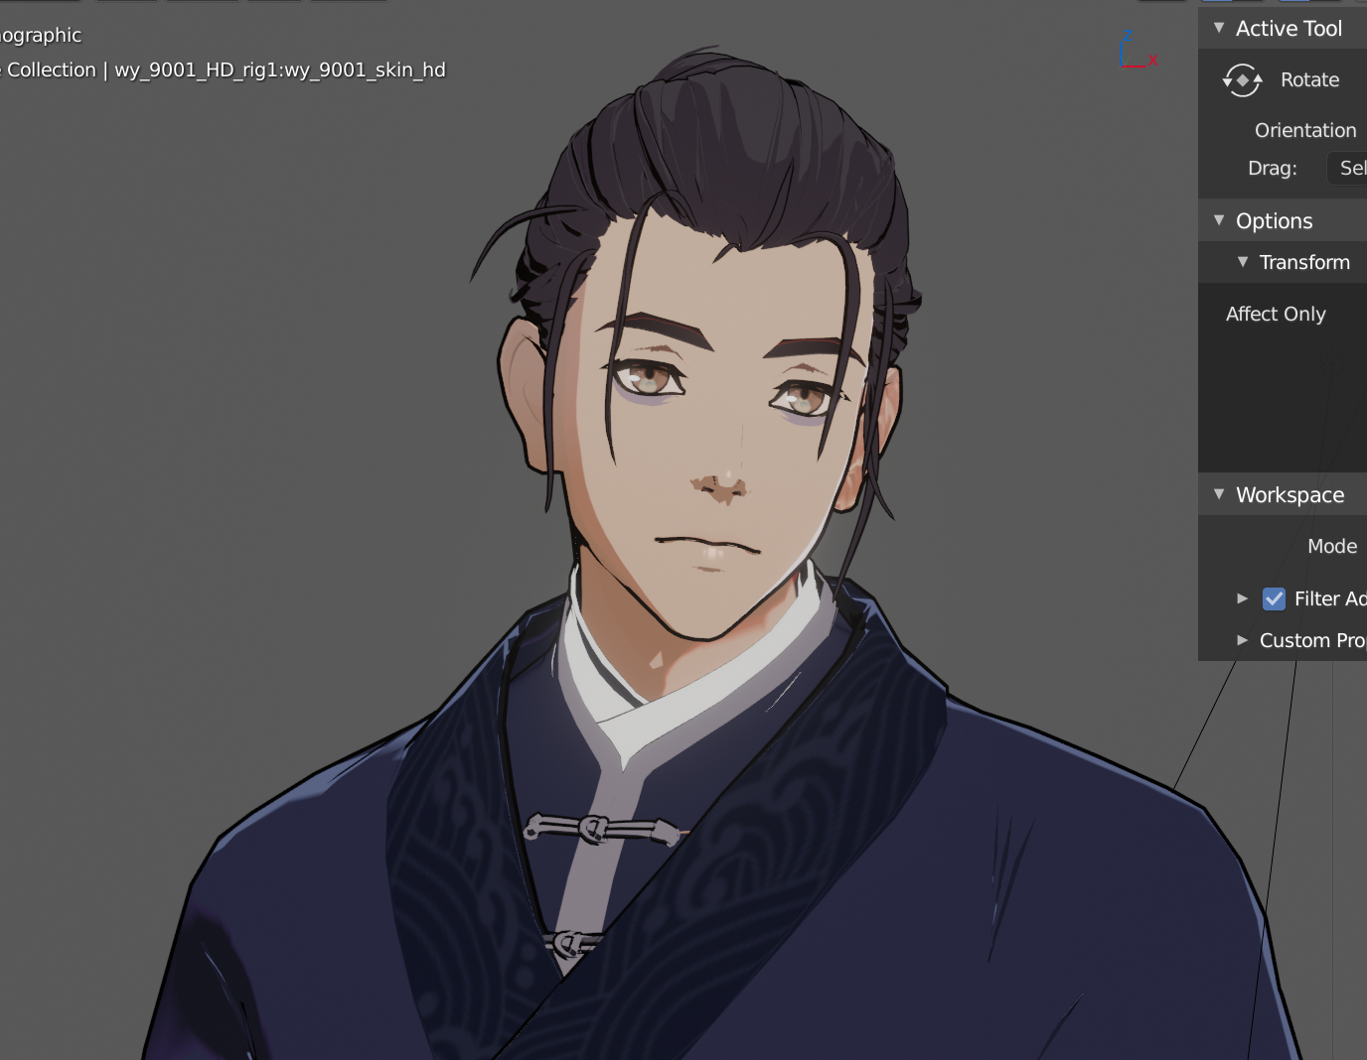
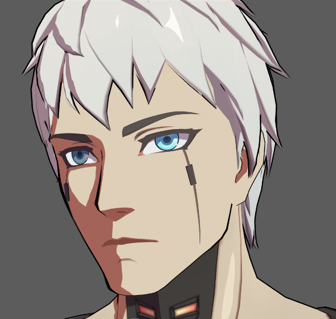
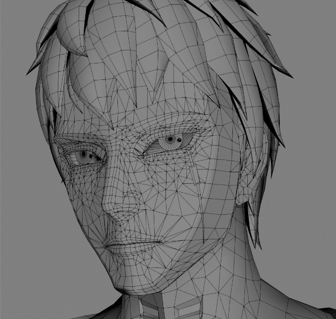
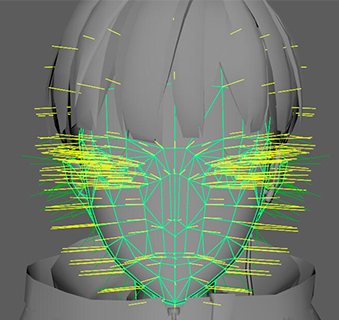
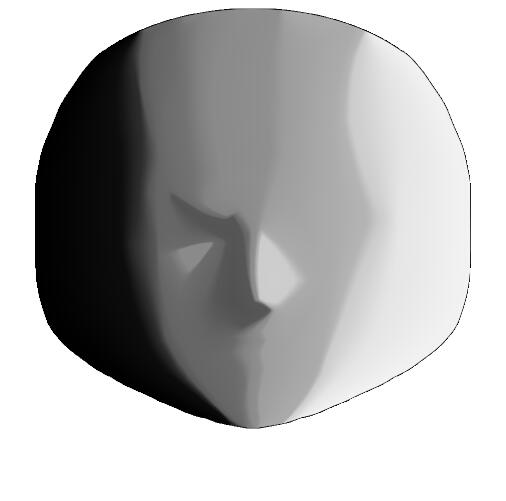
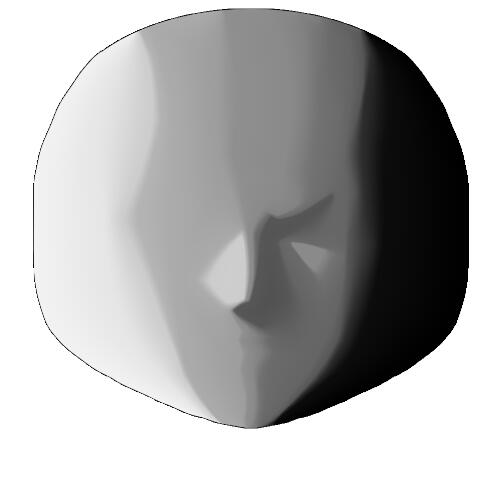
Face Shadow by Normal
While for parts need dynamic shadow, such as face, where you can’t make it fixed, but meanwhile want to control the shadow shape, 3D artists manipulate the normal direction to get a smooth transition when light direction changes.
Face Shadow by Map
Later on, in another project Hitori no Shita: The Outcast II, we used the gradient map to make the face shadow, which was firstly created by Genshin Impact. This method uses a face mask map that contains two channels, R and G:
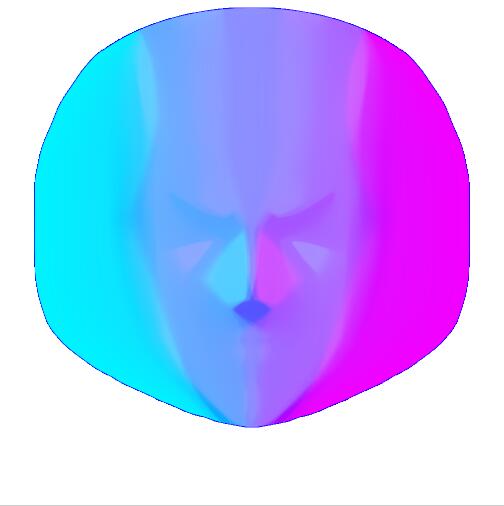
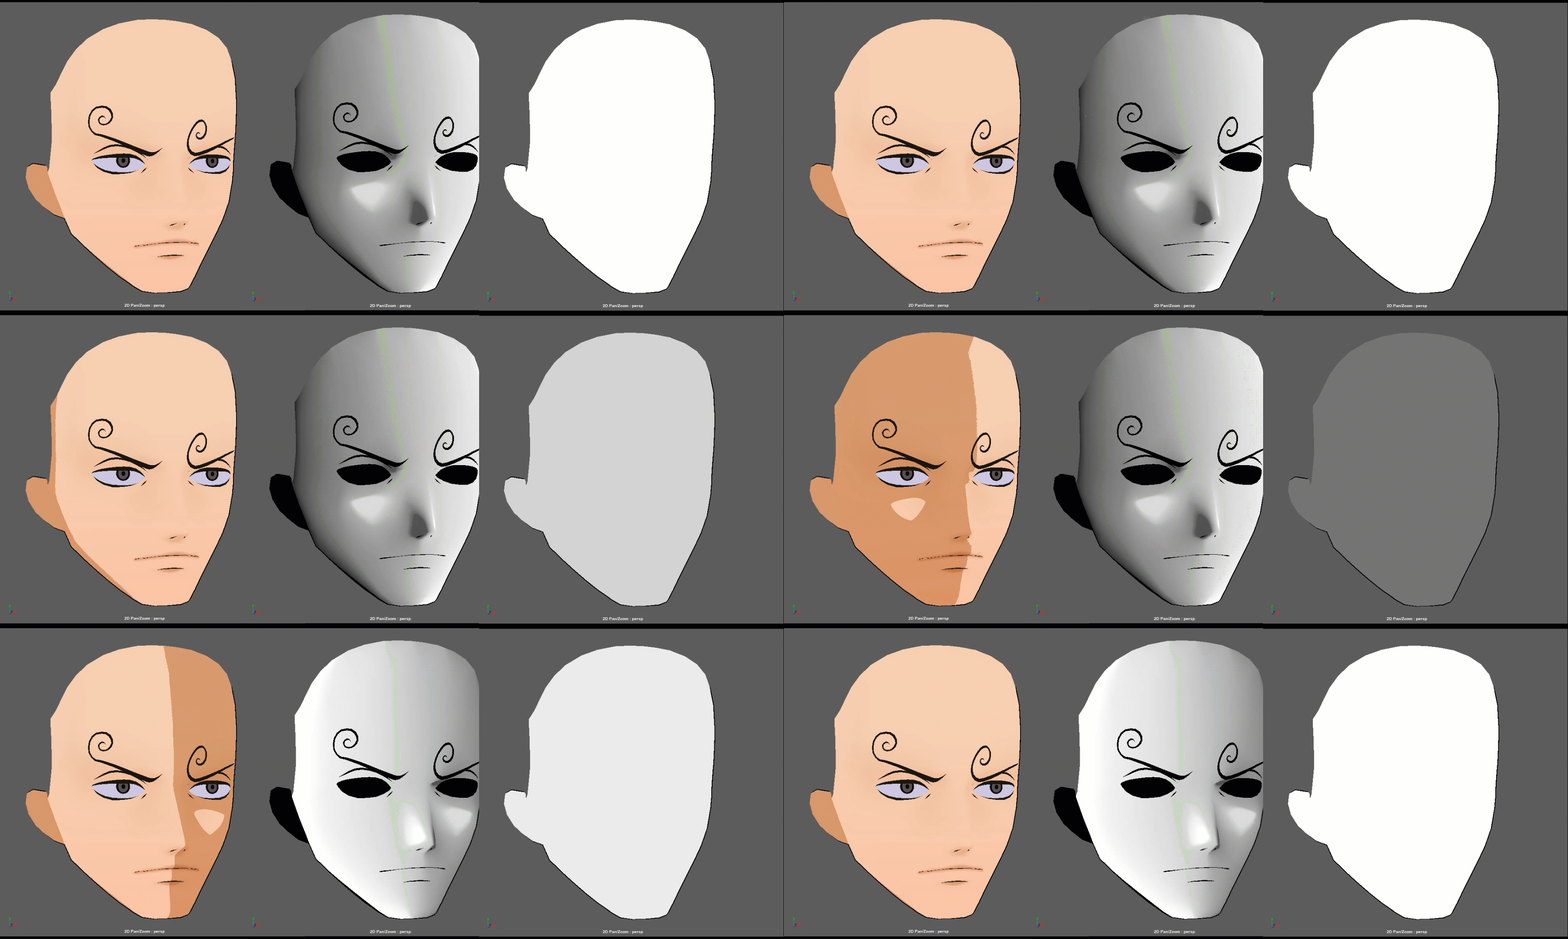
As the above image shows, the third pic is a value calculated the angle between the light vector and the starting vector and turns the angle to a radian value from 0-1. The middle pic is the R and G channel of the face mask stepping by the third value, so that it alternates once the light direction is parallel to the forward direction of the face.
The advantage of this method is the transition is very smooth, and artists can paint grey scales to control the desired light and shadow area.
Shadow Color
For shadow area, we have a shadow color map that can multiplied on the basecolor map to make a hueshift on shadow area to mimic the manga aesthetics.
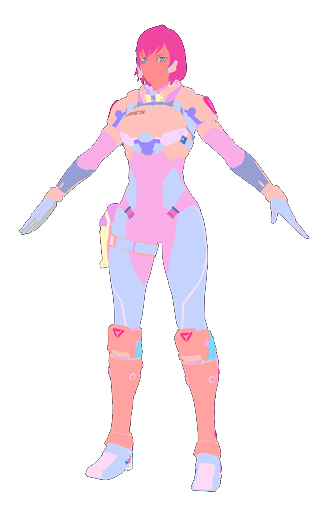
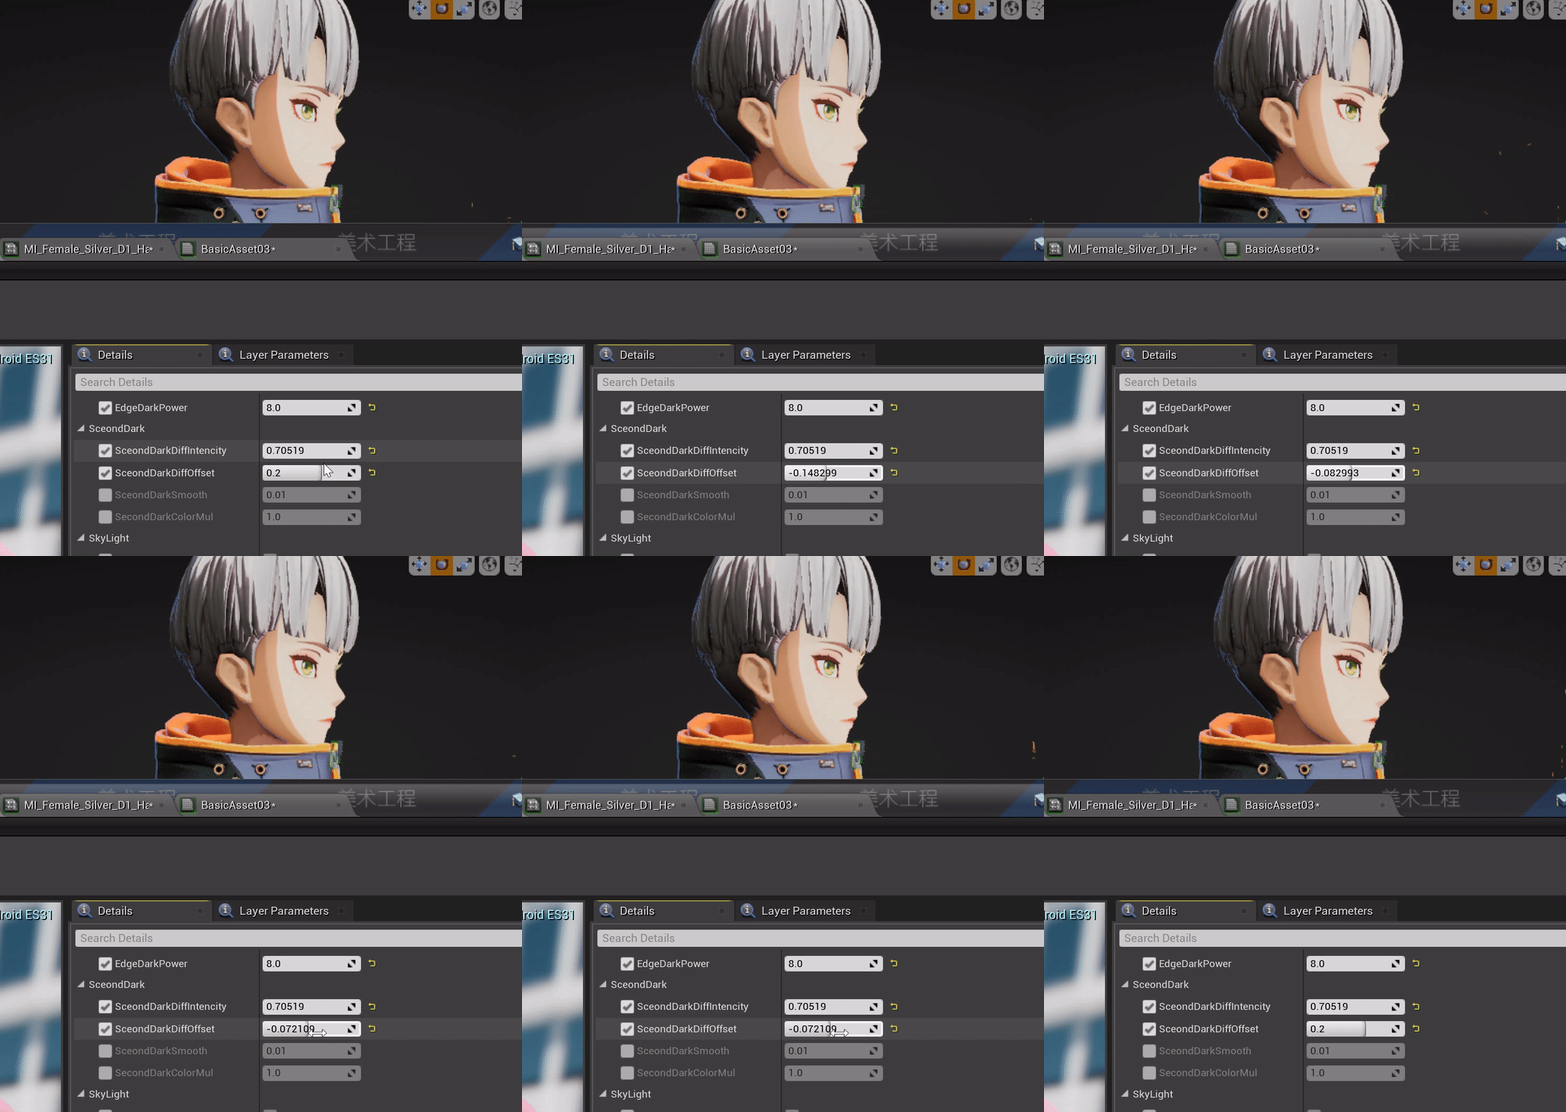
Layer of Shadow
In later development, we also tried second layer of shadow to create volume effect
: 
Exquisite Shadow
Like I mentioned above, some self-shadowing such as bangs shadow cast on the face is fixed shadow painted on a textures. While for cinematic need, I made post-process material with custom stencil to create dynamic exquisite shadow of the bangs, for some close-up shots:
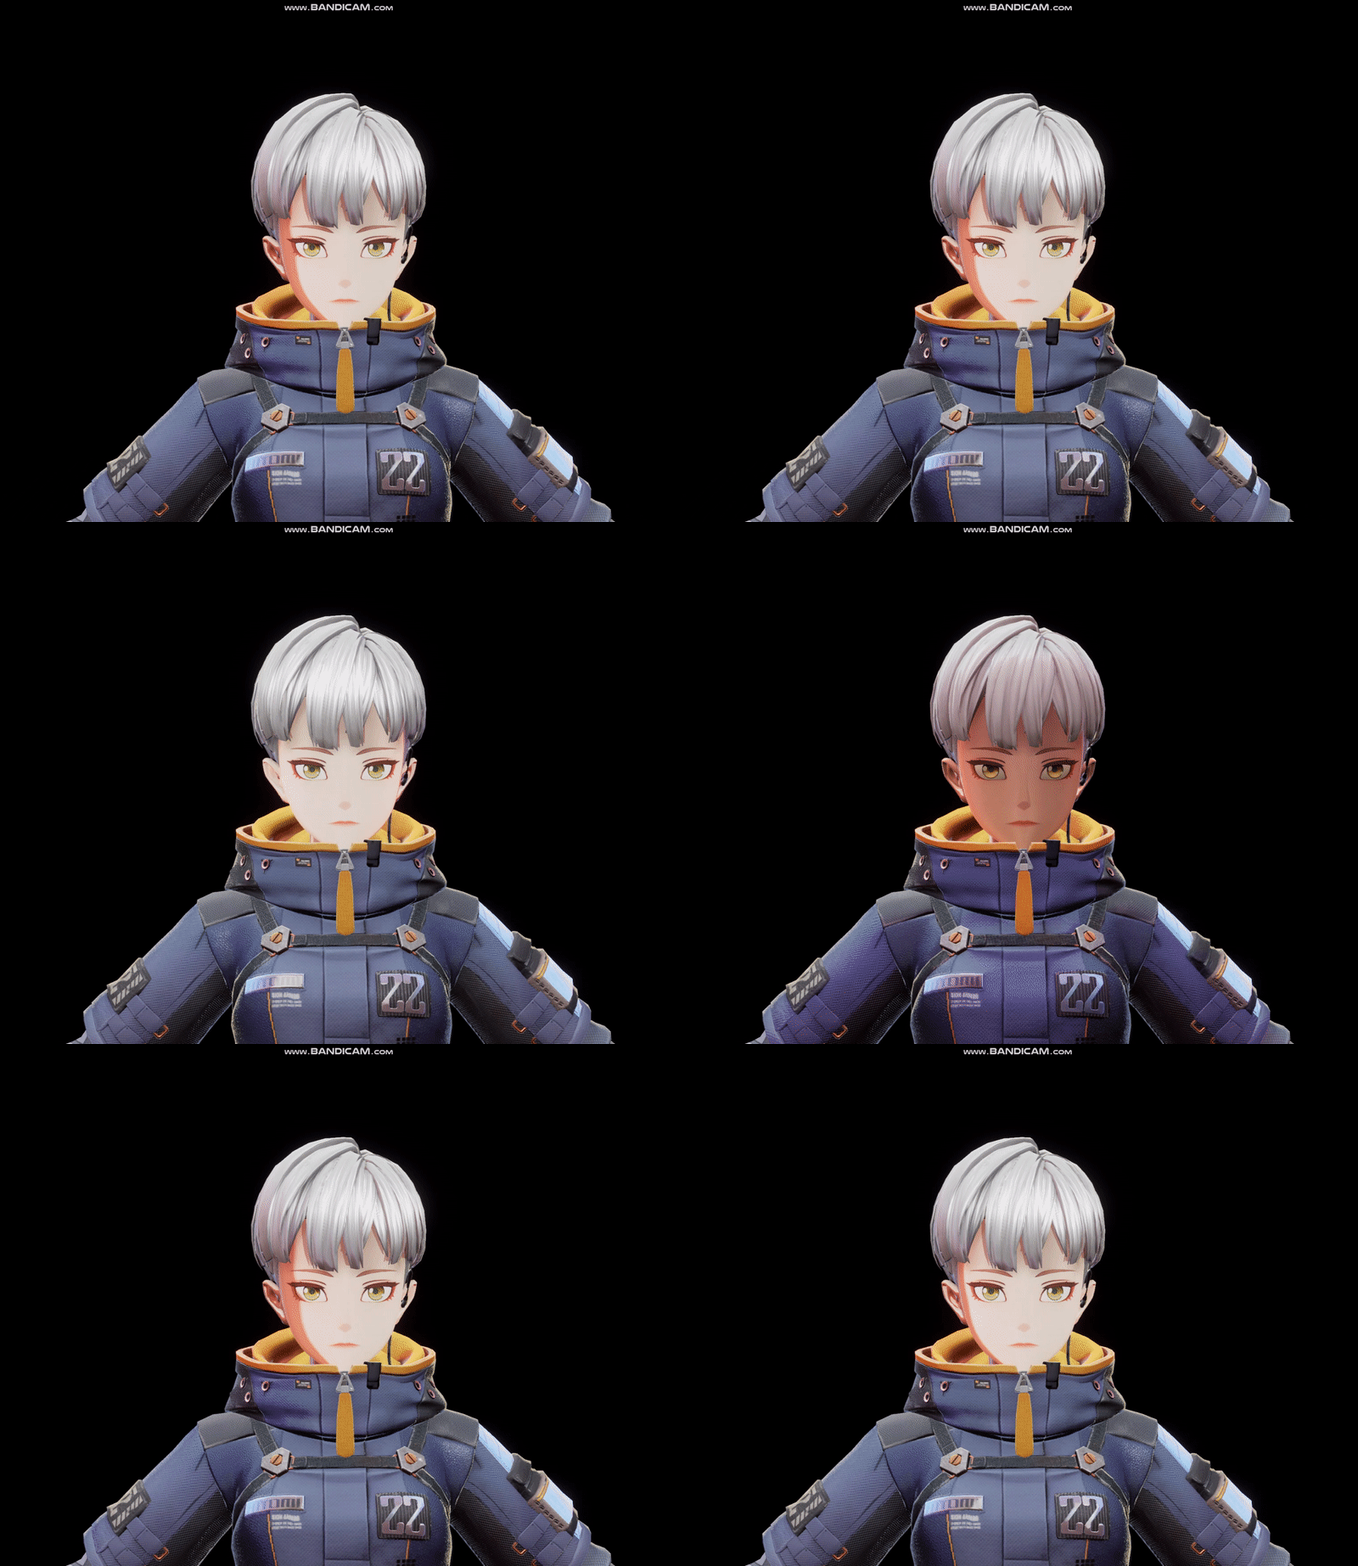
Shadow Hatching line
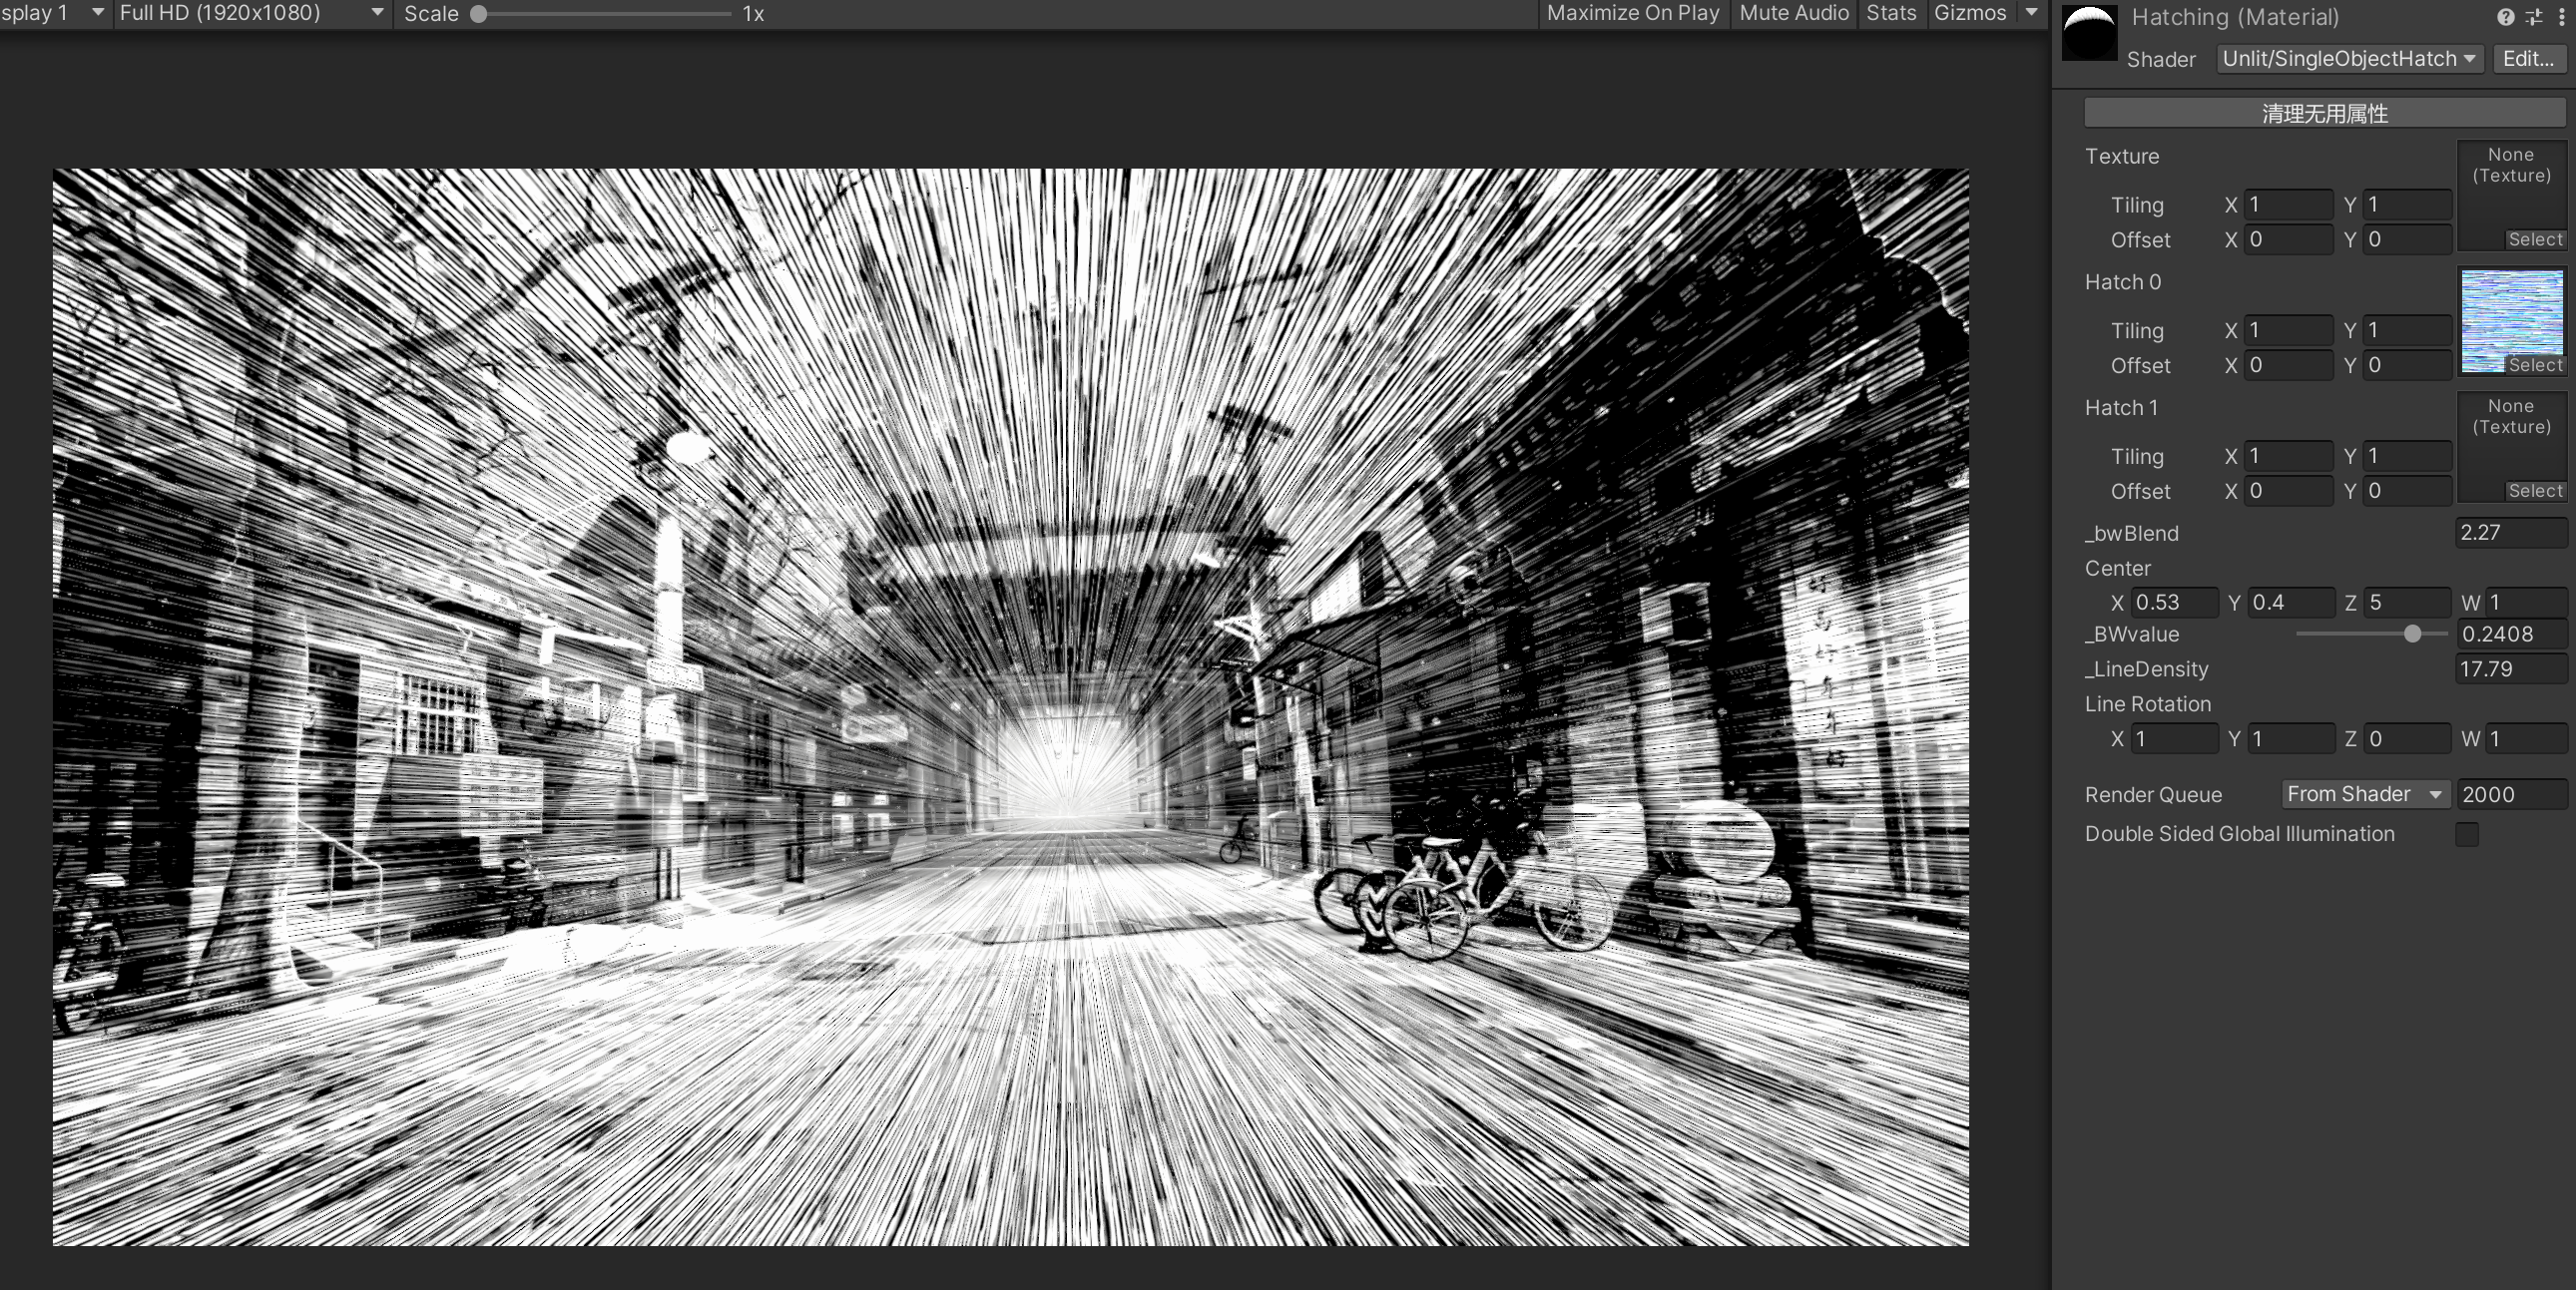
To expolre more on the stylization, I also tried handpainted hatching line effect on the character.
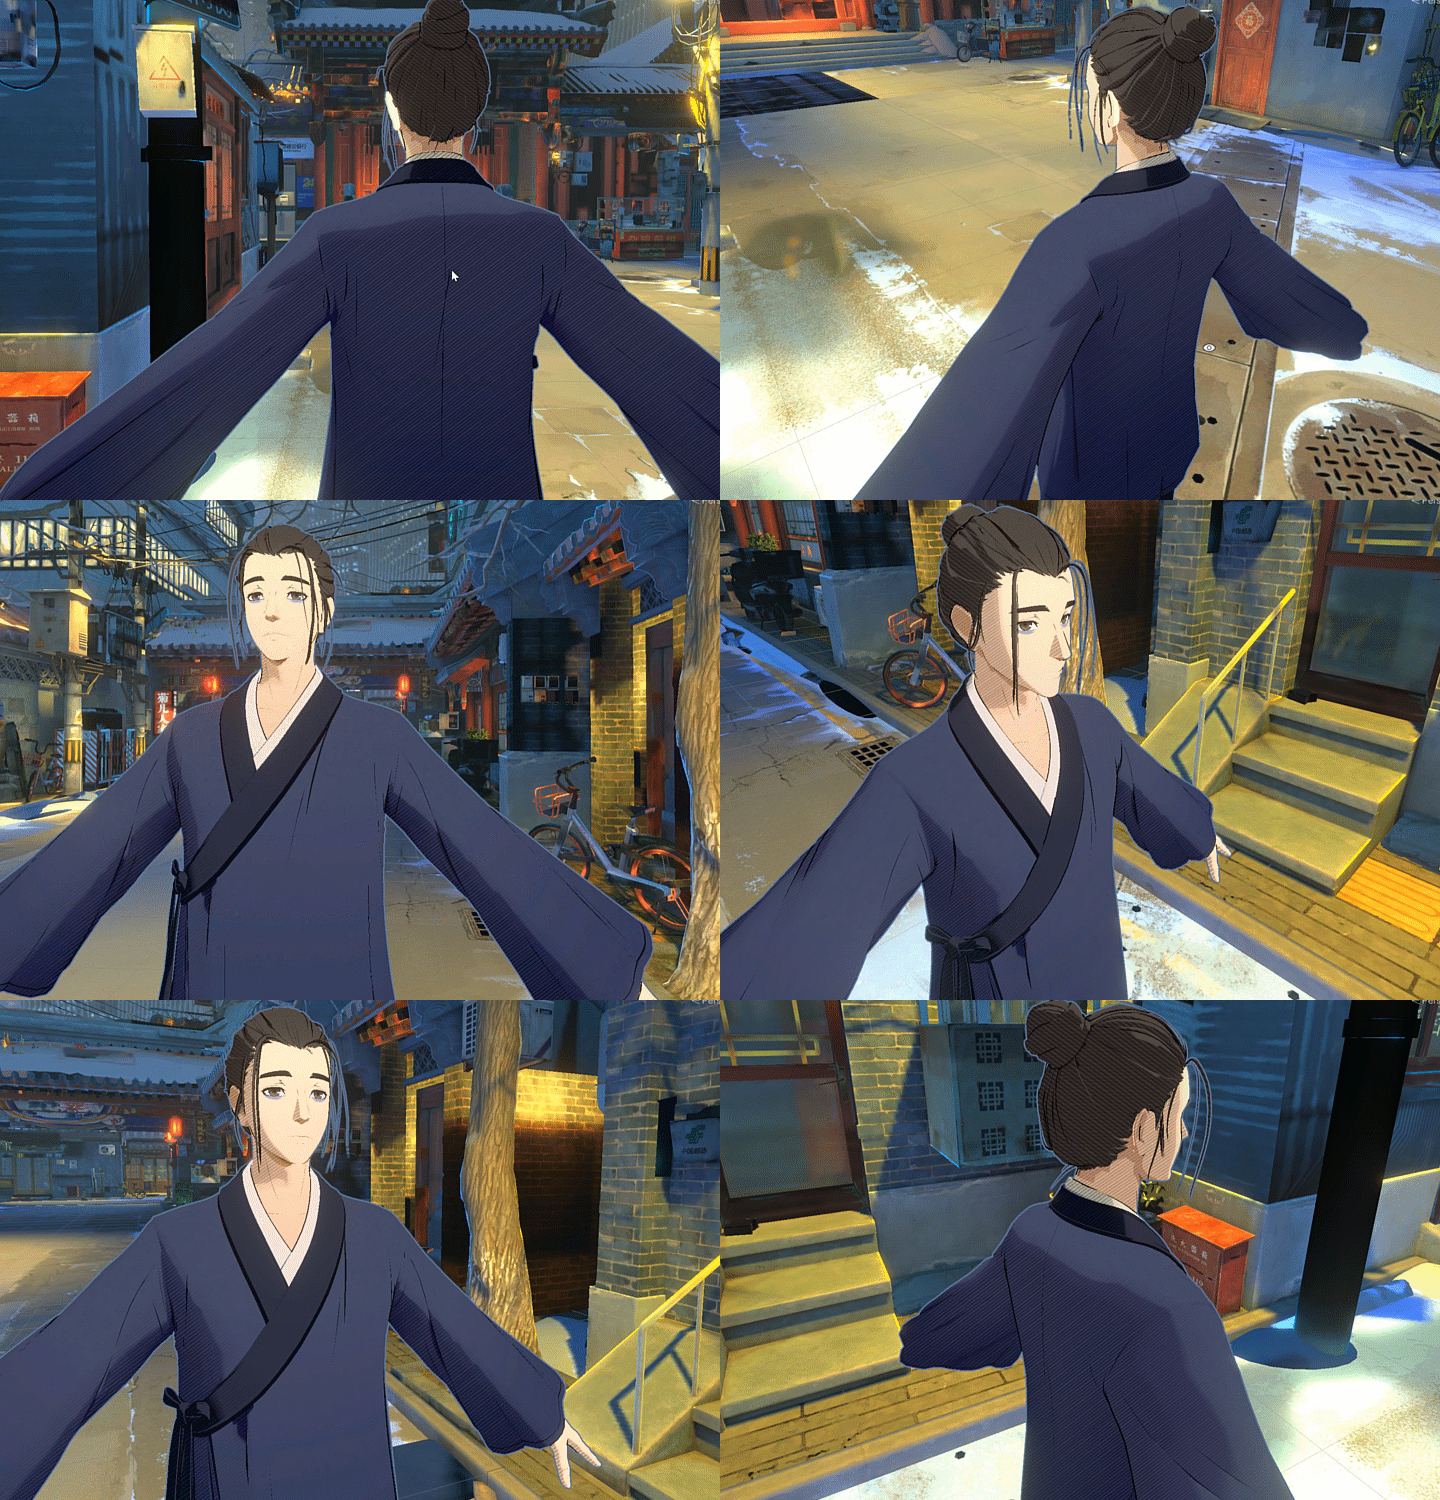
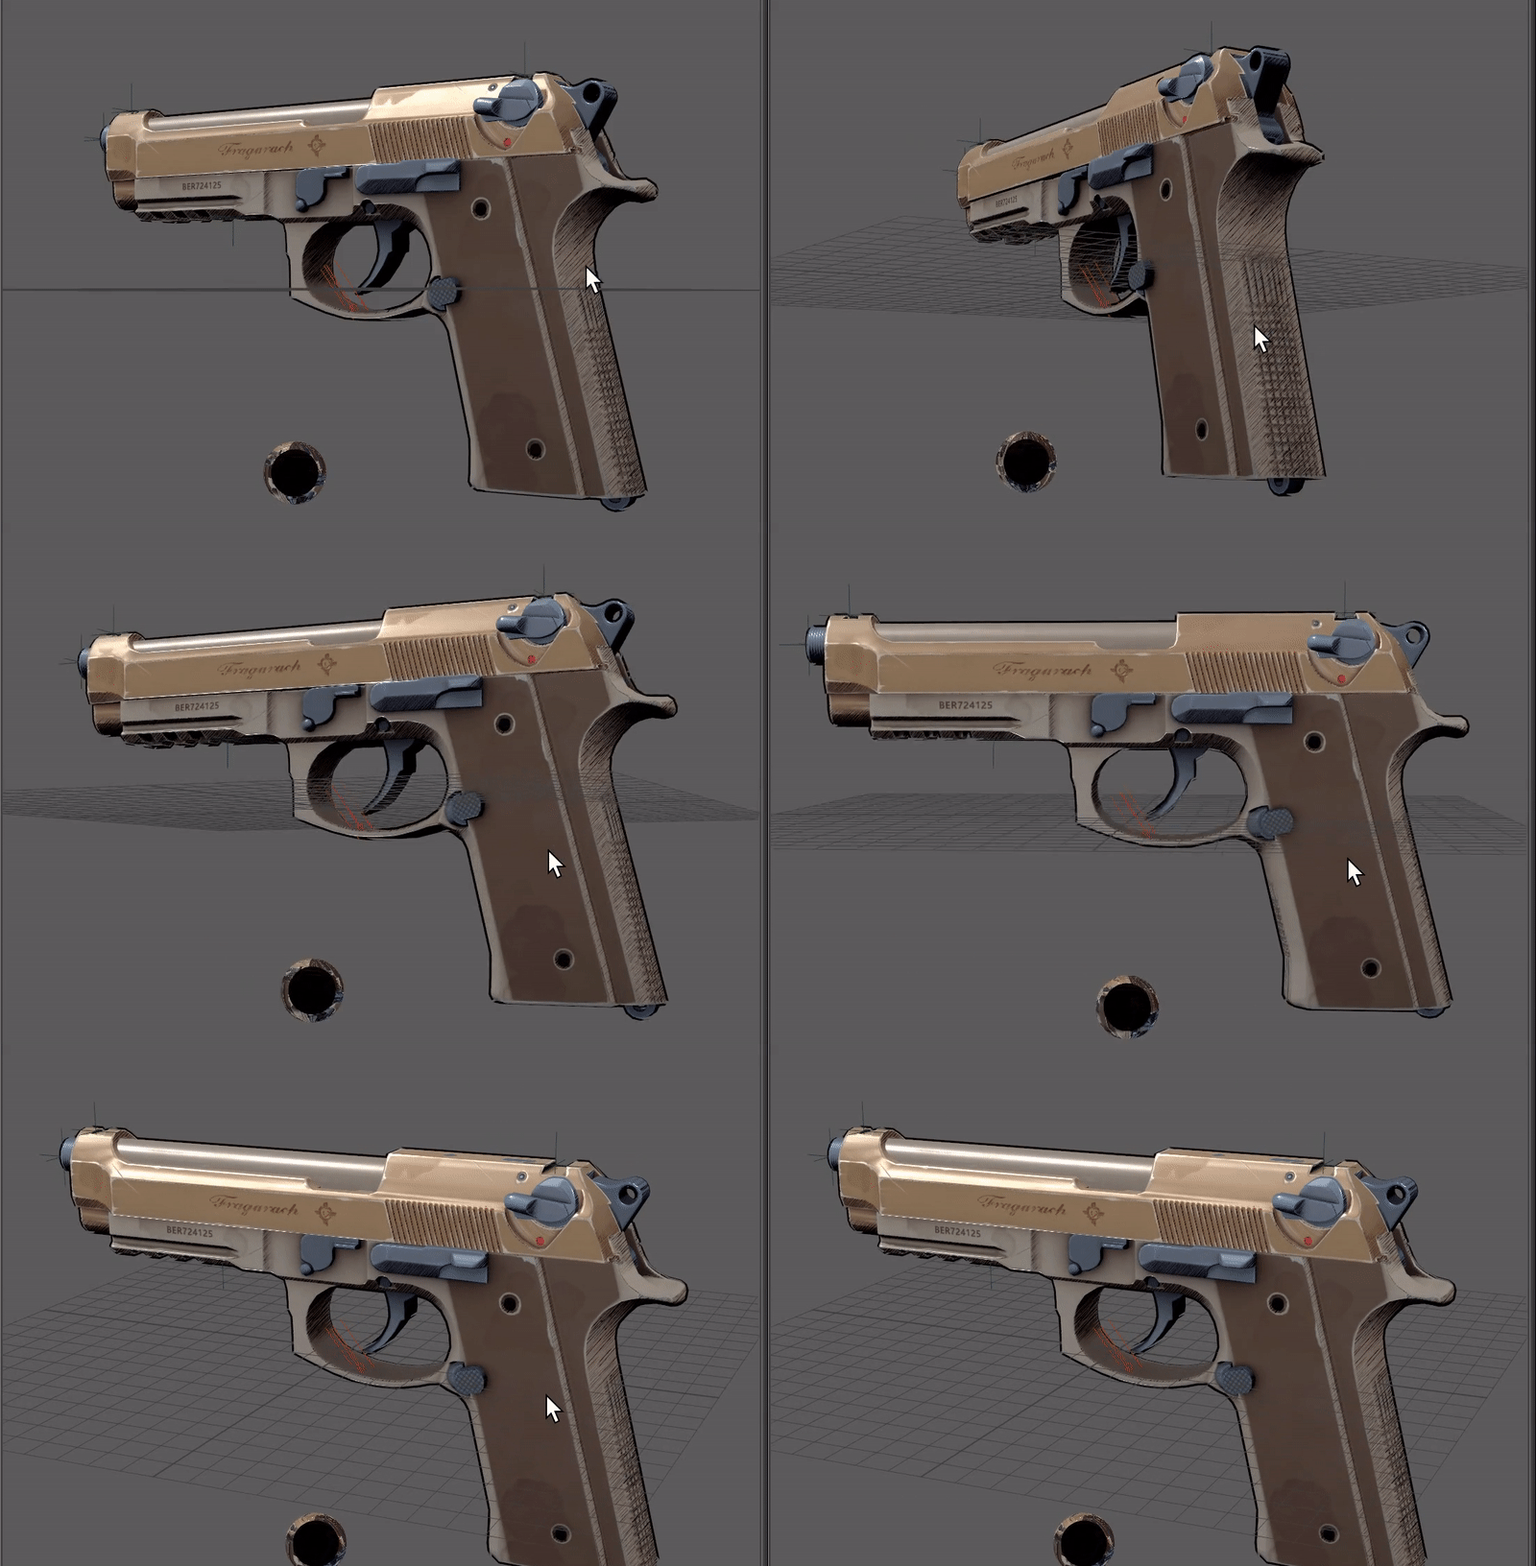
As well as a post-process hatching material:
Overflow Color
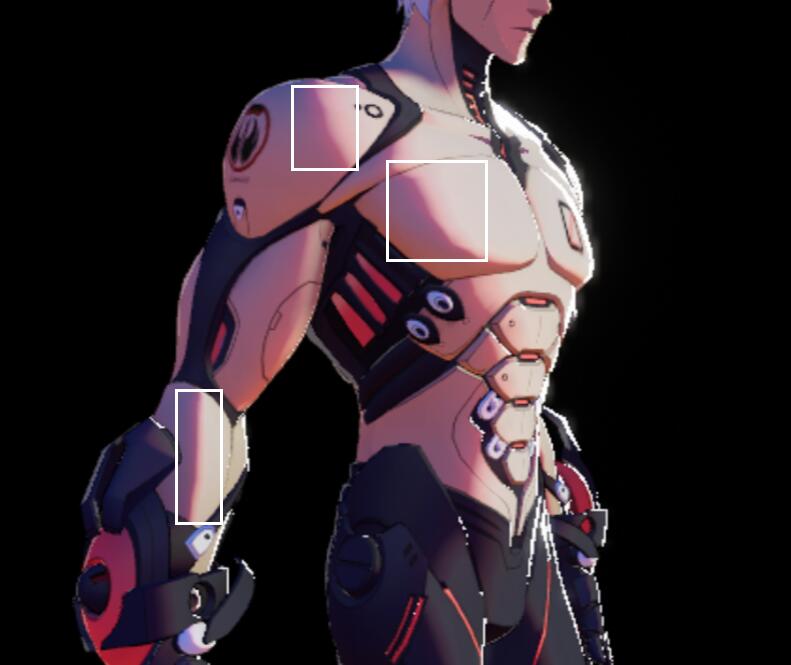
This effect is the bounline between light and shadow area, like shown in the pic below
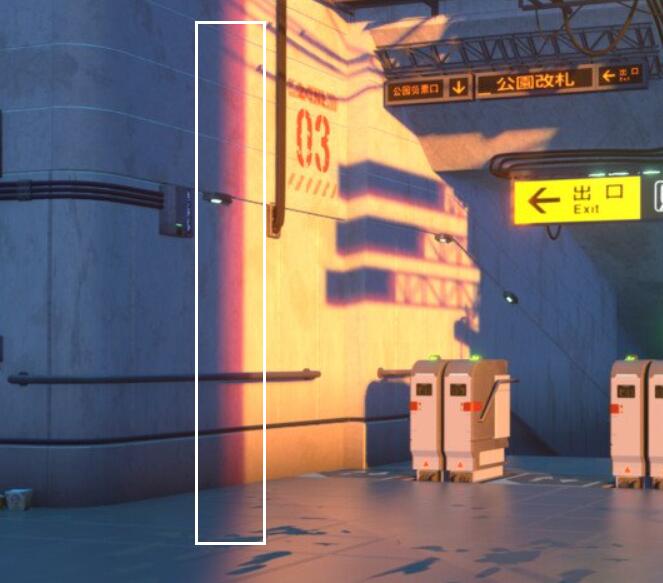
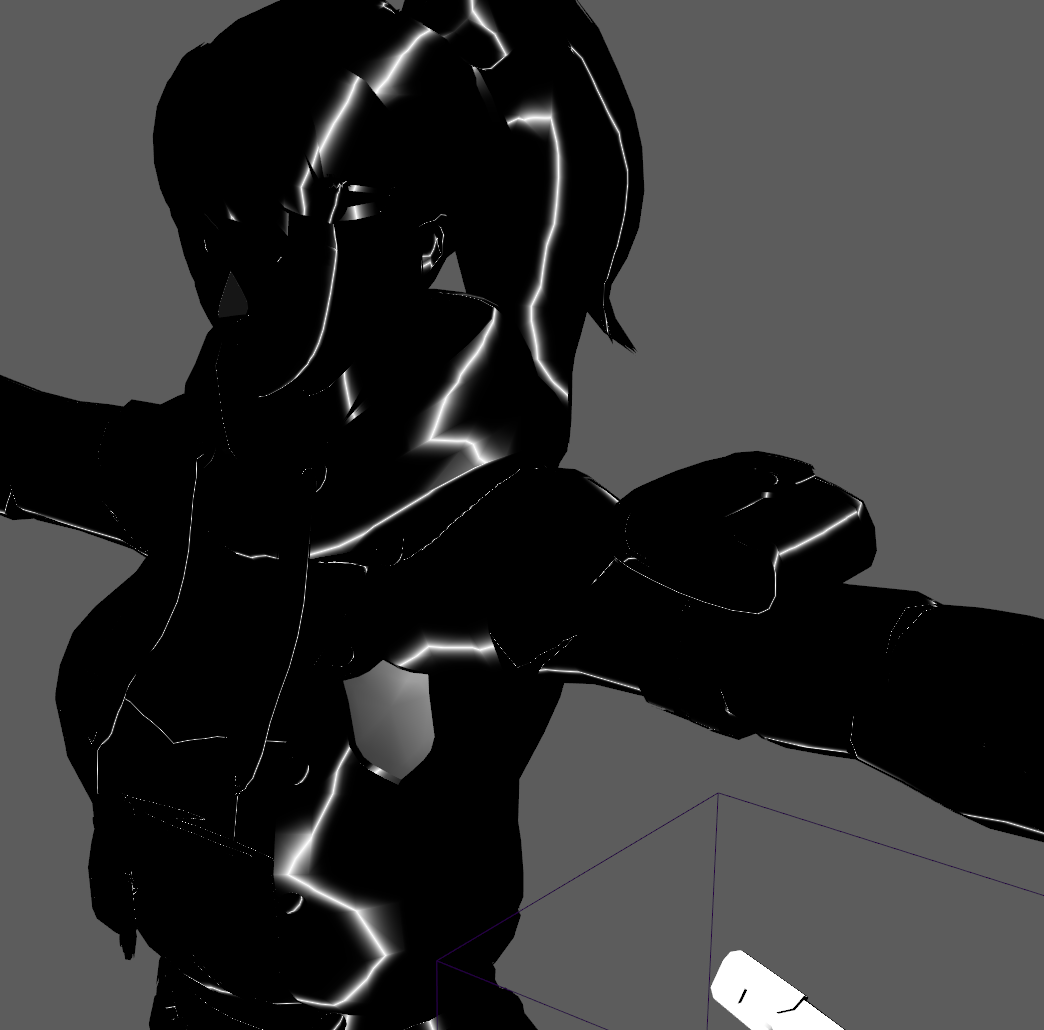
In the character shading, I used a abs() for the shifted ratio of shadow and light, then provided parameters to control the range, hardness and color.
Specular
The specular style has changed a lot, from pure cel hard edge specular to PBR GGX specular.
Cel Specular
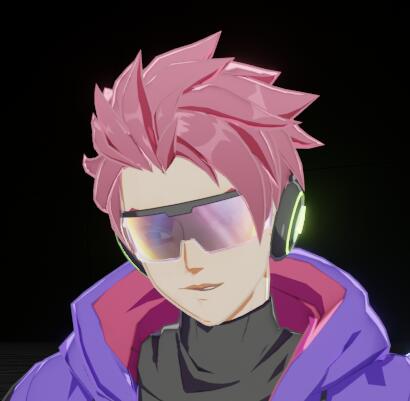
This character’s hair is a typical manga style specular that calculated by NoH and with the influence of a texture that controls the range, the shape, the position of the specular.
GGX Mobile Specular
Later on, in order to emphasize the realistic feeling of firearms, since it’s an FPS game, we make the firearms merge with GGX_Mobile specular, while still keeps cel shadow on that (but make the edge soft gradient to merge in).
Hair Specular
As I showed above, the old version of hair specular is pure hand-painted and controlled by textures. While in the new version, the hair specular revised to kajiya-kay anisotropy specular calculation.
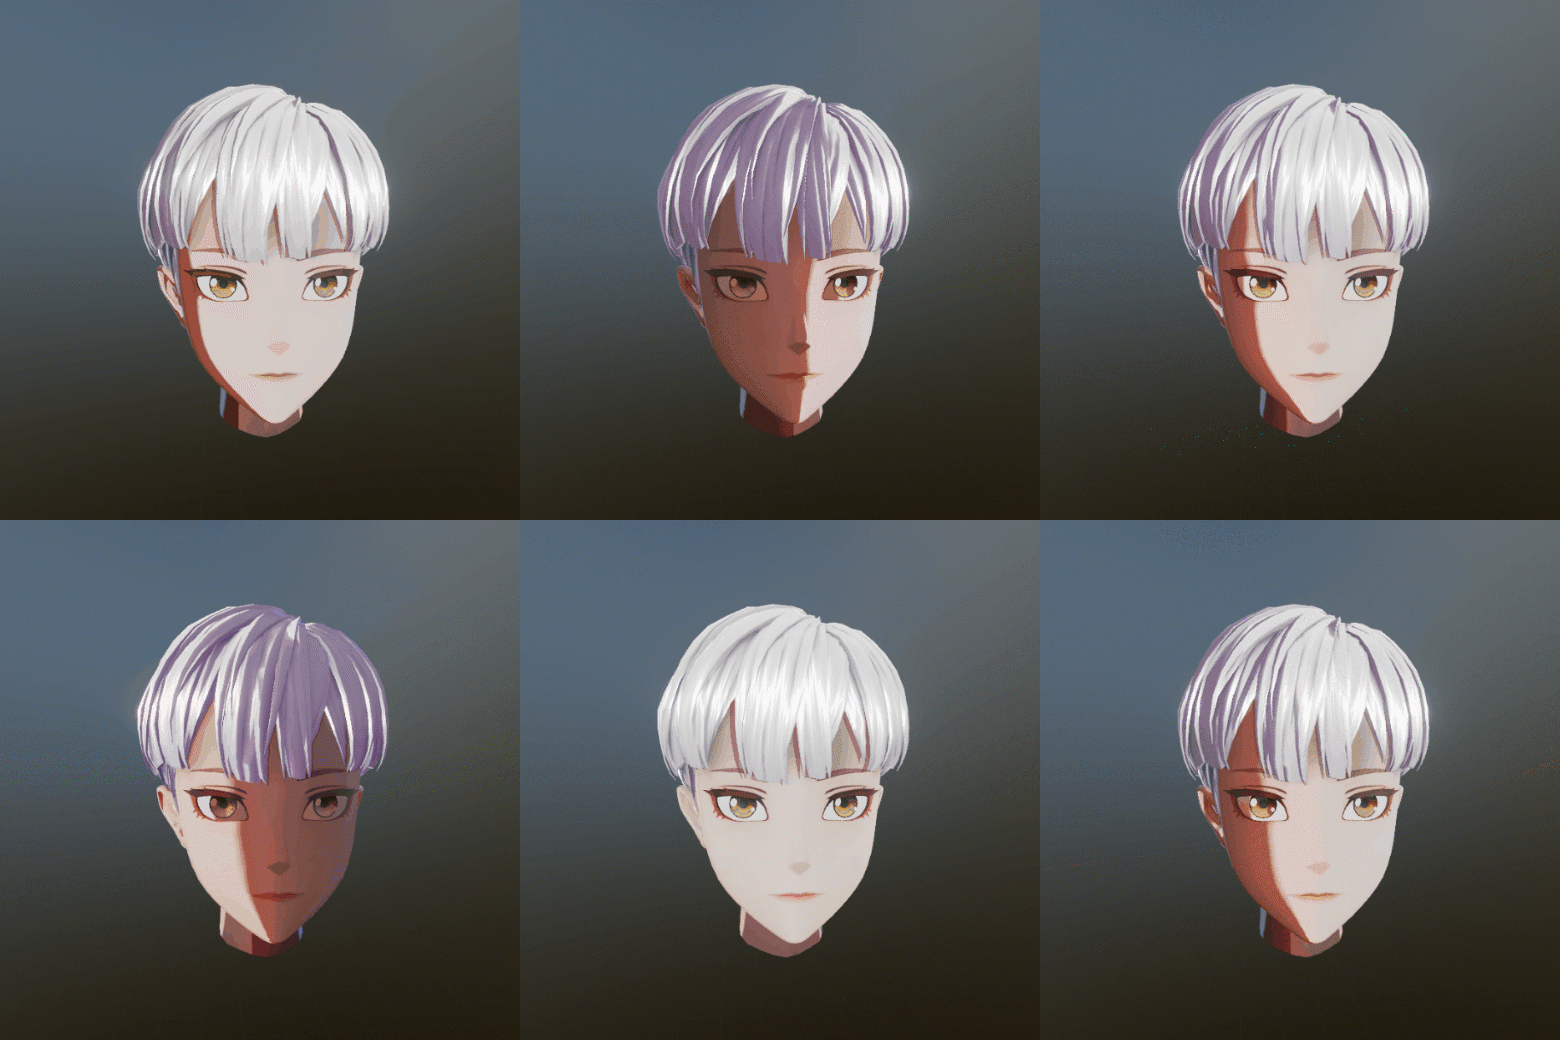

Hair anisotropy specular exploration in Blender.
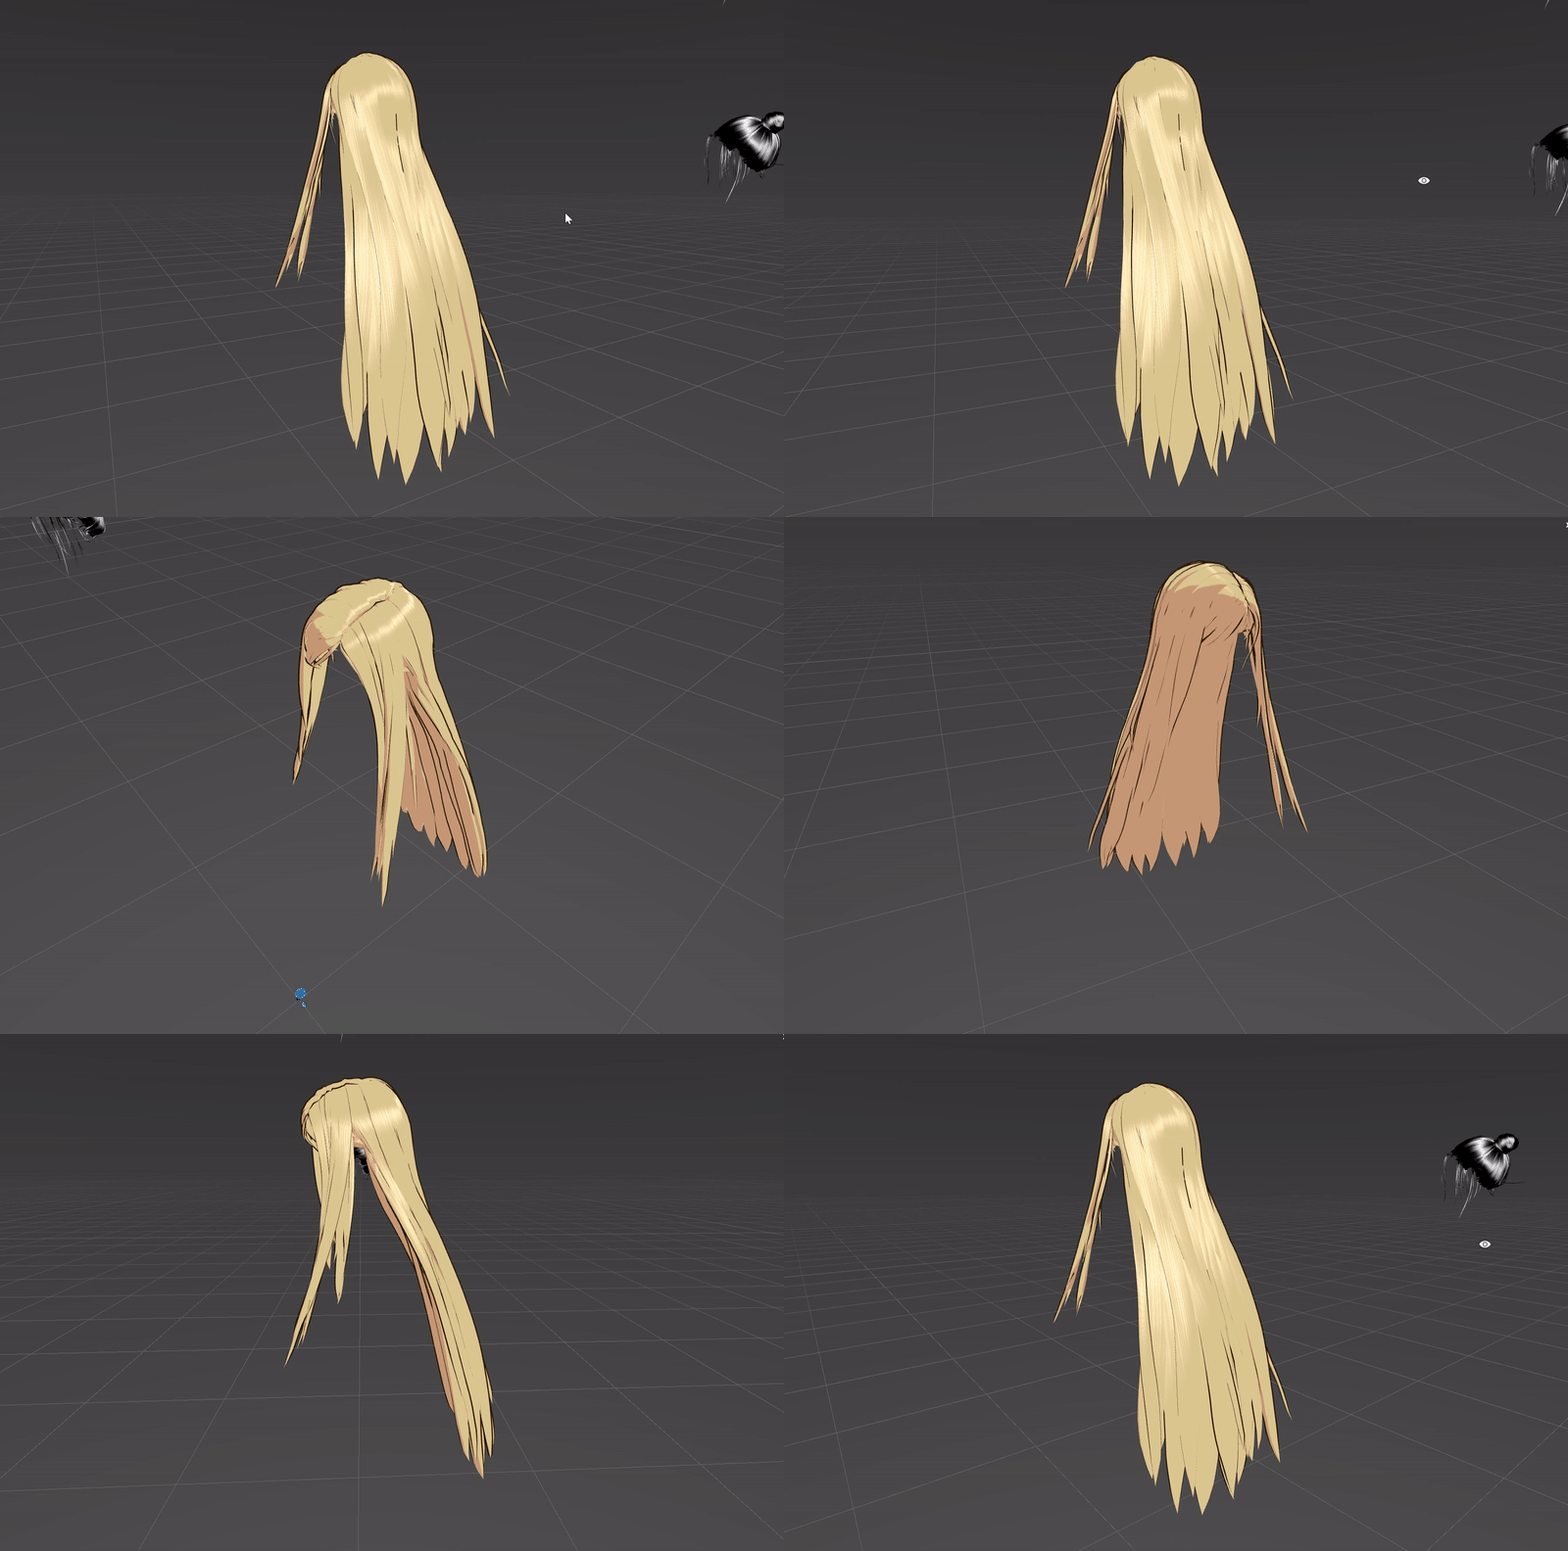
As well as hair shading in another project Hitori no Shita: The Outcast in Unity:
Dynamic Lights Integration
In UE4
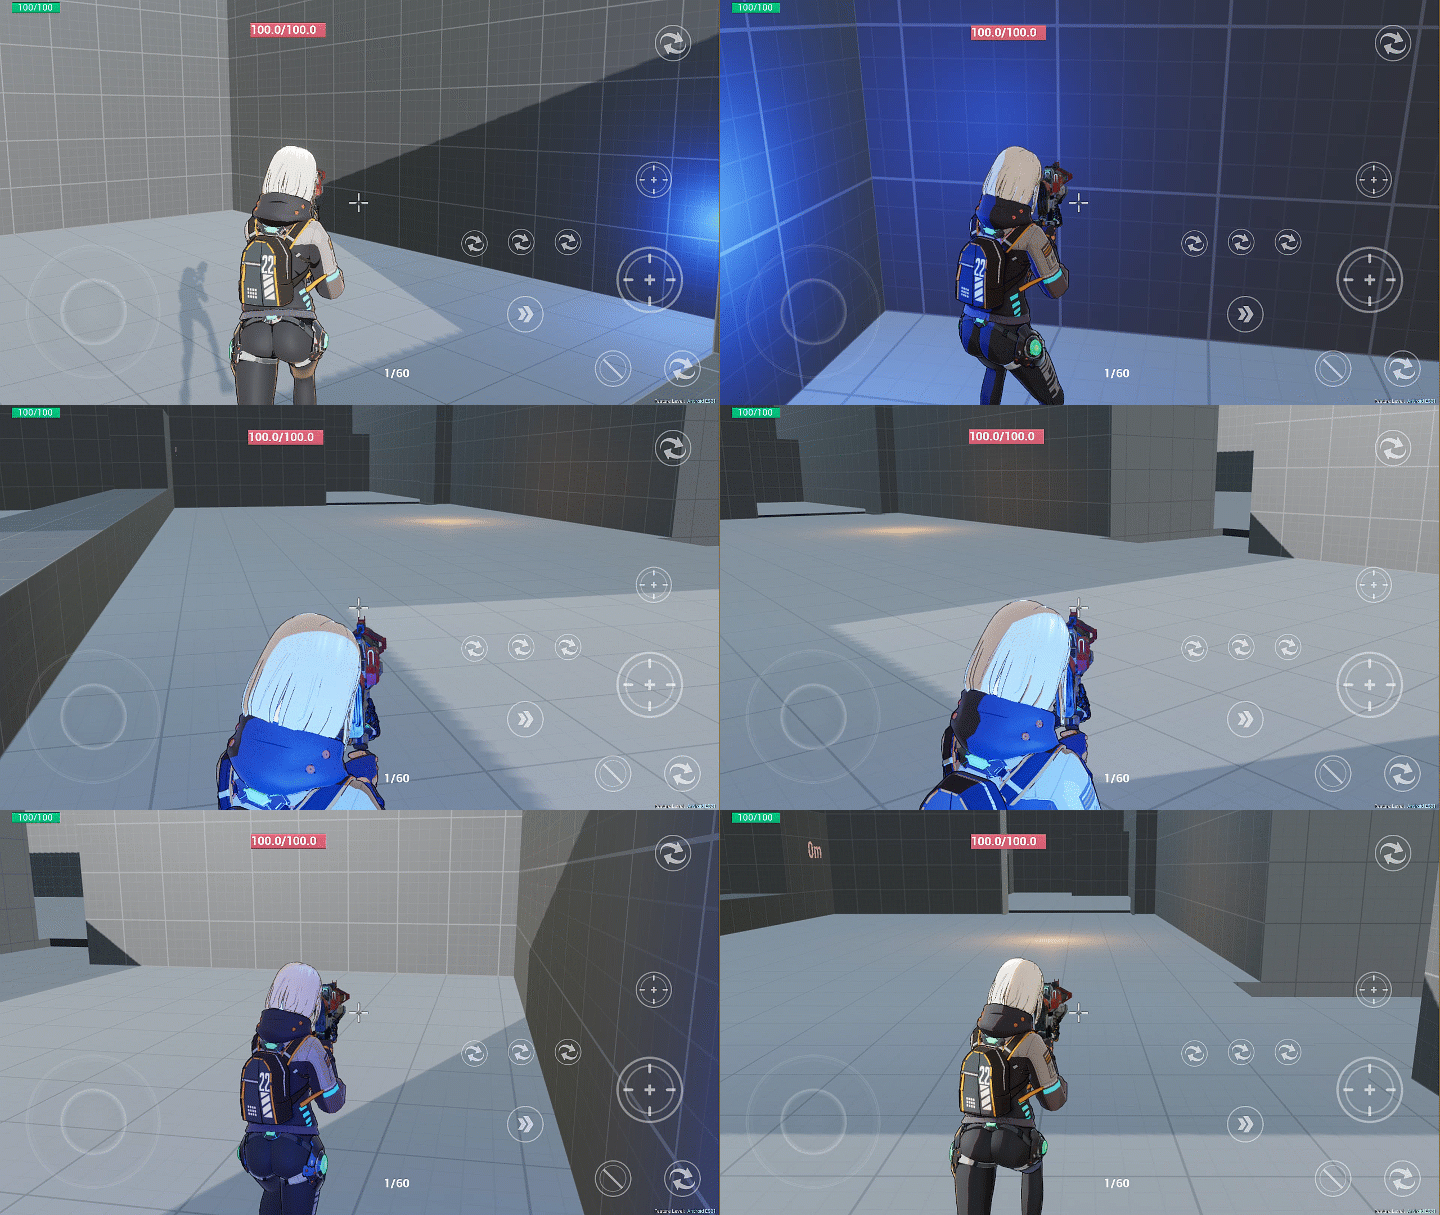
For Ace Force project in UE4, dynamic lights integration was revised in MobileBasePassPixelShader.usf, as the cel-shading style needs the corresponding cel feeling attenuation such as point lights.
In Unity
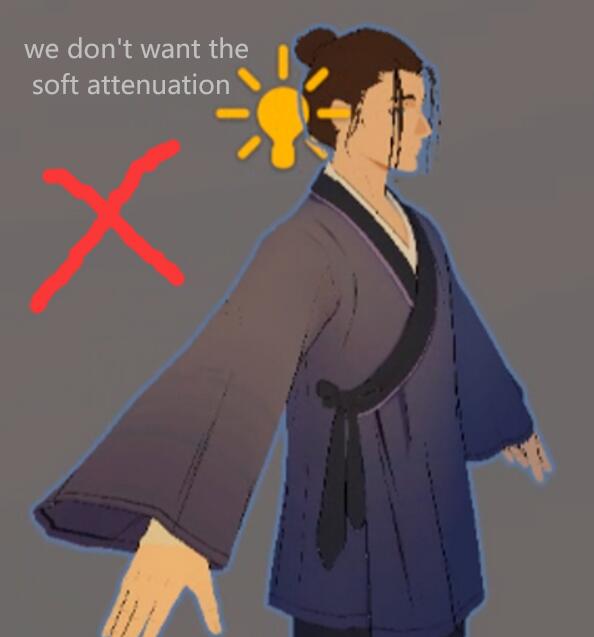
For Hitori no Shita: The Outcast project, the project is using Unity URP pipeline, the character shader was un unlit shader originally, therefore how to receive and react to the scene lighting in this 3D game with full point of view is a significant problem. I cannot use realistic light attenuation calculation that comes with Unity URP, since that will create a realistic and volumetric effect on the flat cartoon character, which is not what I want to see:
I also need to consider how to make the point lights combine with the character directional light that determined the light and shadow division on the character, therefore I need the lights attenuating with distance, but distributing evenly on the character. Below is the outcome.
Distance Attenuation Cel Dynamic Lights In Unity
Sky Diffuse Lighting
In new version of Ace Force character shading, after increasing the volume of the shading, and adding GGX specular, we made another experiment on the shadow color, to merge with sky diffuse lighting and color. Below is a concept, see the blue diffuse light in the shadow, what’s what the director wants to have:
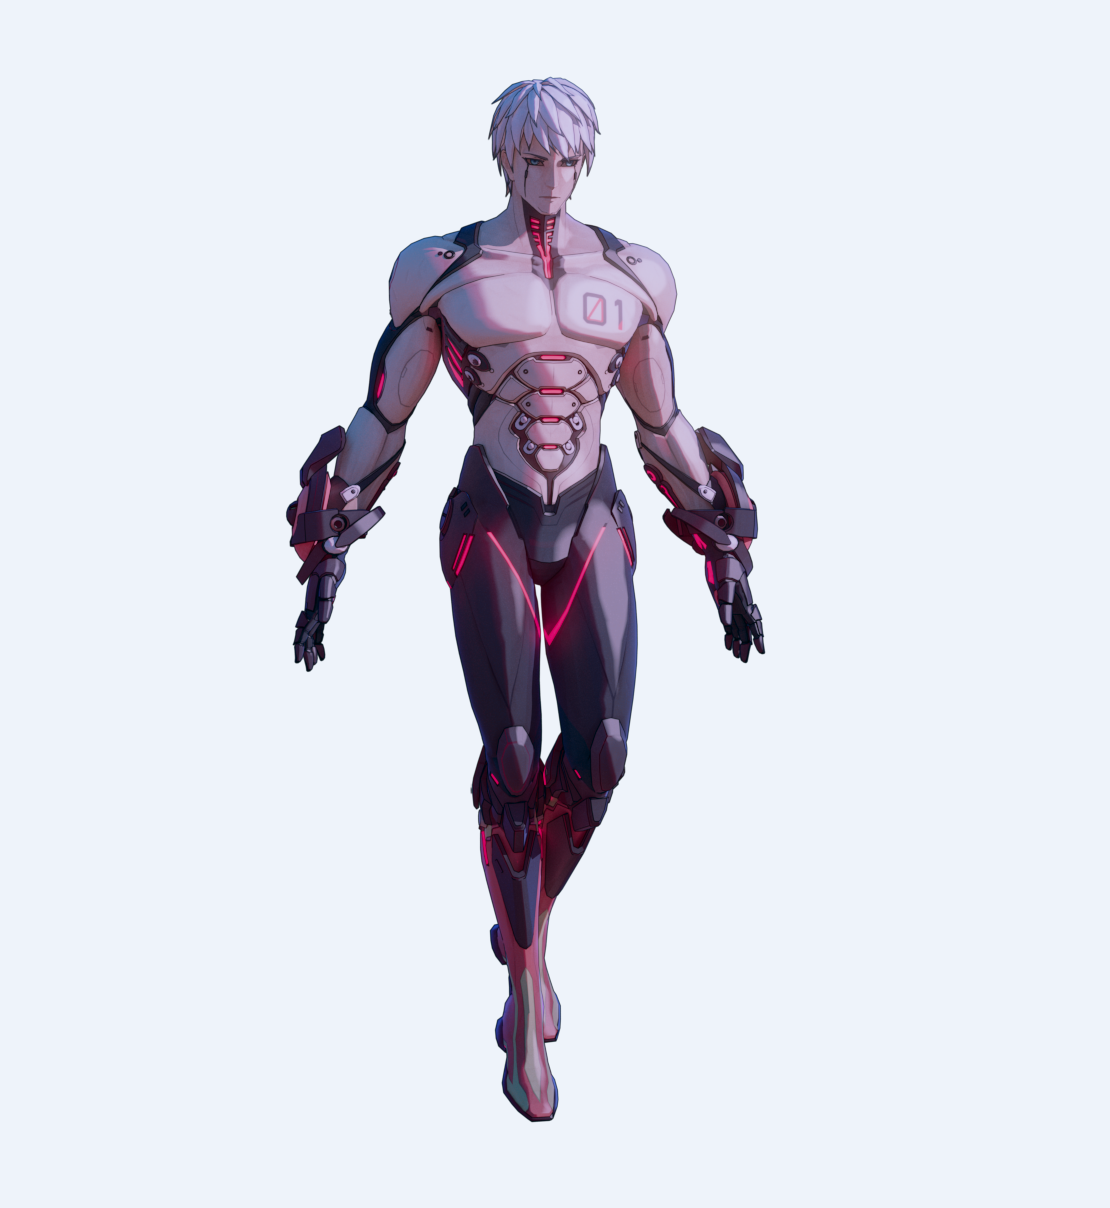
So, I went for the MobileBasePassPixelShader.usf agian, looking for the calculation of the indirectIrradiance, took it out and used it as a lerp value, exposed two color parameter for the artists to control, one indicates sky color, another is ground color.
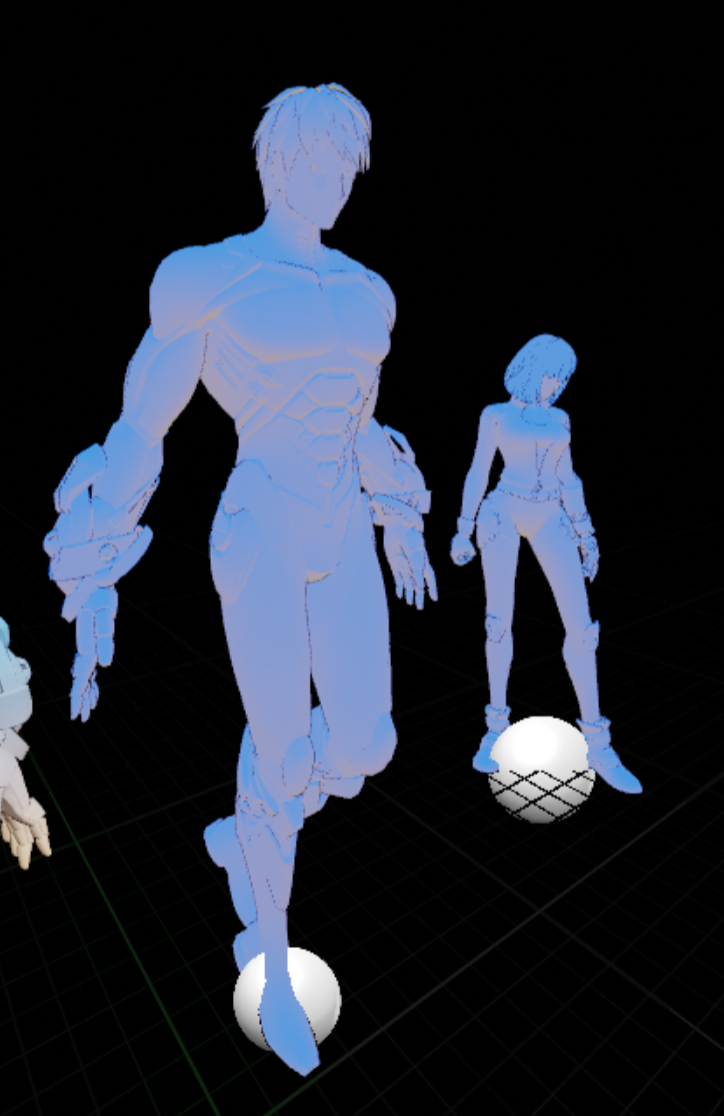
Then applied it on the dark area:
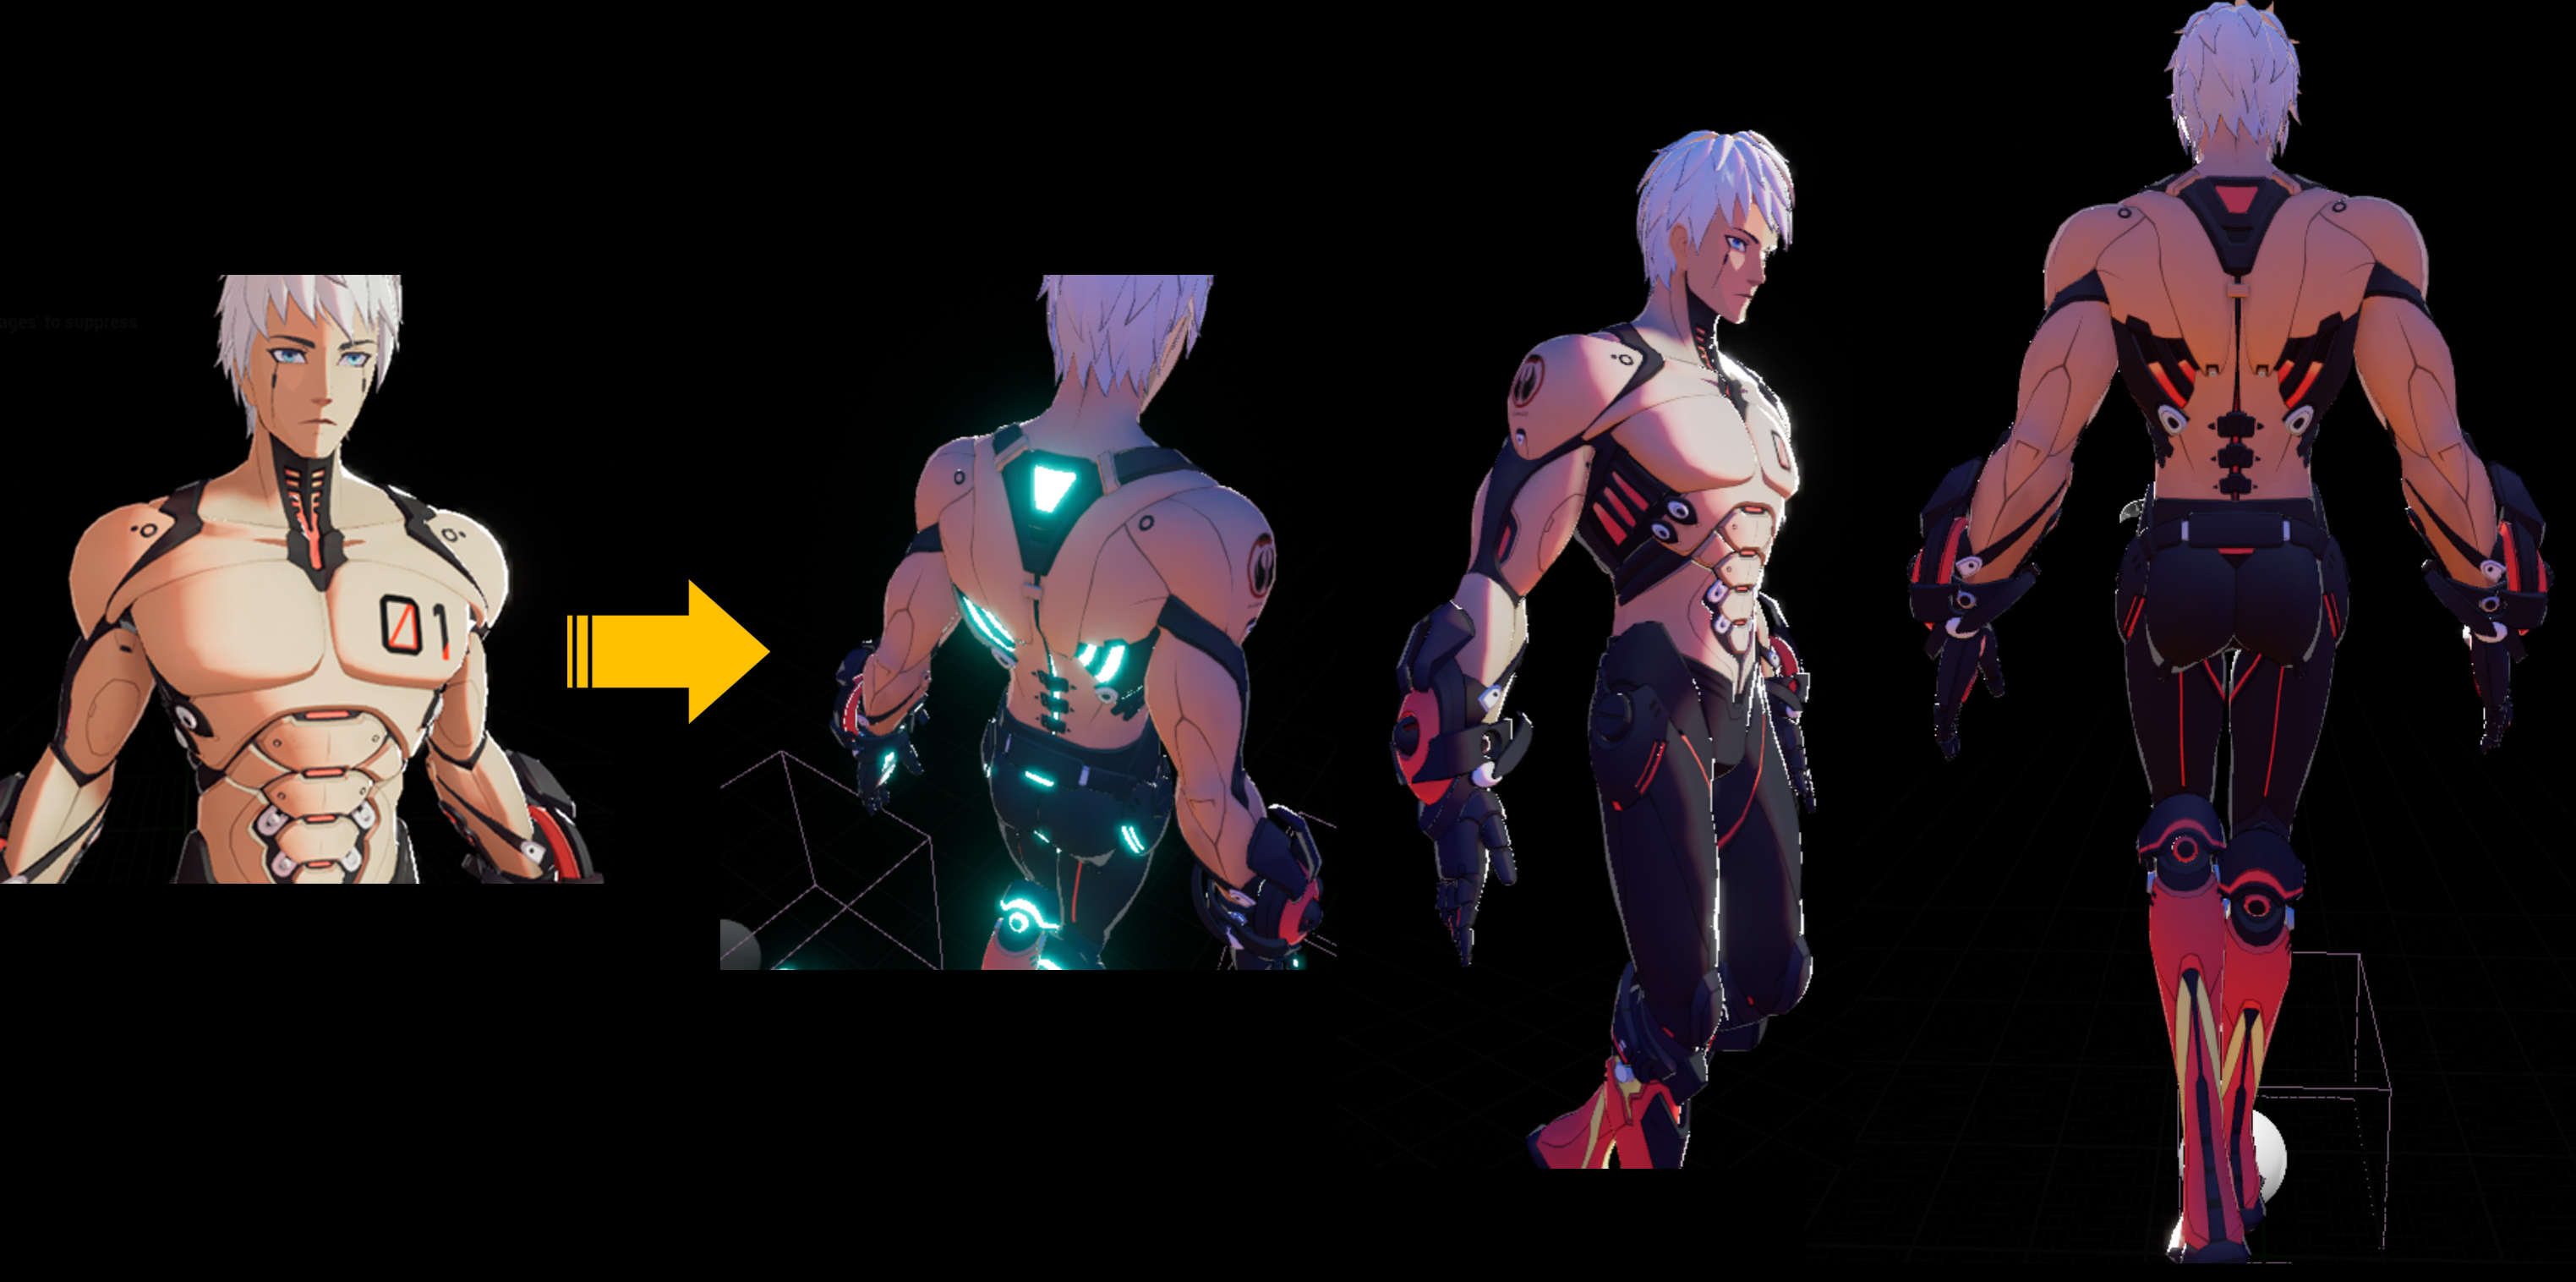
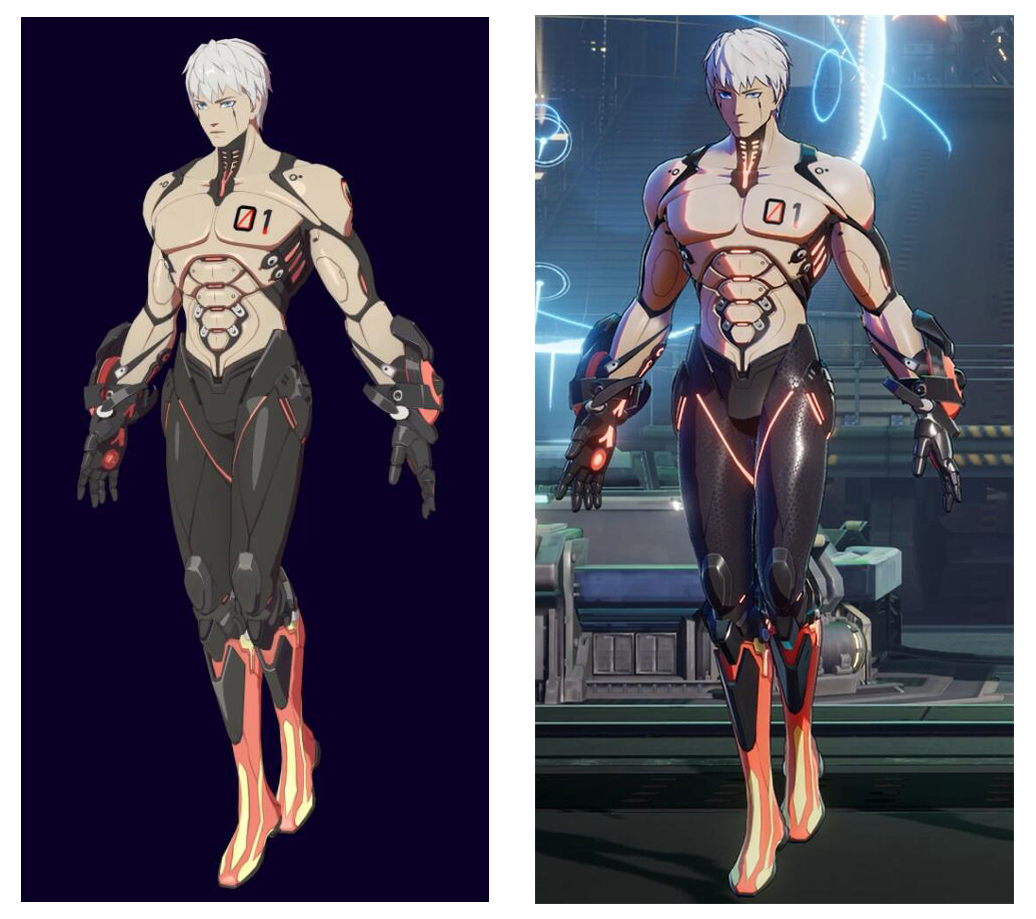
The Outline
UE4 Outline
In ue4 the outline is just make another copy of mesh, and give it an outline material. For the outline material, artists could use vertex color to control the different thickness of lines in different area.
Unity Outline
In unity the outline is to add a new pass, and cull front. Same, artists could use vertex color to control the different thickness of lines in different area.
The Innerline
The Fixed Innerline
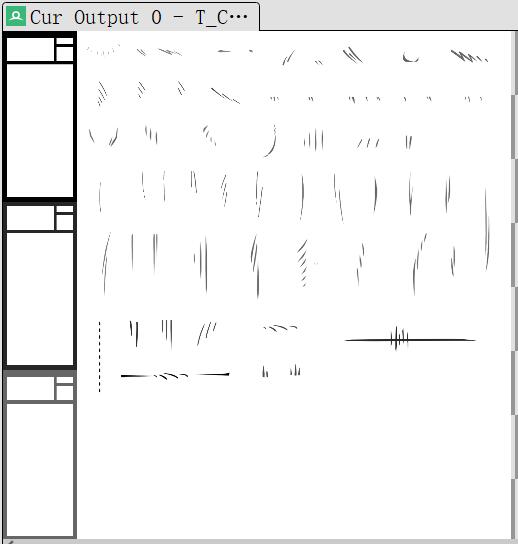
This line tex is multiplied on the final color, to make some inner line details such as expression lines on face or folds lines on clothing.
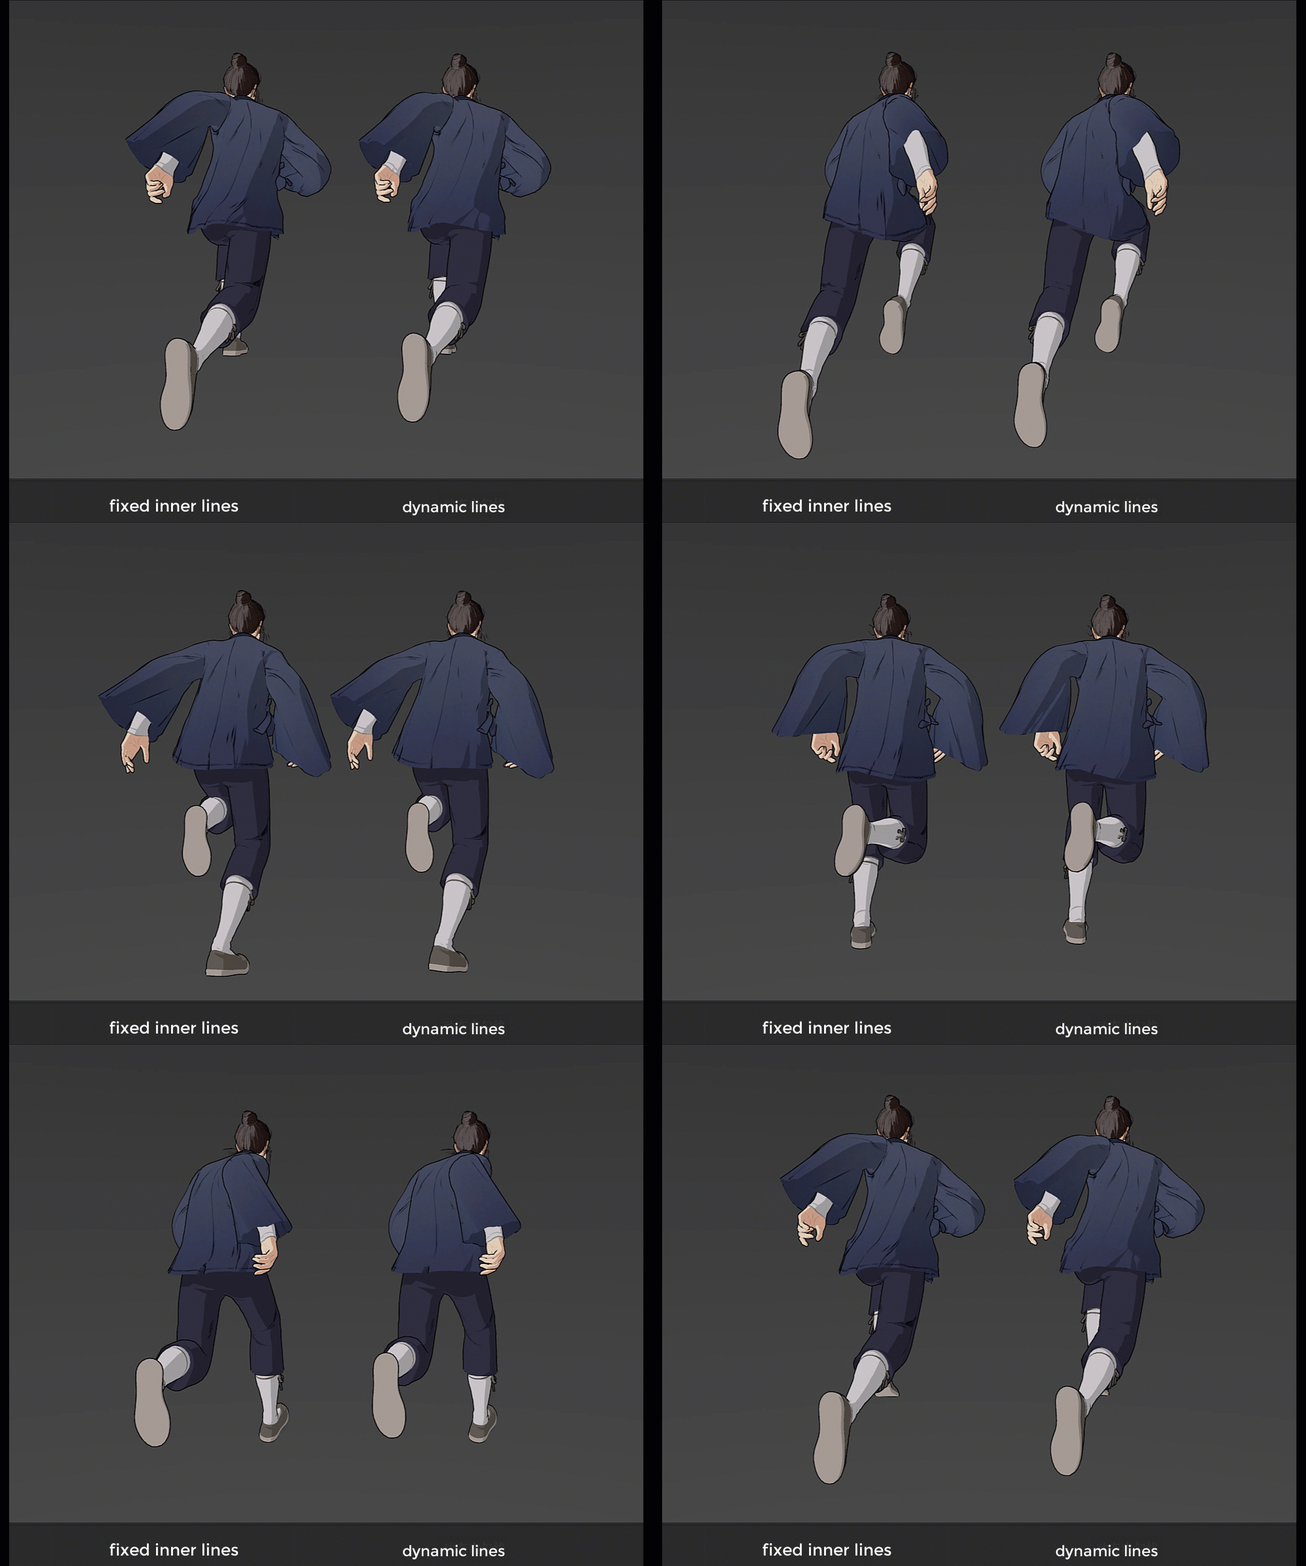
The Dynamic Innerline
For Hitori no Shita: The Outcast project, the main character’s clothing is loose and soft. Besides, this is a first person view game, I tried to use a method based on camera distance to show and hide the fixed innerline to create a dynamic effect:
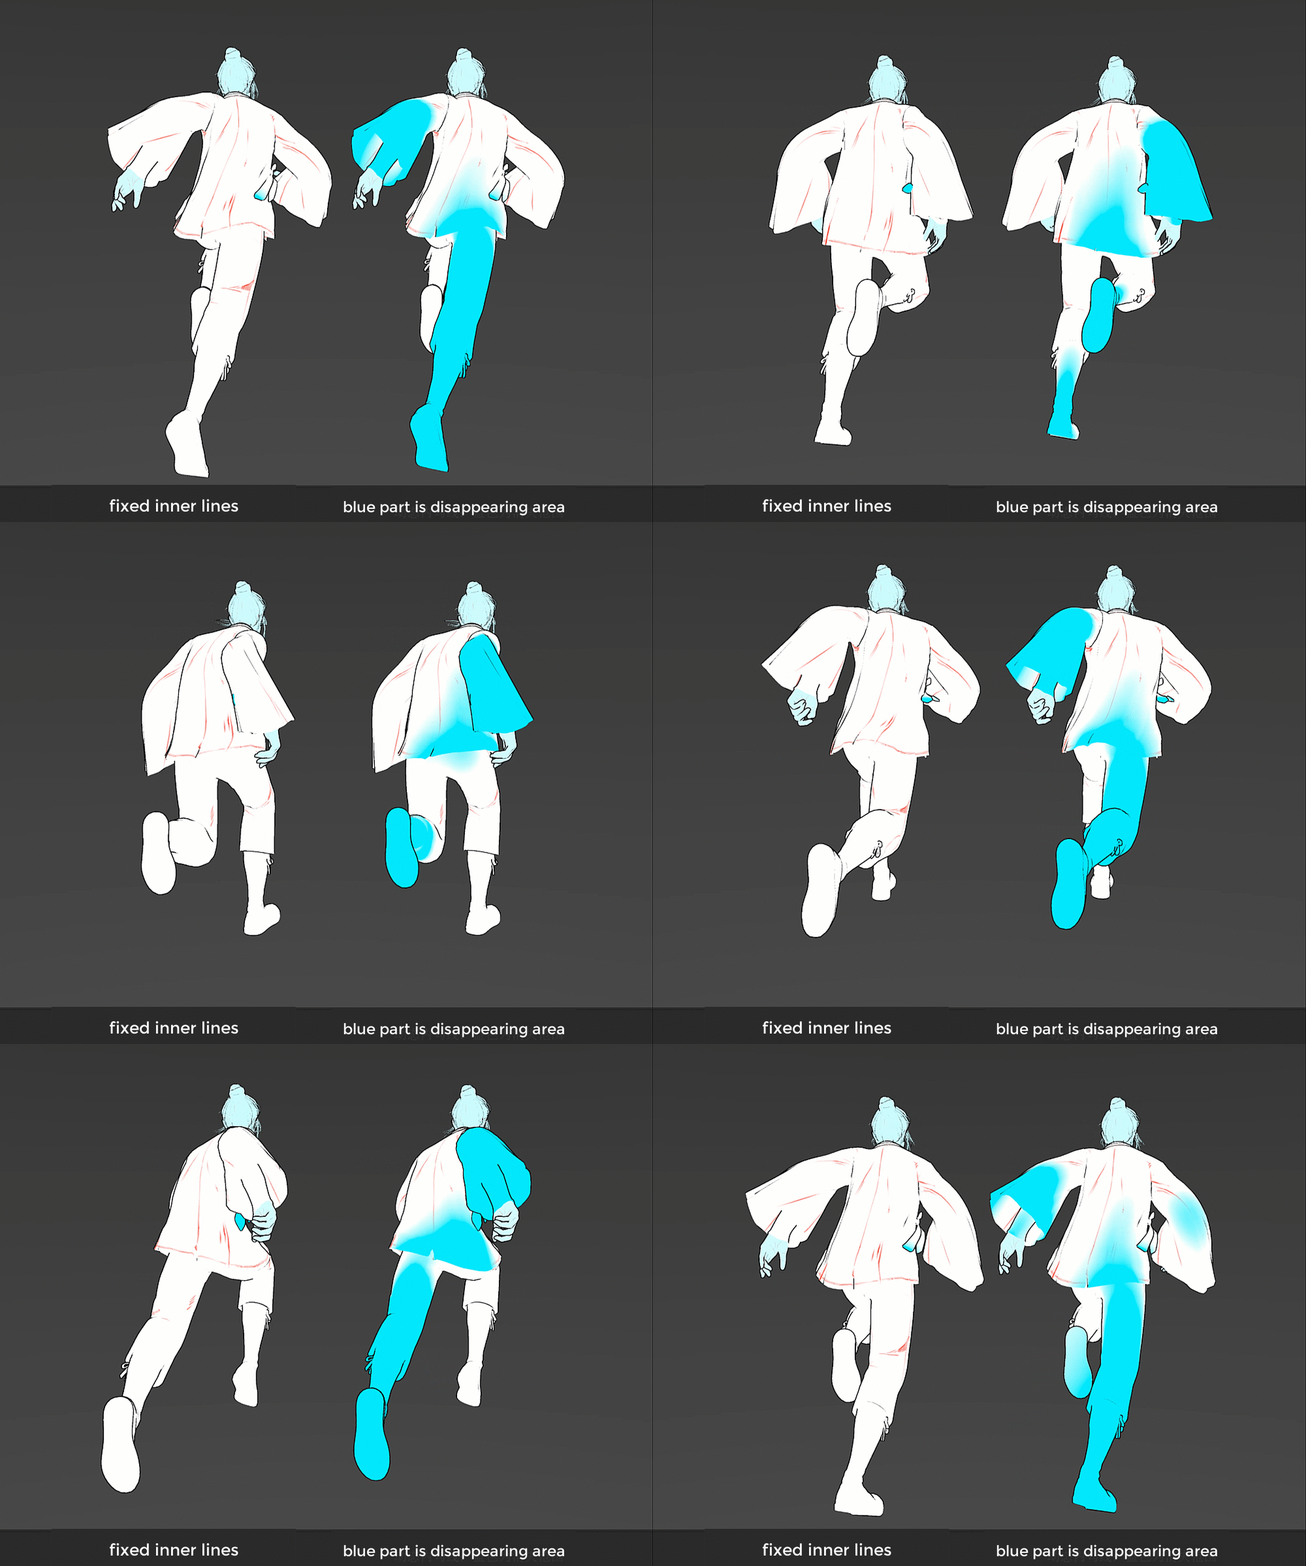
The blue part is the mask out area based on cam distance.
Other Explorations
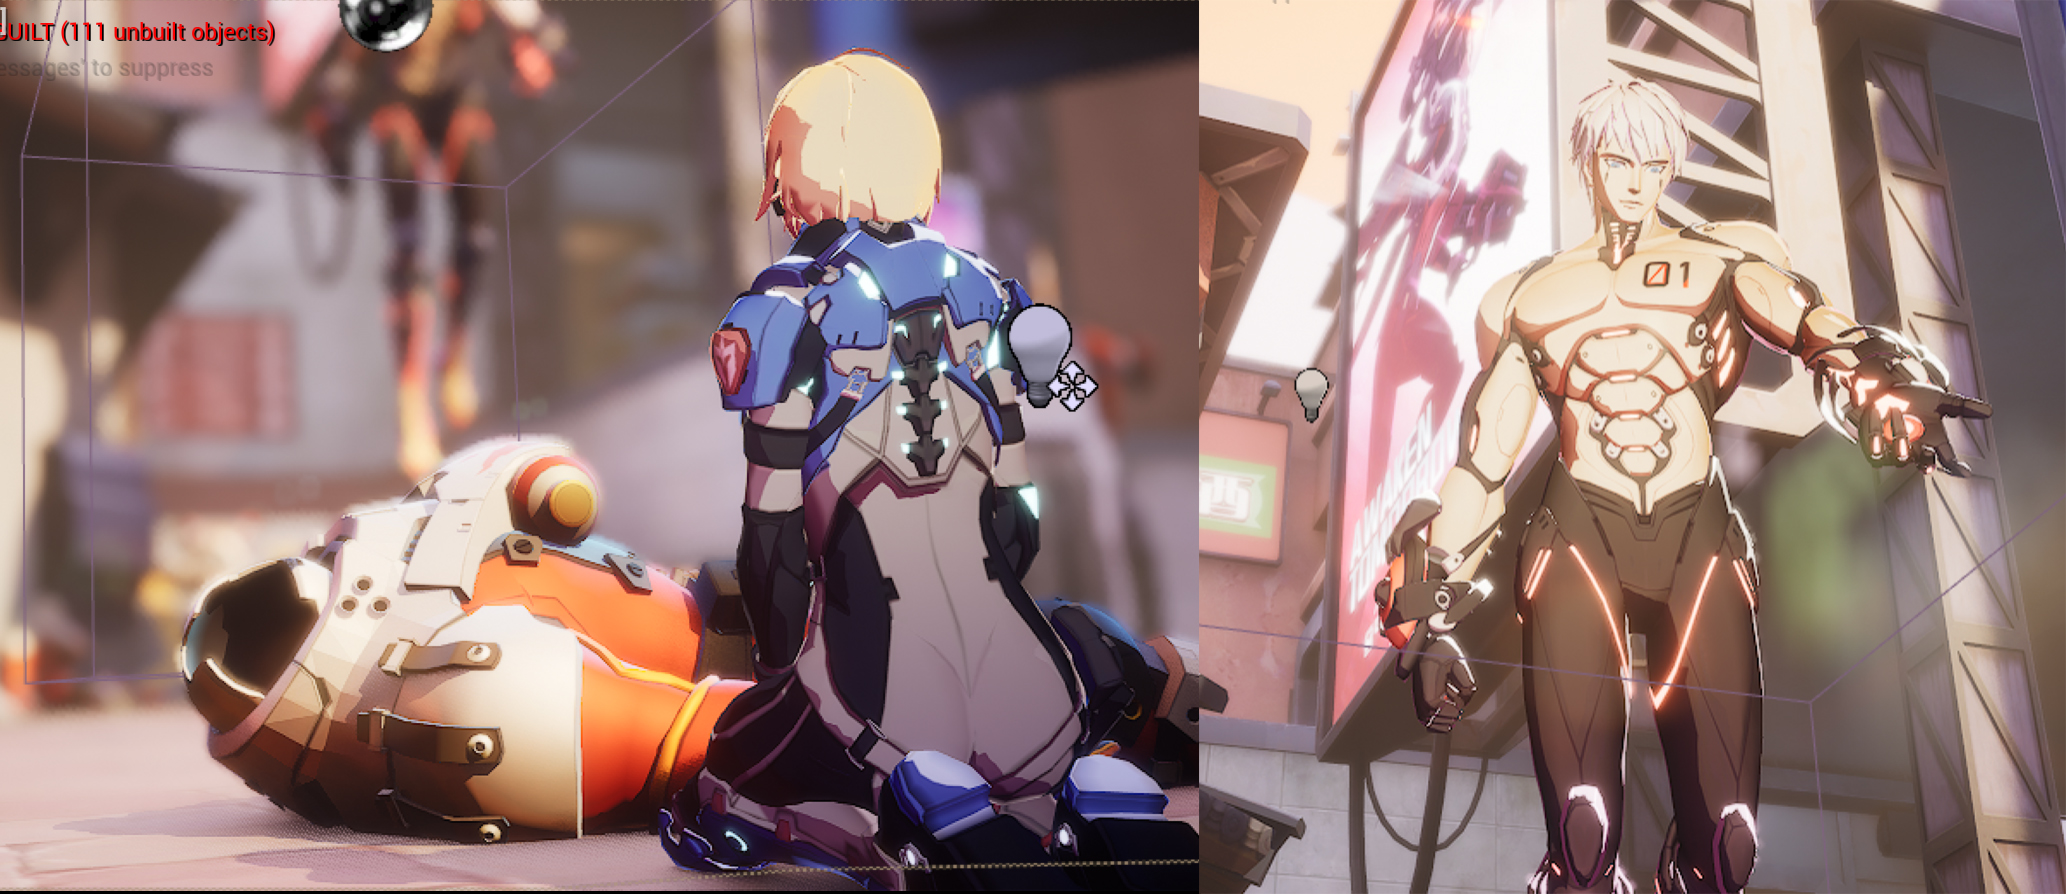
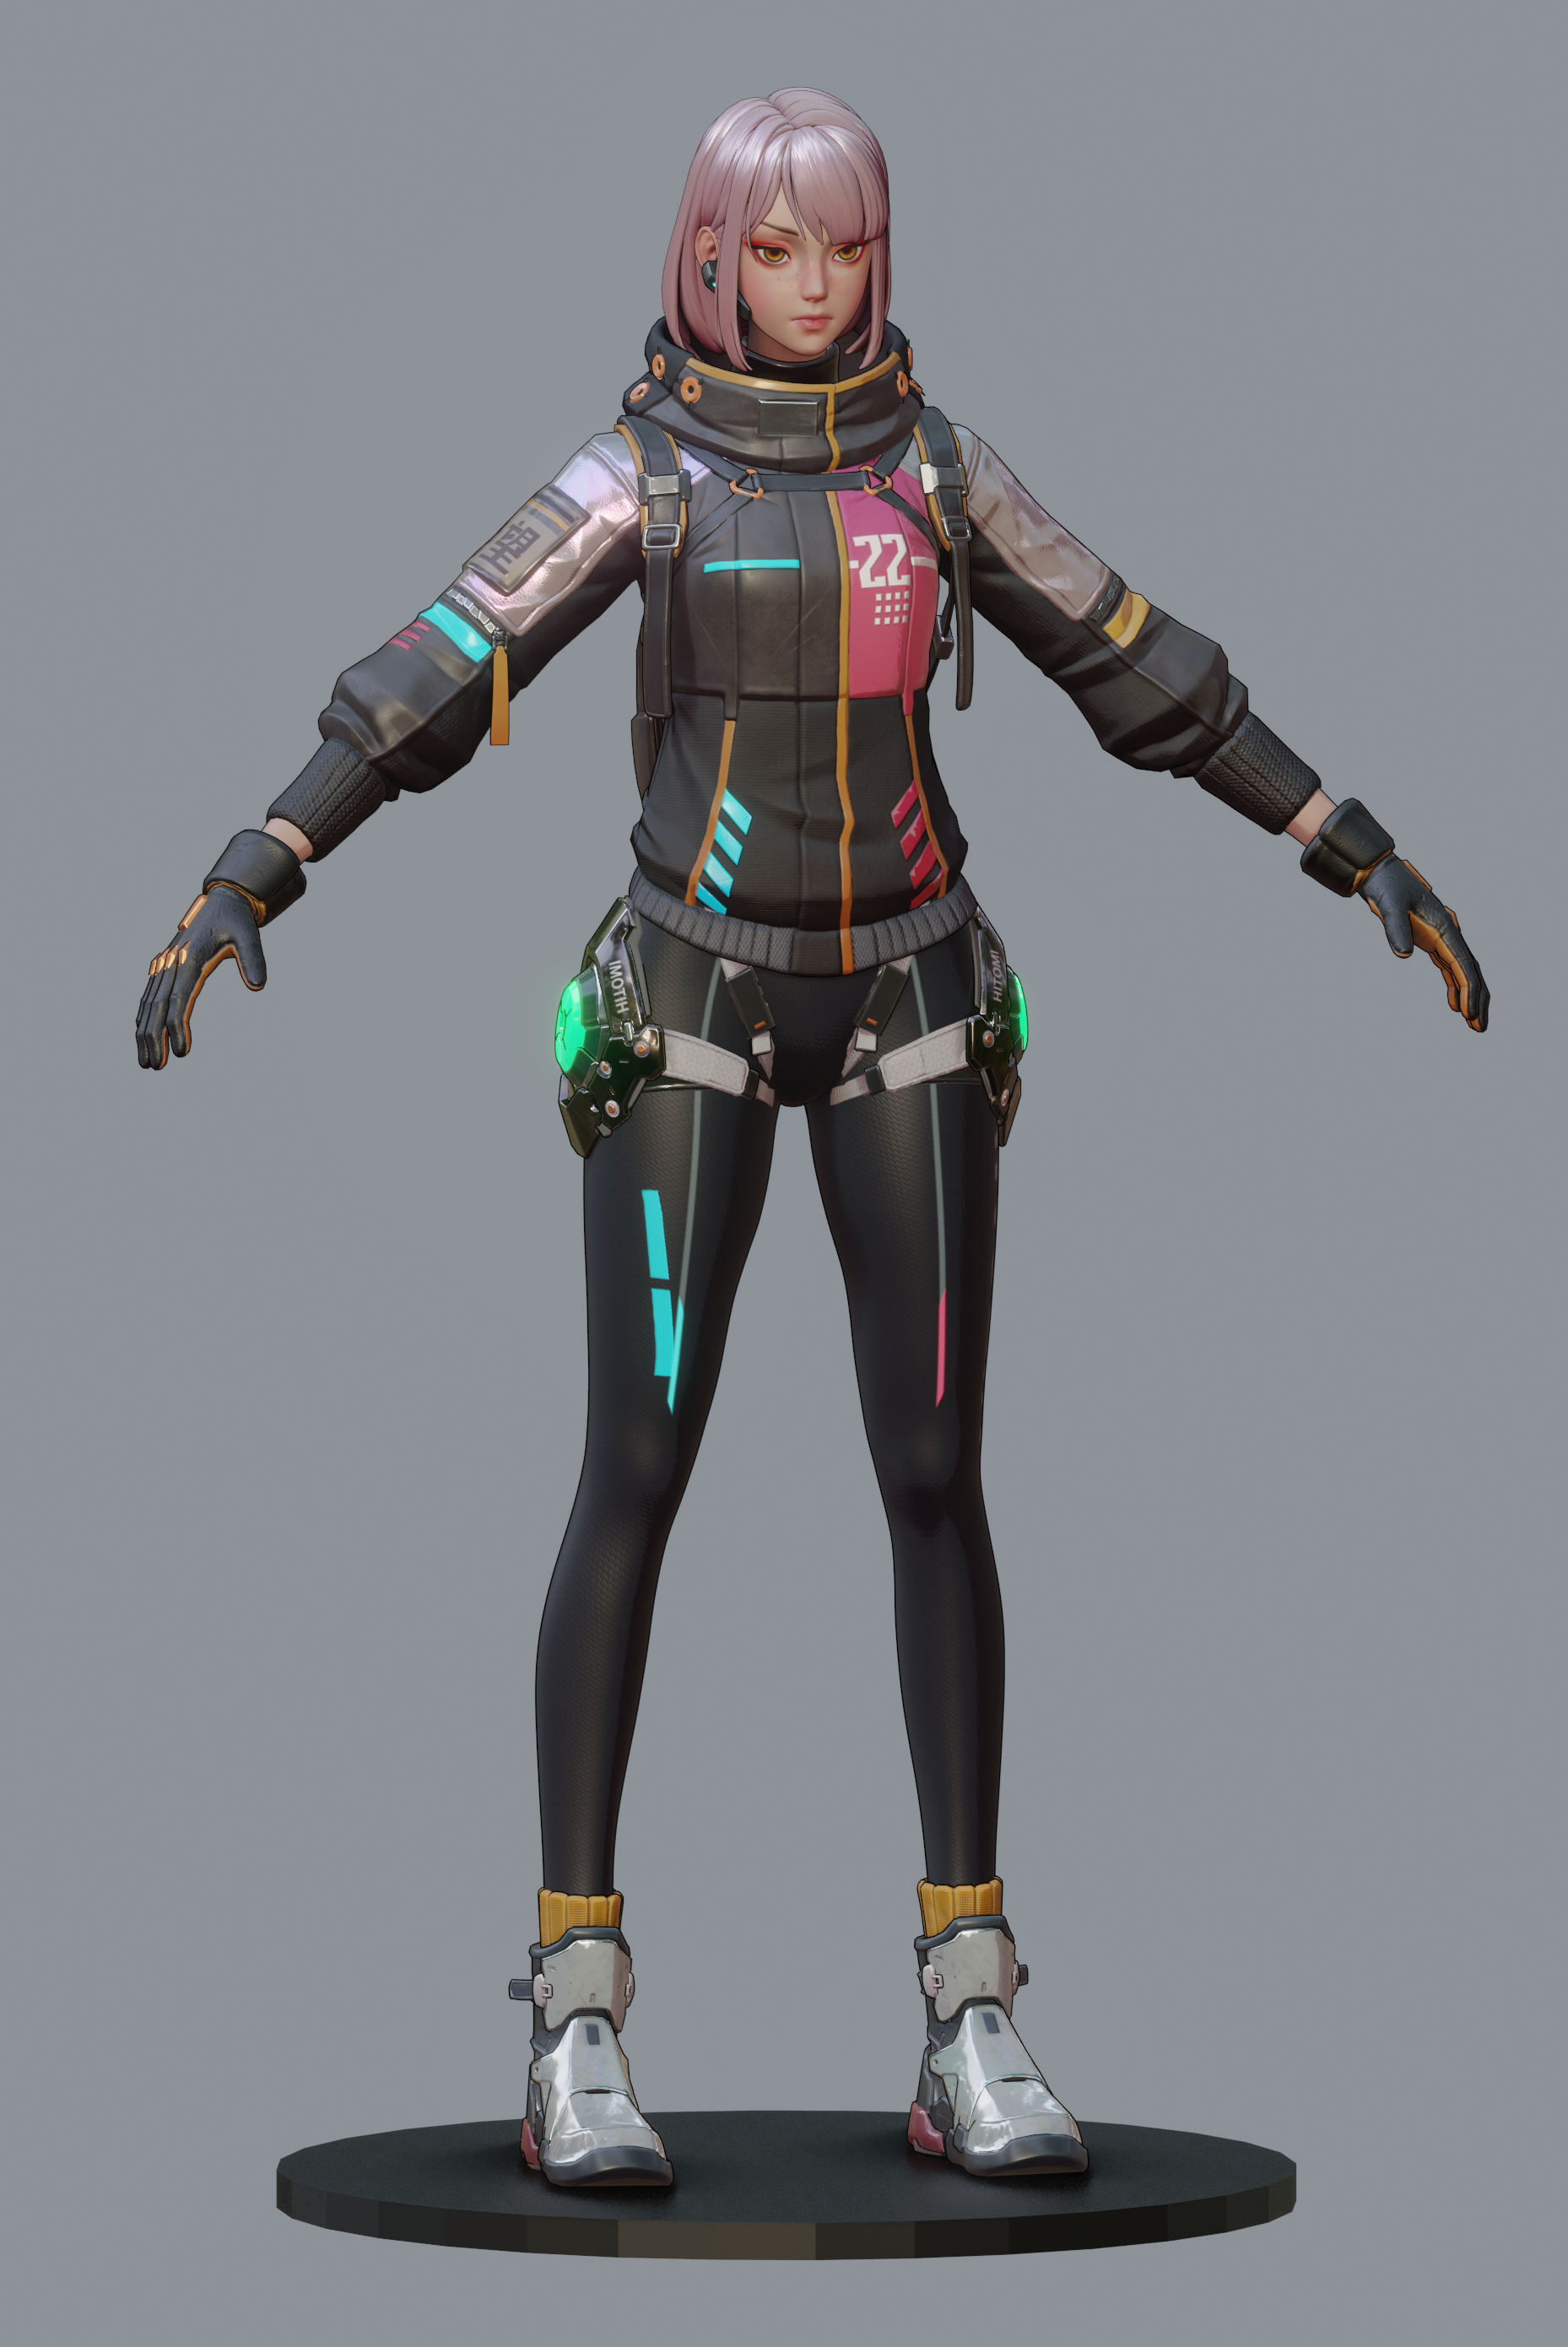
Cel shading in official engine without adding new shading model
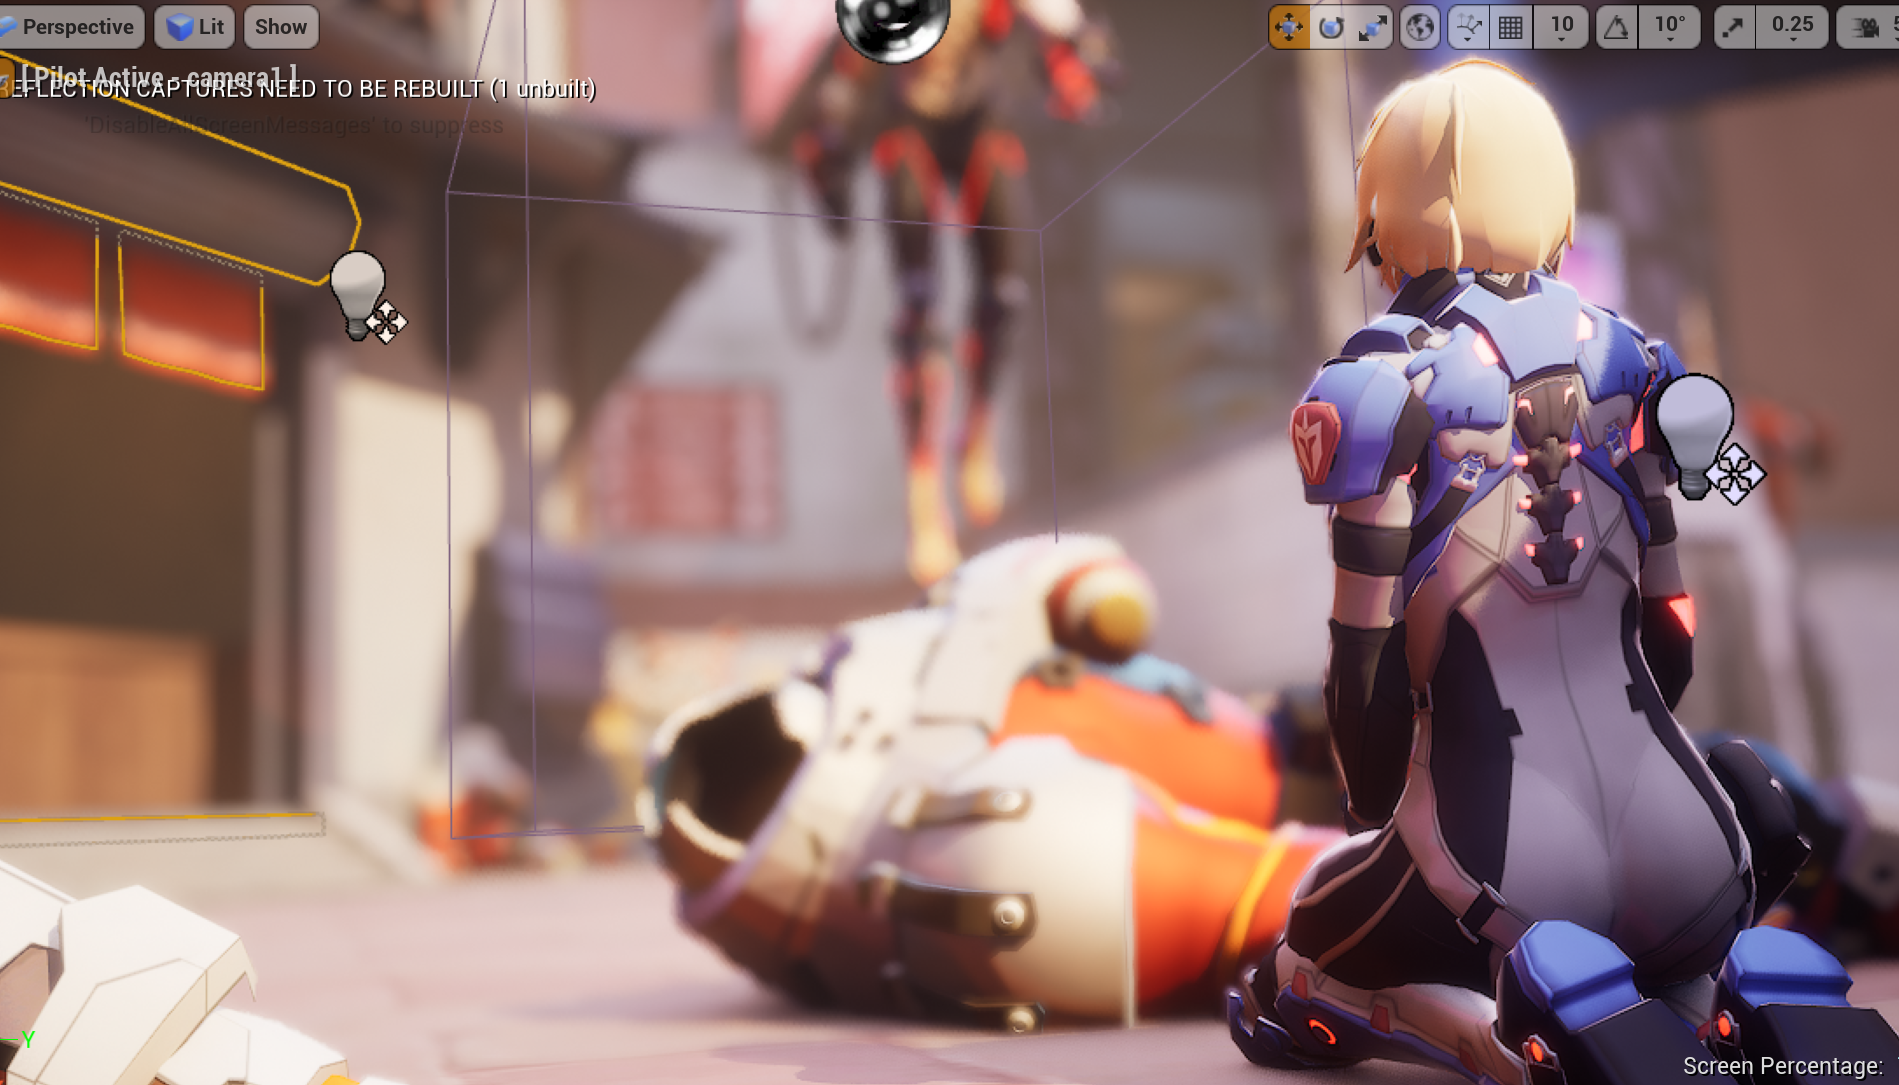
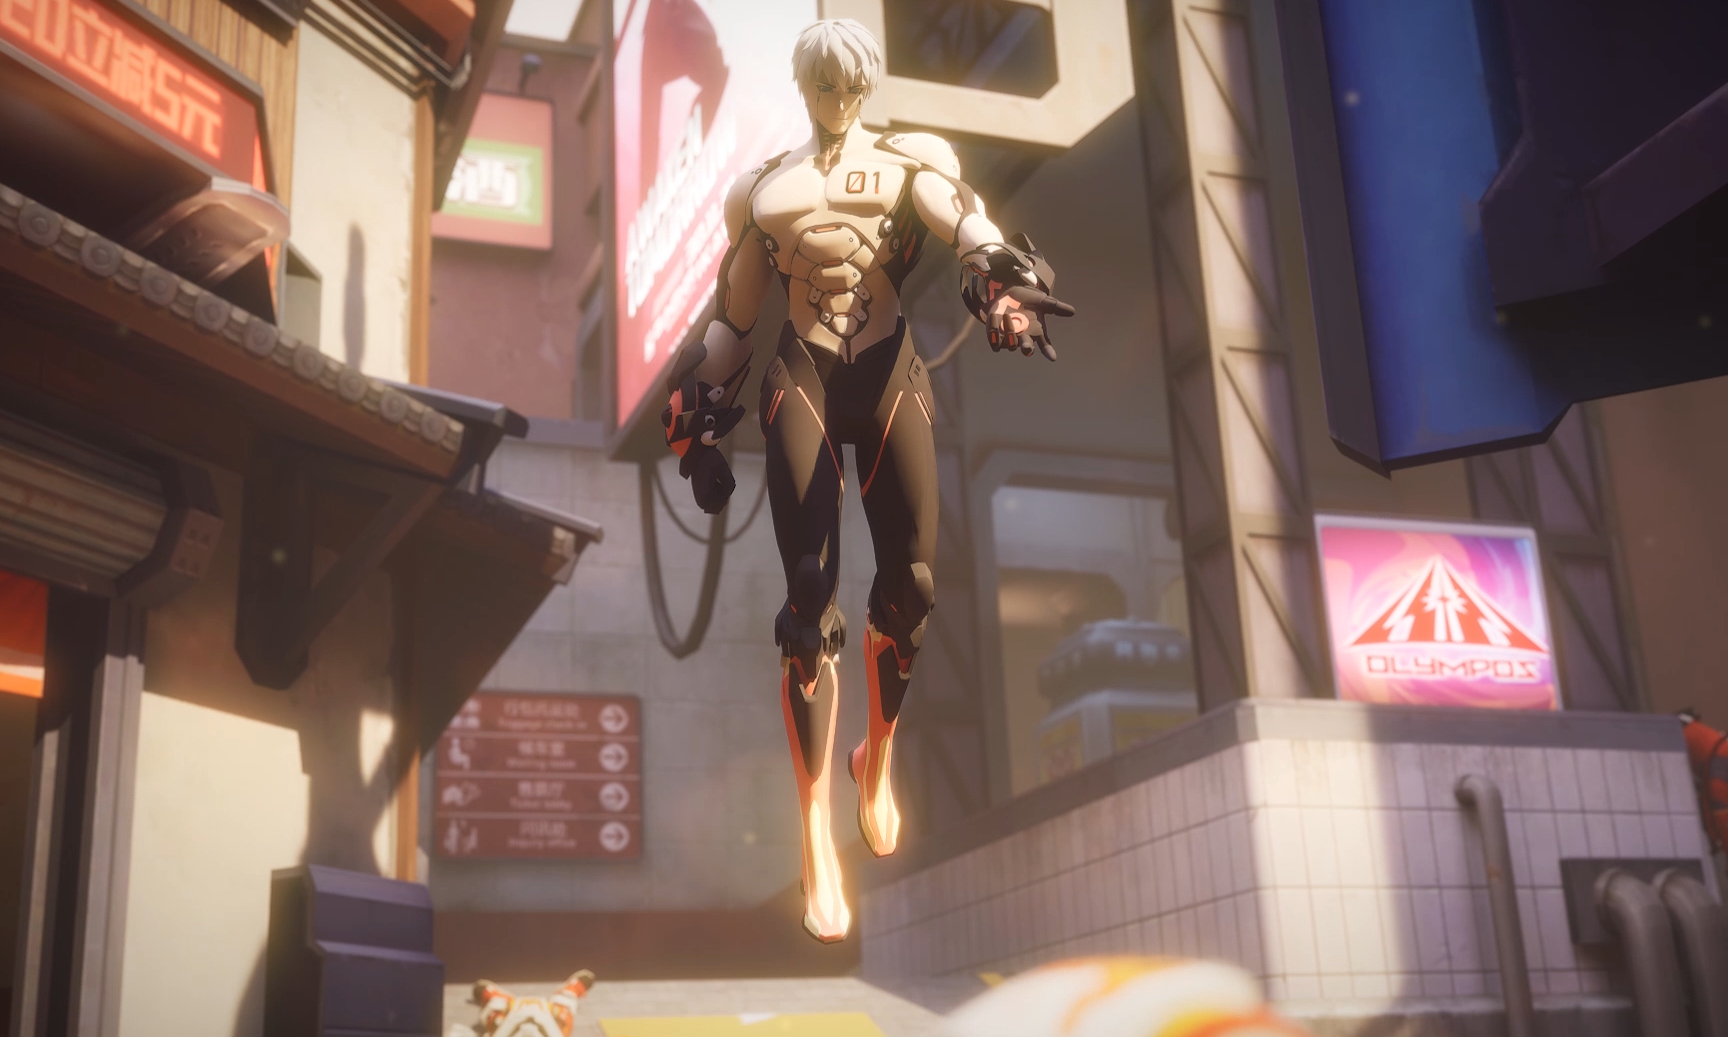
half cel half PBR shading in official engine without adding new shading model
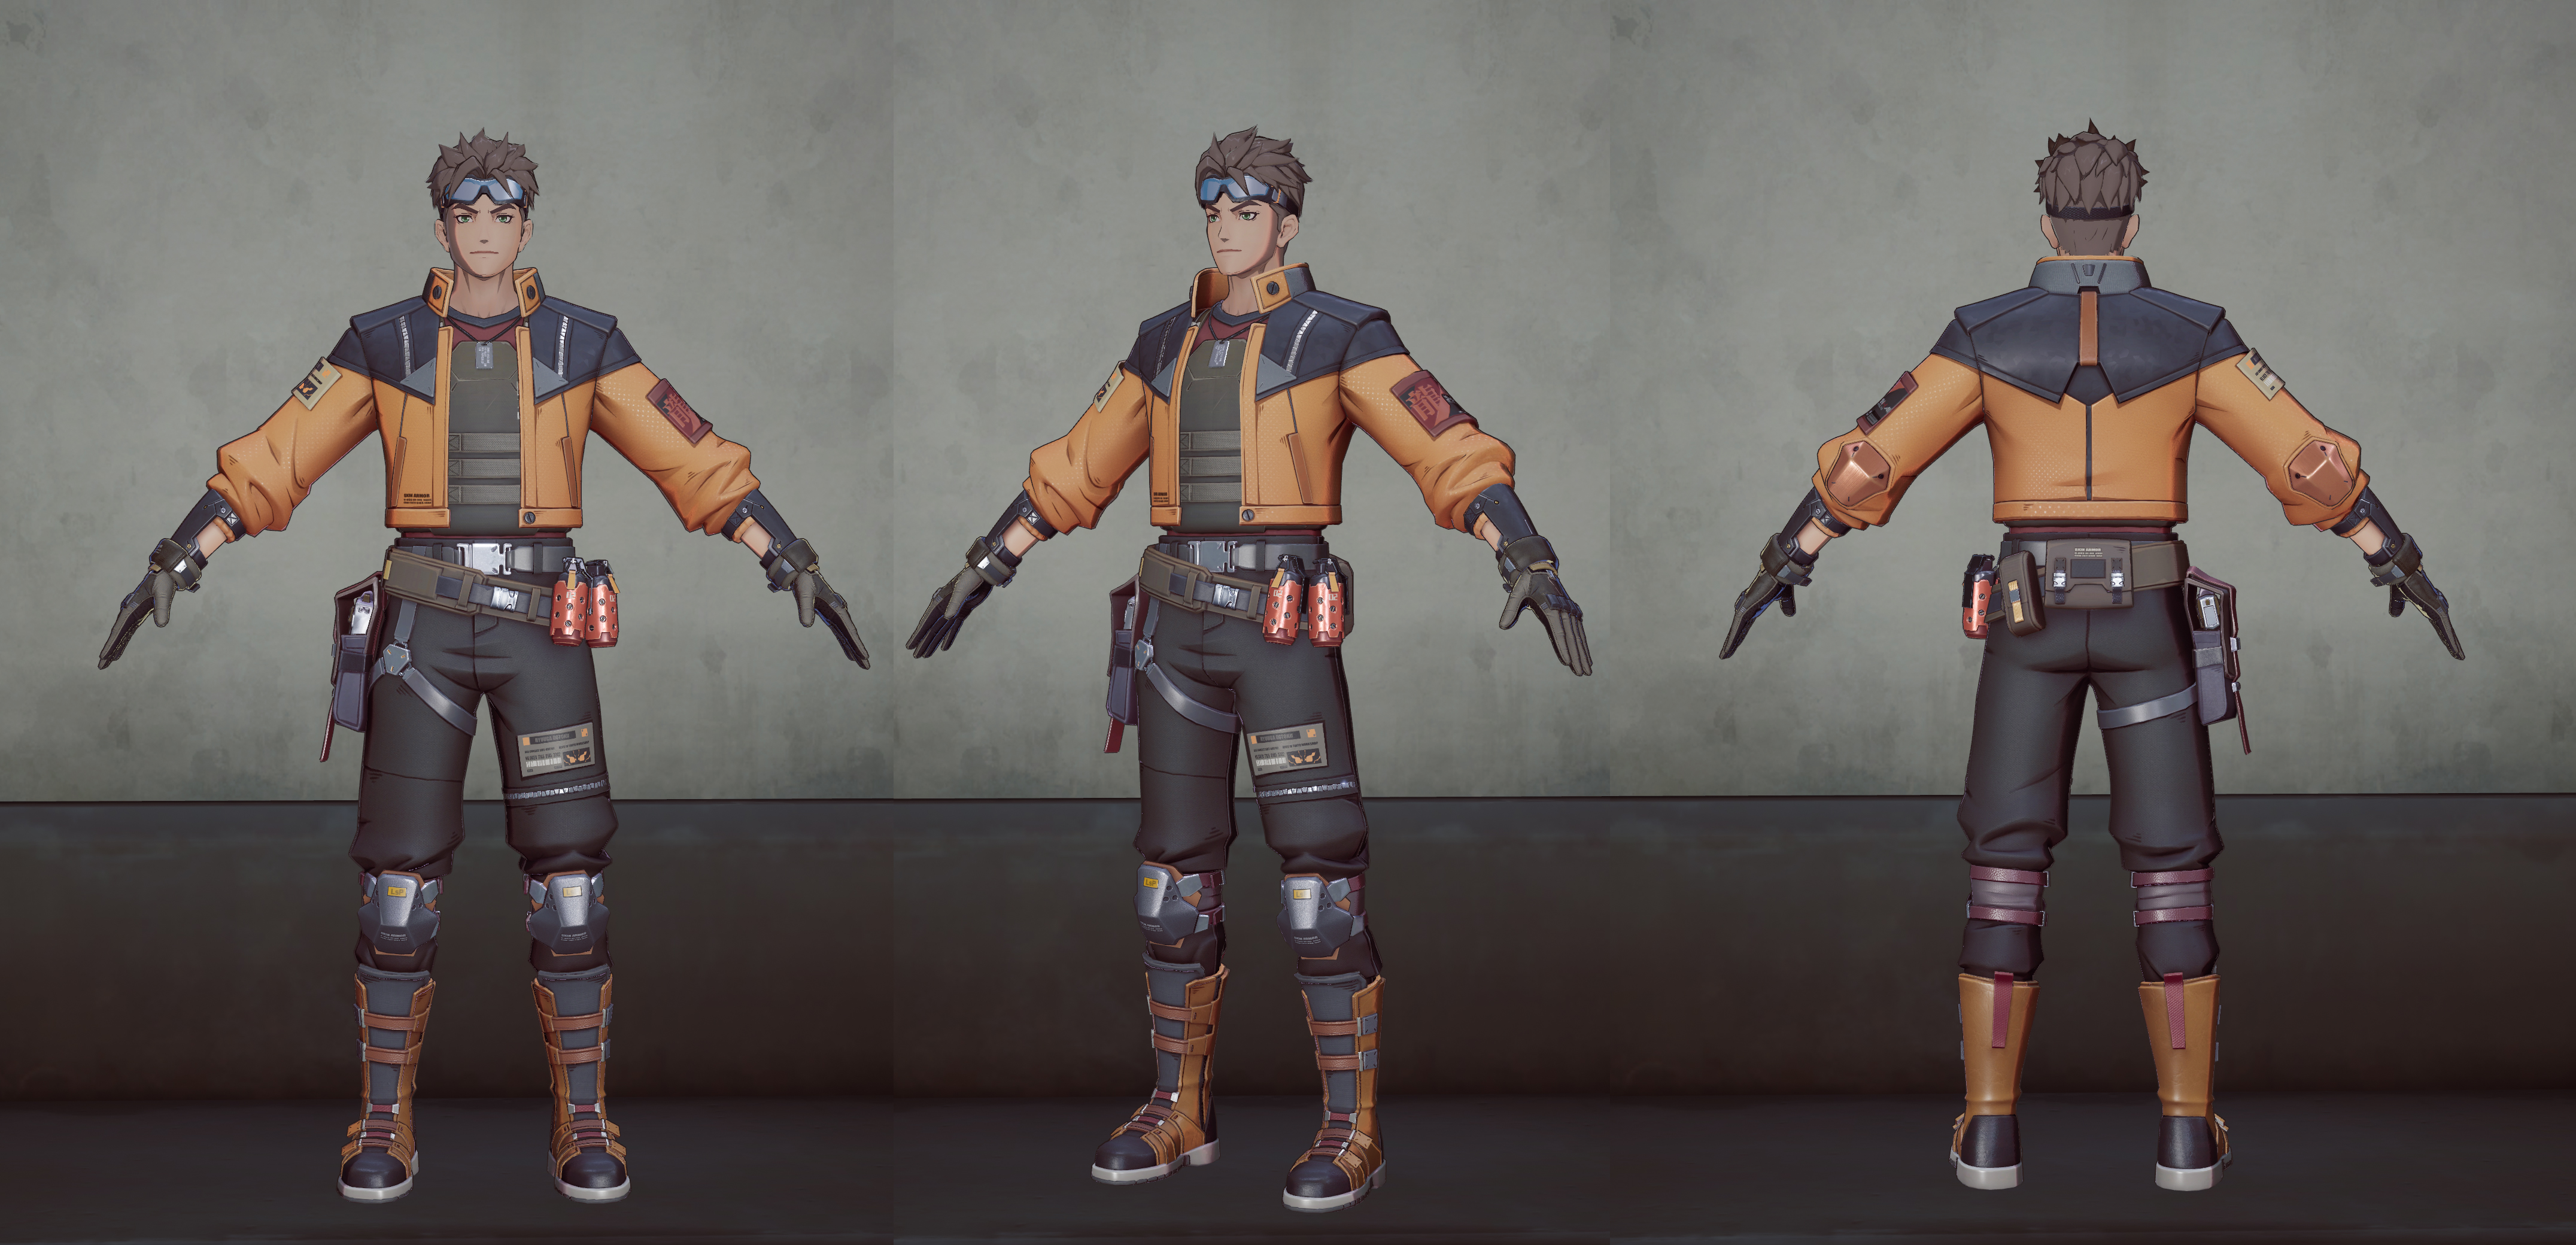
new version of character shading

