Plant Grow Shader
The Task
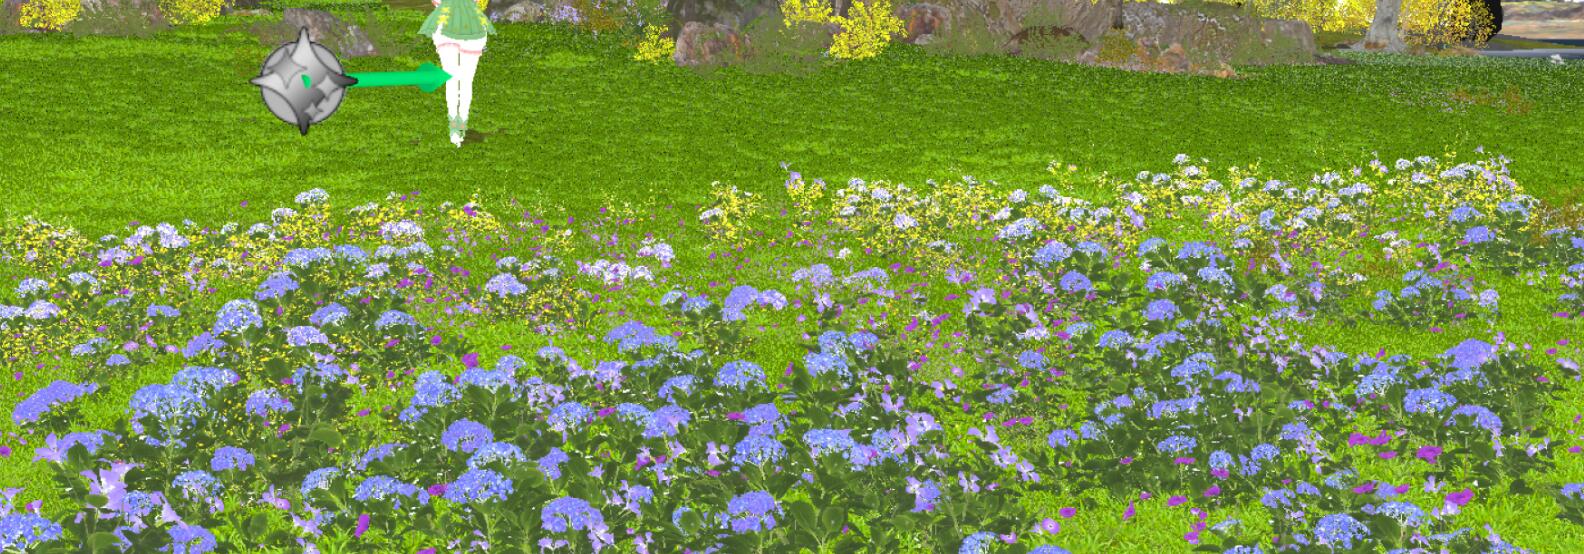
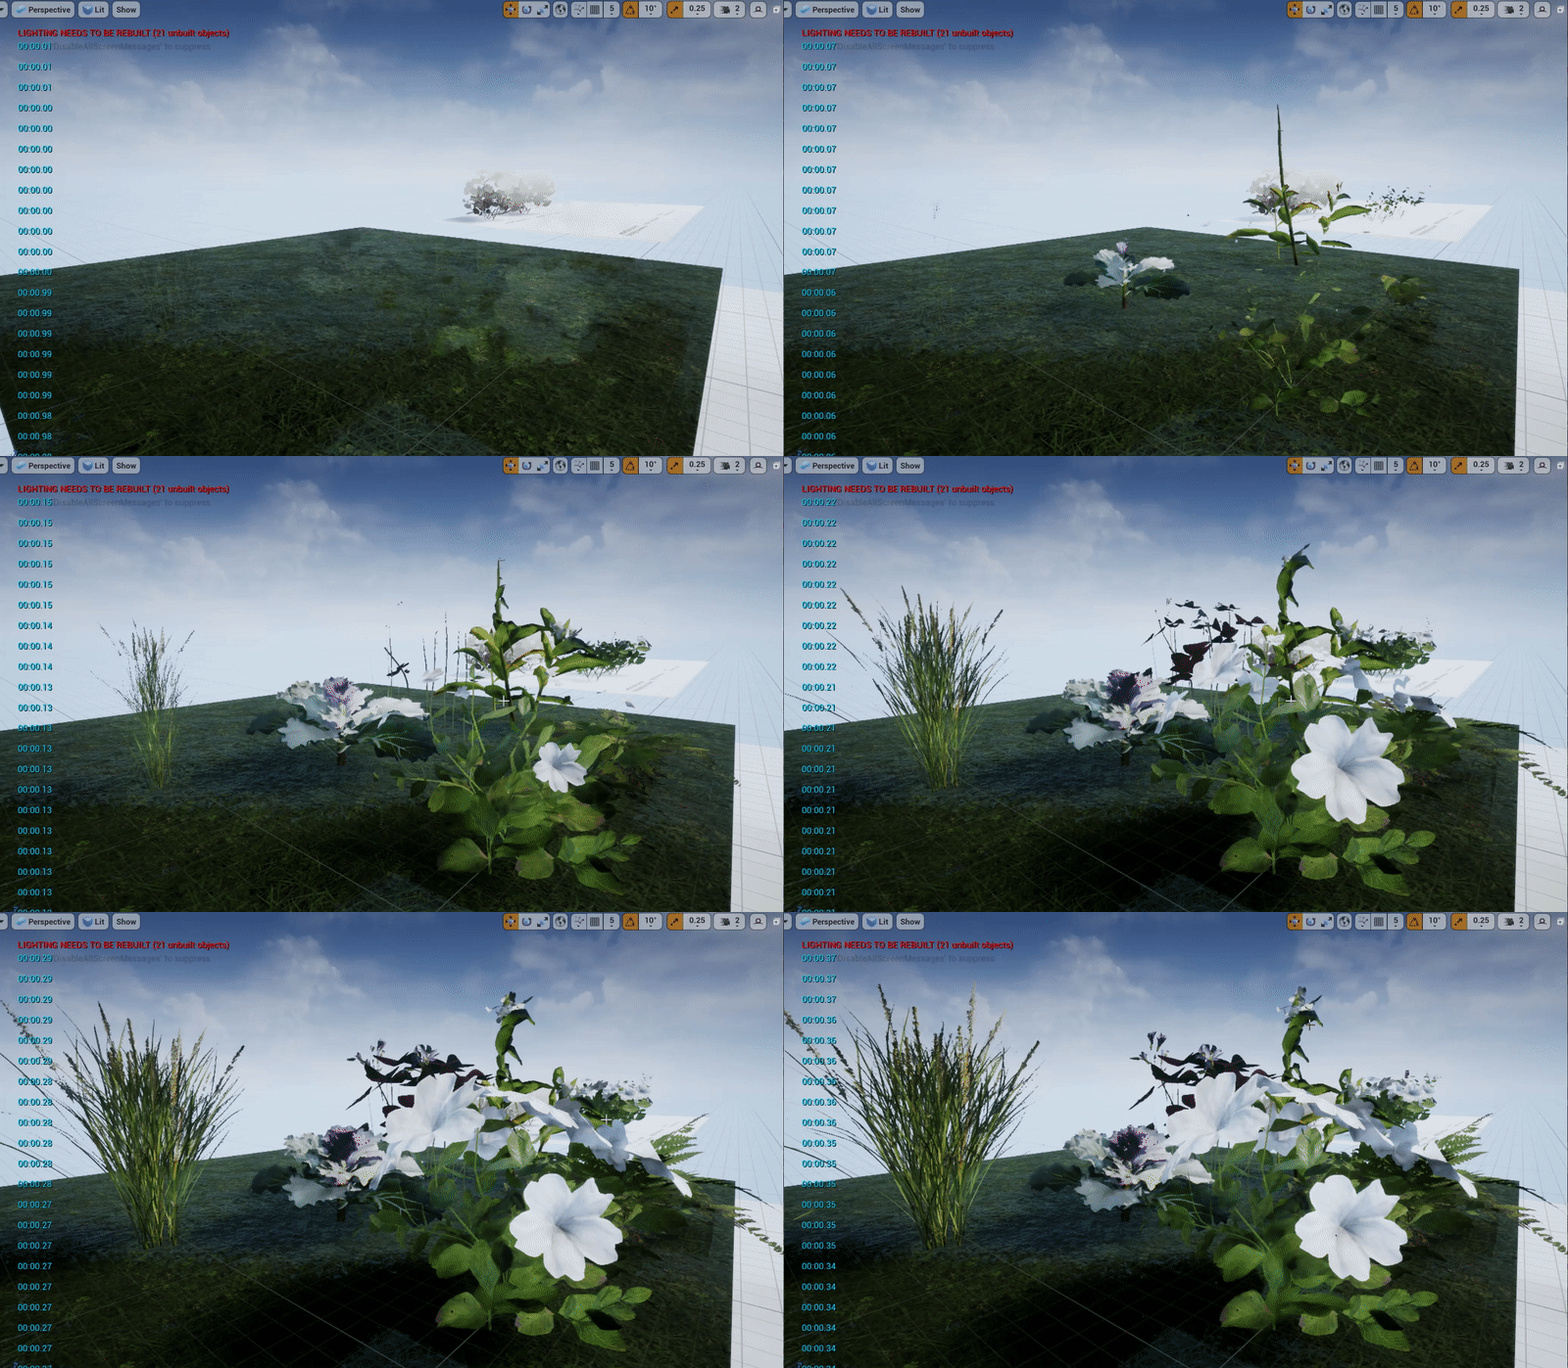
This plant grow material was for a video project of PUBG Mobile, it needed flowers to grow from leaves to petals and with a controllable spreading direction.
Houdini Pivot Painter
Pivot Painter Tool 2.0 provided by Unreal is a MAX tool that you can use to make textures that store the pivot and rotation information, which you can use in the engine with shader, to either scale or morph.
HDA
While for this project, I used a houdini HDA that was developed by a houdini team, with custom UI, originally aimed at tree leaves wind effect. It is able to generate two textures, one isx-axis and x-extent texture, another one is pivot and parent index texture, shown below.
Index textures
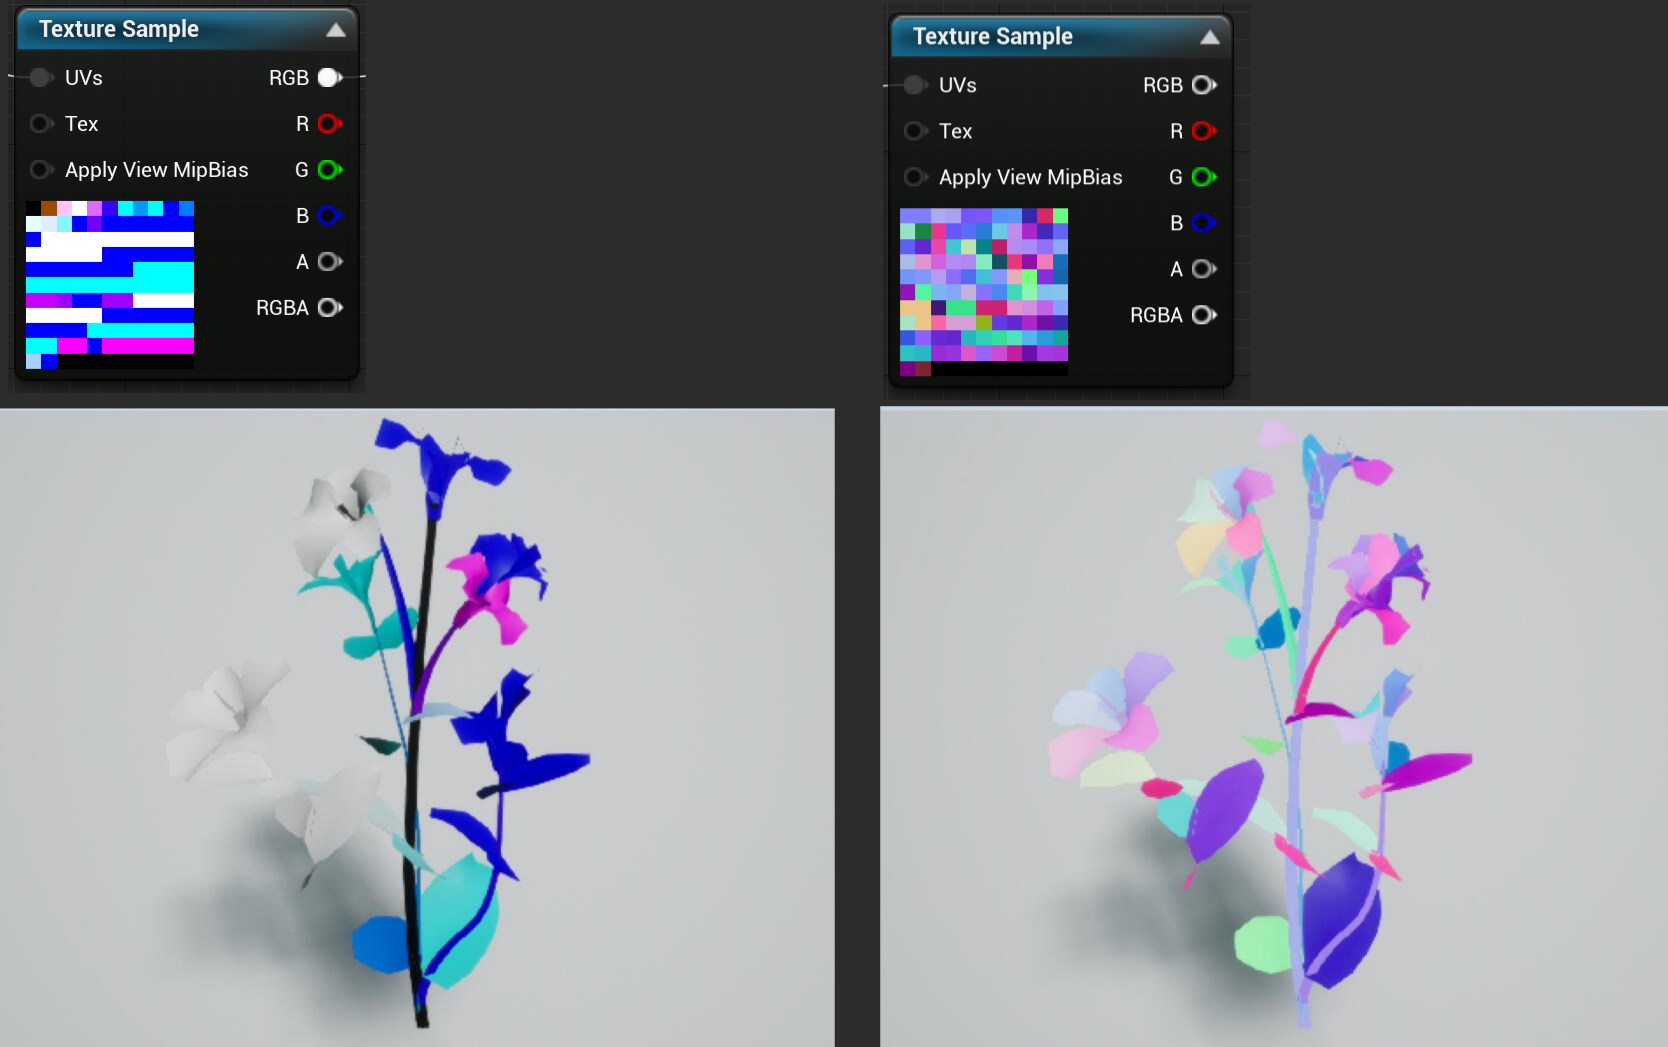
The x-axis and x-extent texture is for wind effect, which, the strength of wind will be affected by this texture, from the left to right, the bending degree will be different.
pivot and parent index texture is the key for scaling with hierarchy, the engine allows 3 levels scaling, it can separate the flower from stems to leaves and petals, and locate the pivot of every parts at the correct position.
The HDA processing the mesh with several steps: 
- Seperate trunk(stems) and leaves based on selection of materials.
- Give the trunks different levels.
- Separate the leaves.
- Give leaves different lables, greens are able to rotate while reds are not. After the processing, it’s ready to generate the textures.
Vertex Color Processing
Maya Python
For the growing, a depth texture is also required, while I use vertex color to deal with this step.
To paint vertex color by hand won’t be realistic, and also not accurate. The depth distinguishing depends on the height and also the layering (inner or outside) of the plant, that basically is the distance of every shell(disconnected pieces) from the (0,0,0) point.
In this particular situation, I need to get every piece of the mesh based on the unit of leaf/petal (a shell), and then to make each vertice in the same leaf/petal(a shell) has a uniform vertex color. If I just iterate based on each vertices’ distance to the zero point, it will generate a very smooth gradient from bottom to top
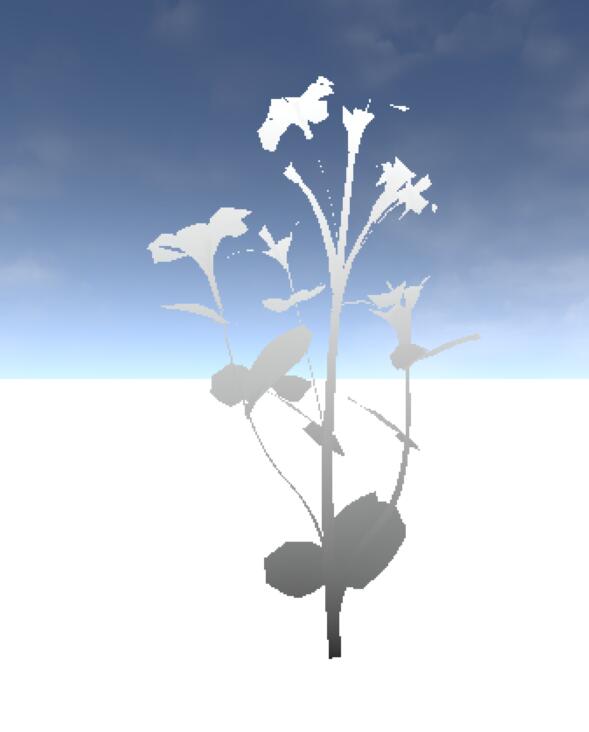
that will cause the mesh growing with a clear cutting line instead of growing each by each.
Theoretically, the separate mesh operation in Maya can achieve this goal (separate the mesh and paint each shell by distance), however, the mesh’s vertices index were processed in houdini, it will be disrupted if I separate the mesh.
Therefore, it needs to process not on the level of geometry.
Firstly, how to get the shell? cmds.polyEvaluate(activeShells=True) can provide you the shell indices of the active component, for example, a selected faces.
However, to select and query all the faces is not good, it will be very slow once the number of faces is a lot. So I tried to select as less as I can by filtering some faces out.
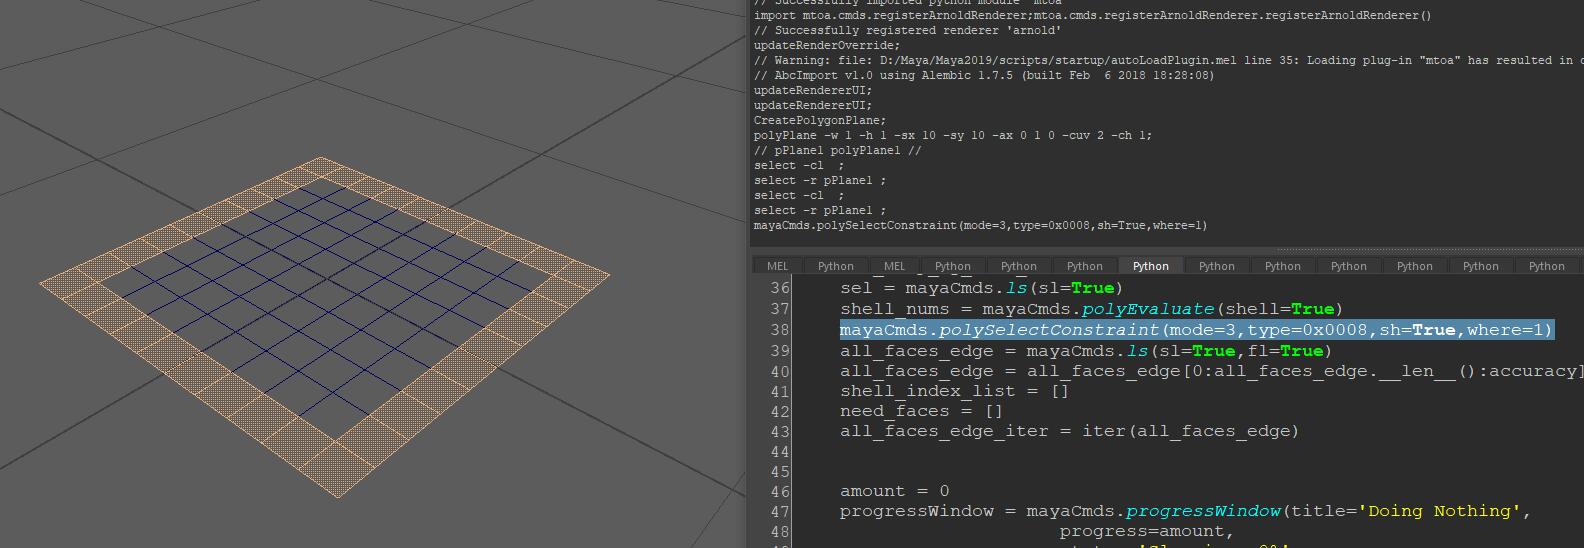
I used cmds.polySelectConstraint(mode=3,type=0x0008,sh=True,where=1) command to only select the faces on the edge.
type = 0x0008 indicates the face.
Where = 1 where=0(off); where=1(on border); where=2(inside).
The result is like:
I also didn’t need all of them, so I skipped by some steps:
[0:all_faces_edge.__len__():accuracy]
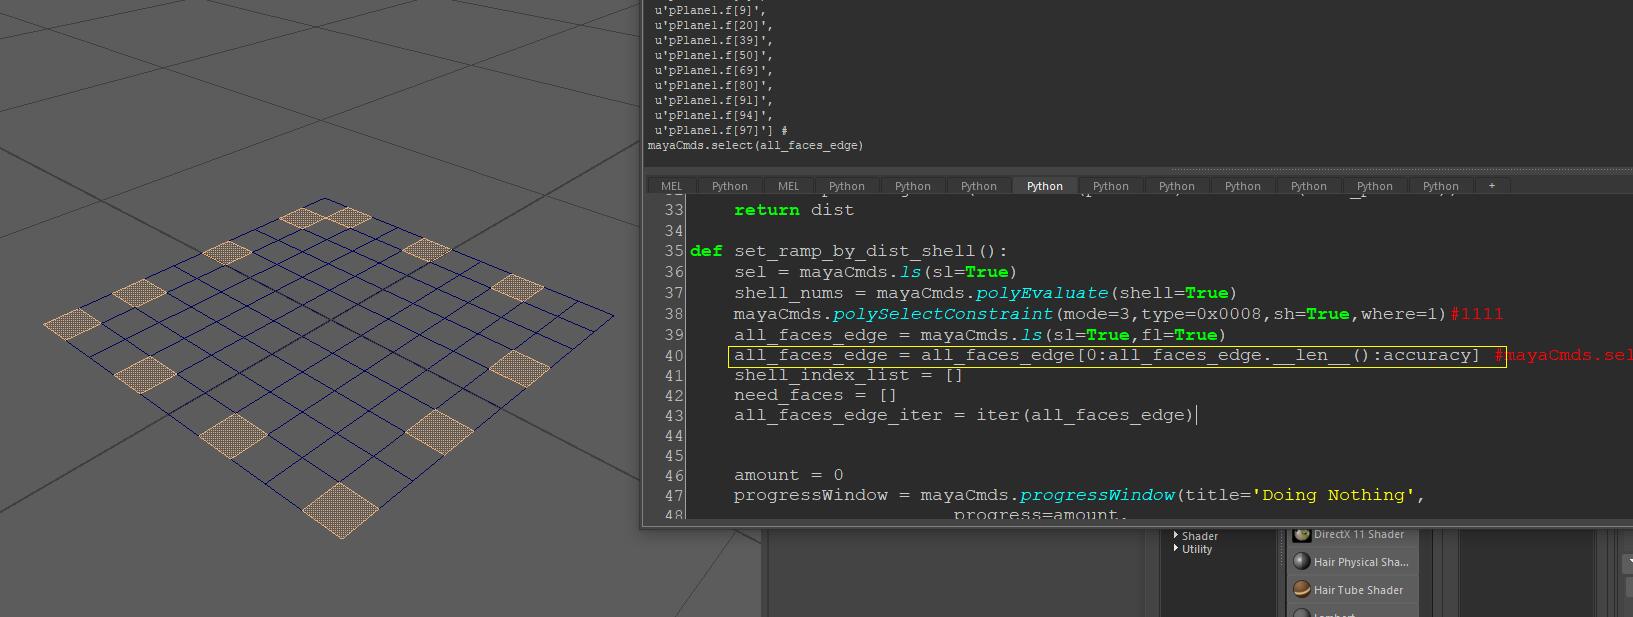
Then I save these selected faces into a list, and iterated one by one to get the index of the shell. If the shell index is new, it will add the iterated face on a list, so that I ensured, for example, if there are 5 shells, then only each face from each shell will be added on the list, resulted 5 faces in the list.
After I got the faces list, I can use those face position to calculate the distance. I got the max distance of all the vertices first, remaped it as 1, since the color value is from 0-1. Then go through the faces with cmds.polySelect(extendToShell=i) where i is the face id, this can select all the faces of this shell. Then paint the faces with desired color value.
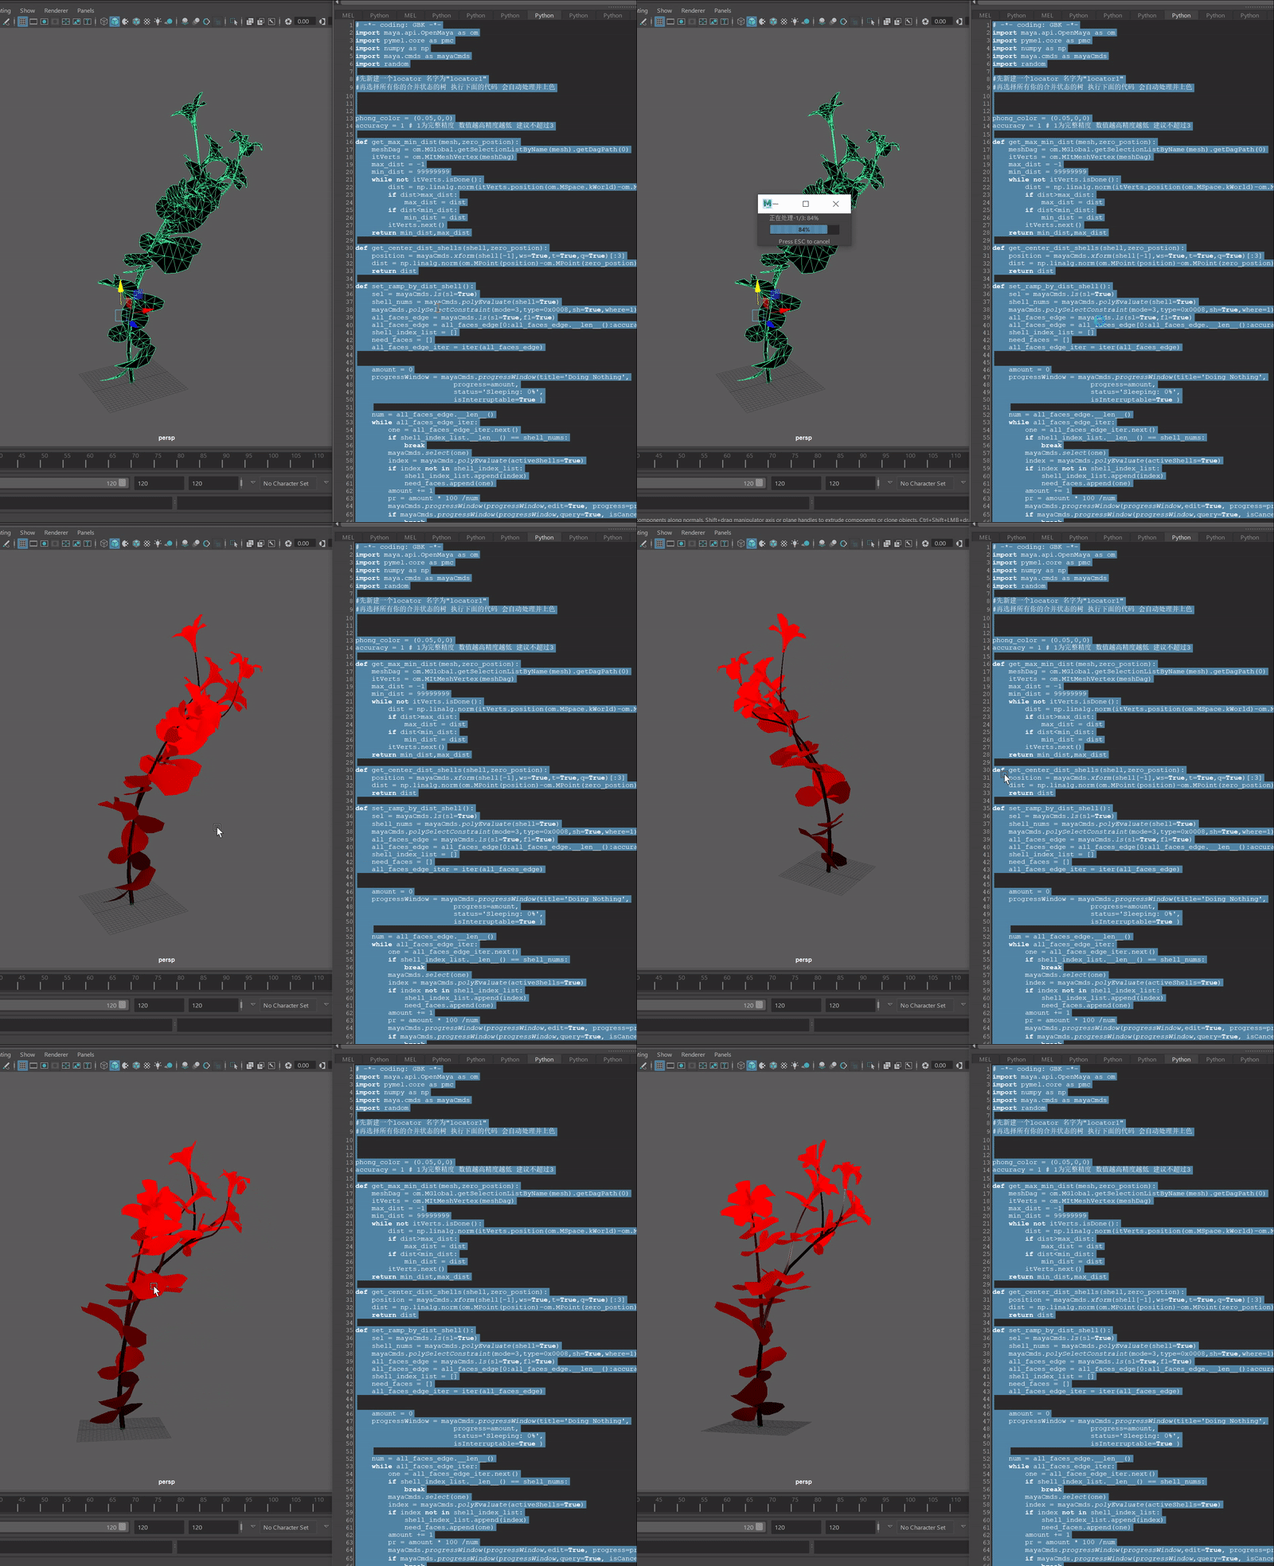
After exporting, the mesh is ready for importing into the engine.
The Grow Material in Engine
Individual Grow
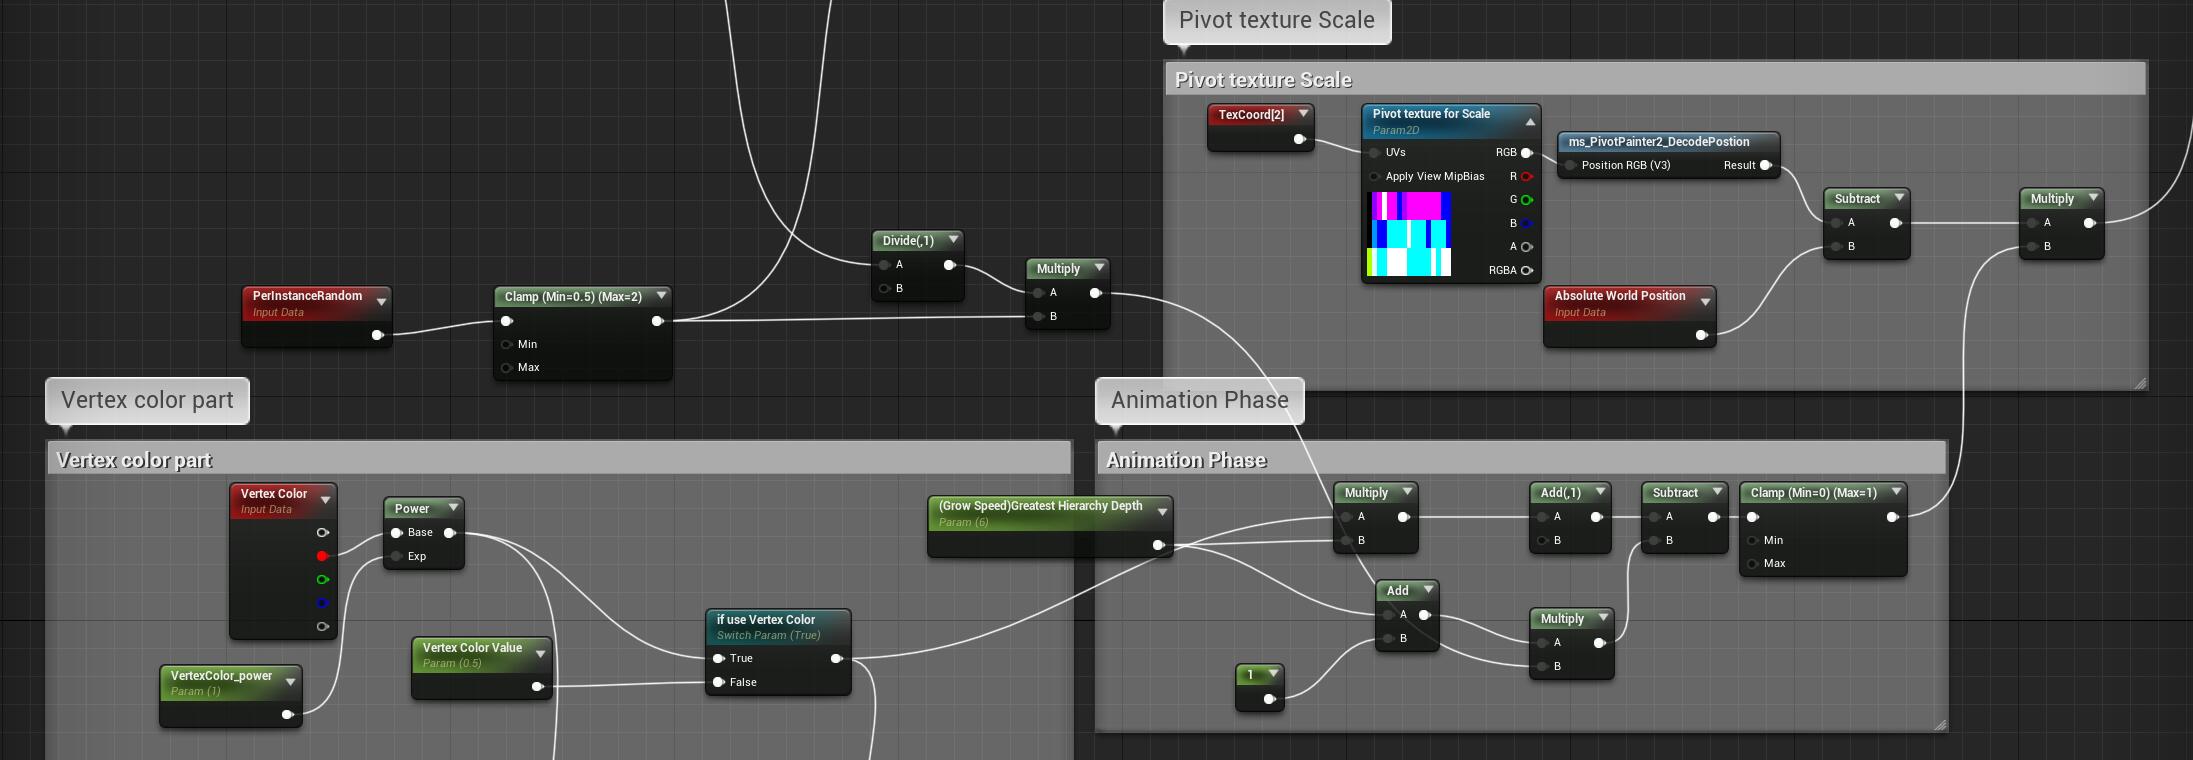
Use the node PivotPainter2_DecodePosition provided by Unreal Engine to decode the pivot index texture. Then apply the vertex color on top of that.


For the wind part, you can download UE4’s content examples  , and find the demo examples of pivot painter 2.0, there is a foliage animation material that shows how to use the
 x-axis and x-extent texture to make wind effect, just copy it and make a function in your own project.
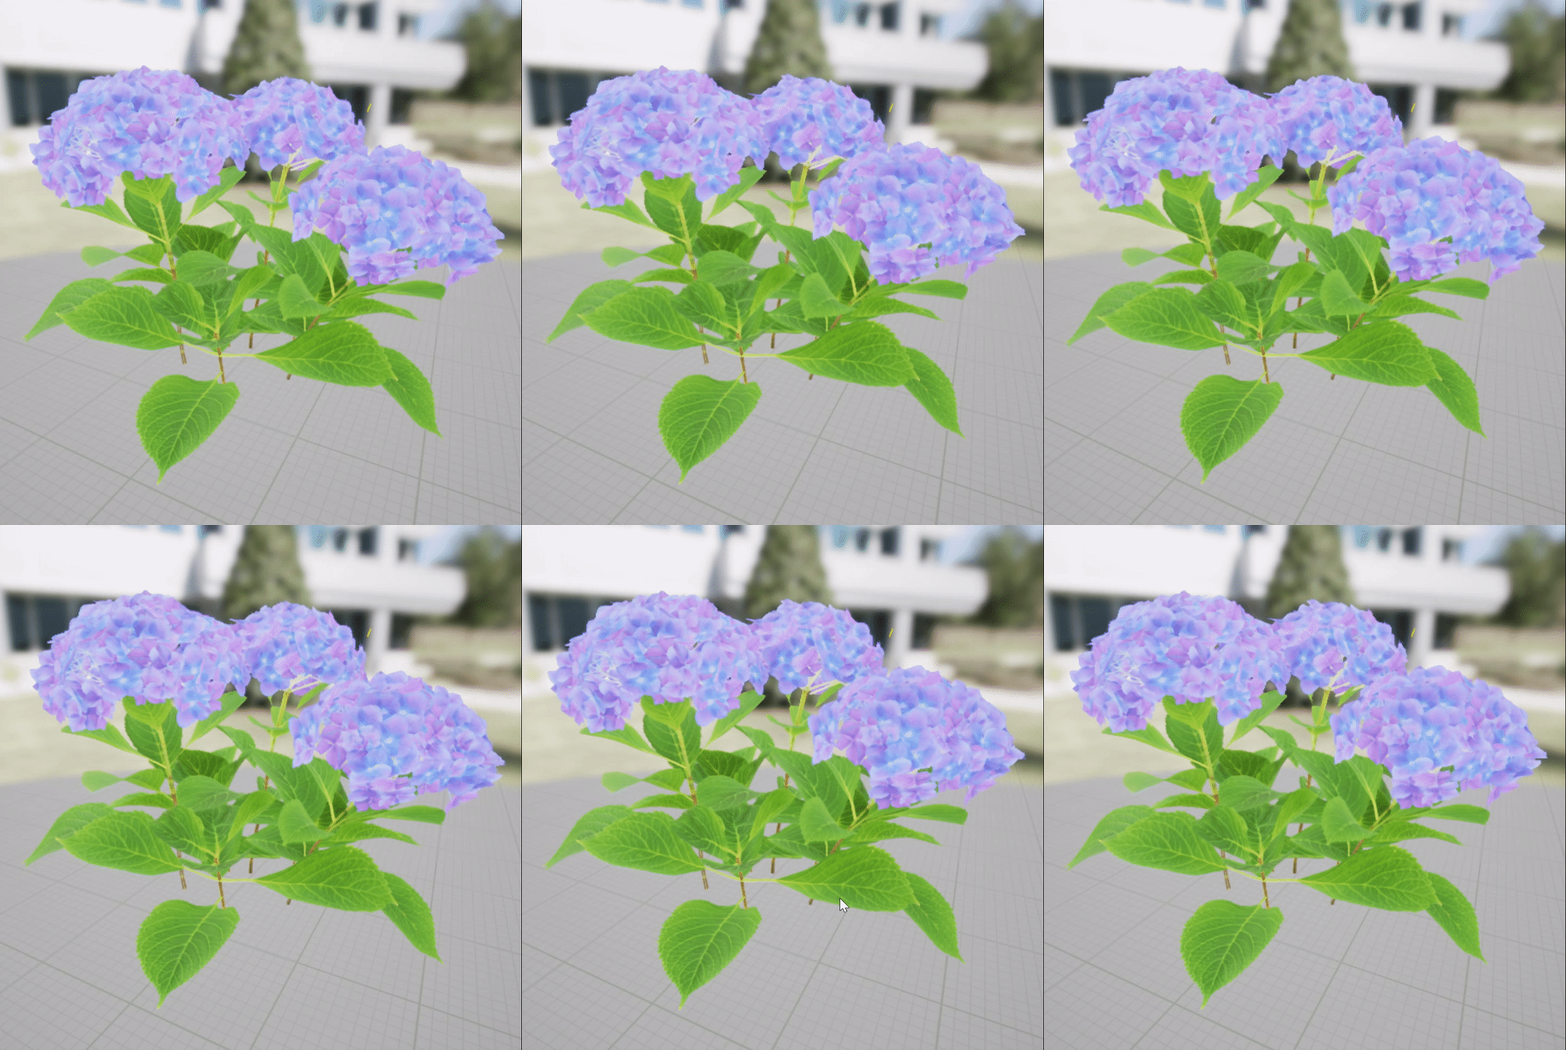
Spreading Grow
The shot of the film was designed as the flowers grow and spread following three light balls flying through a path. So it needs my foliages to grow with overall spreading range, direction and speed. The flower were be painted by foliage system, and the scale of the film map is very large. I use world position’s XY channels to form a gradient mask below: 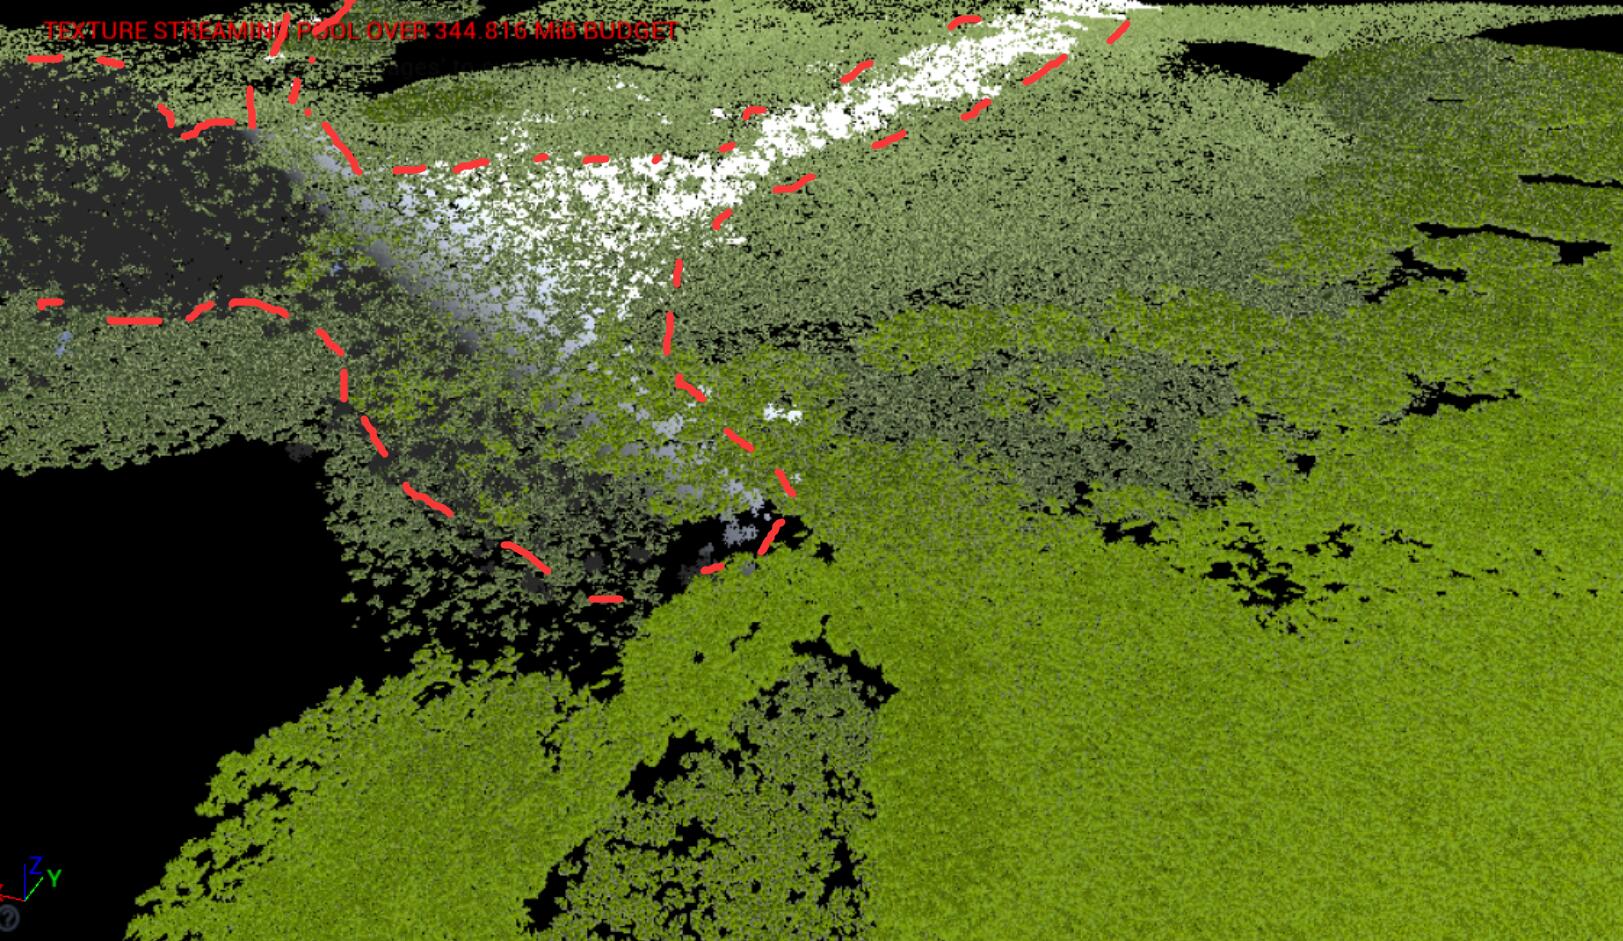
In the shader, the mask can be rotate by lerping between X and Y in order to change the direction of the spreading. Also plug the parameters with material parameter collection asset so that I can control and key it in sequencer. 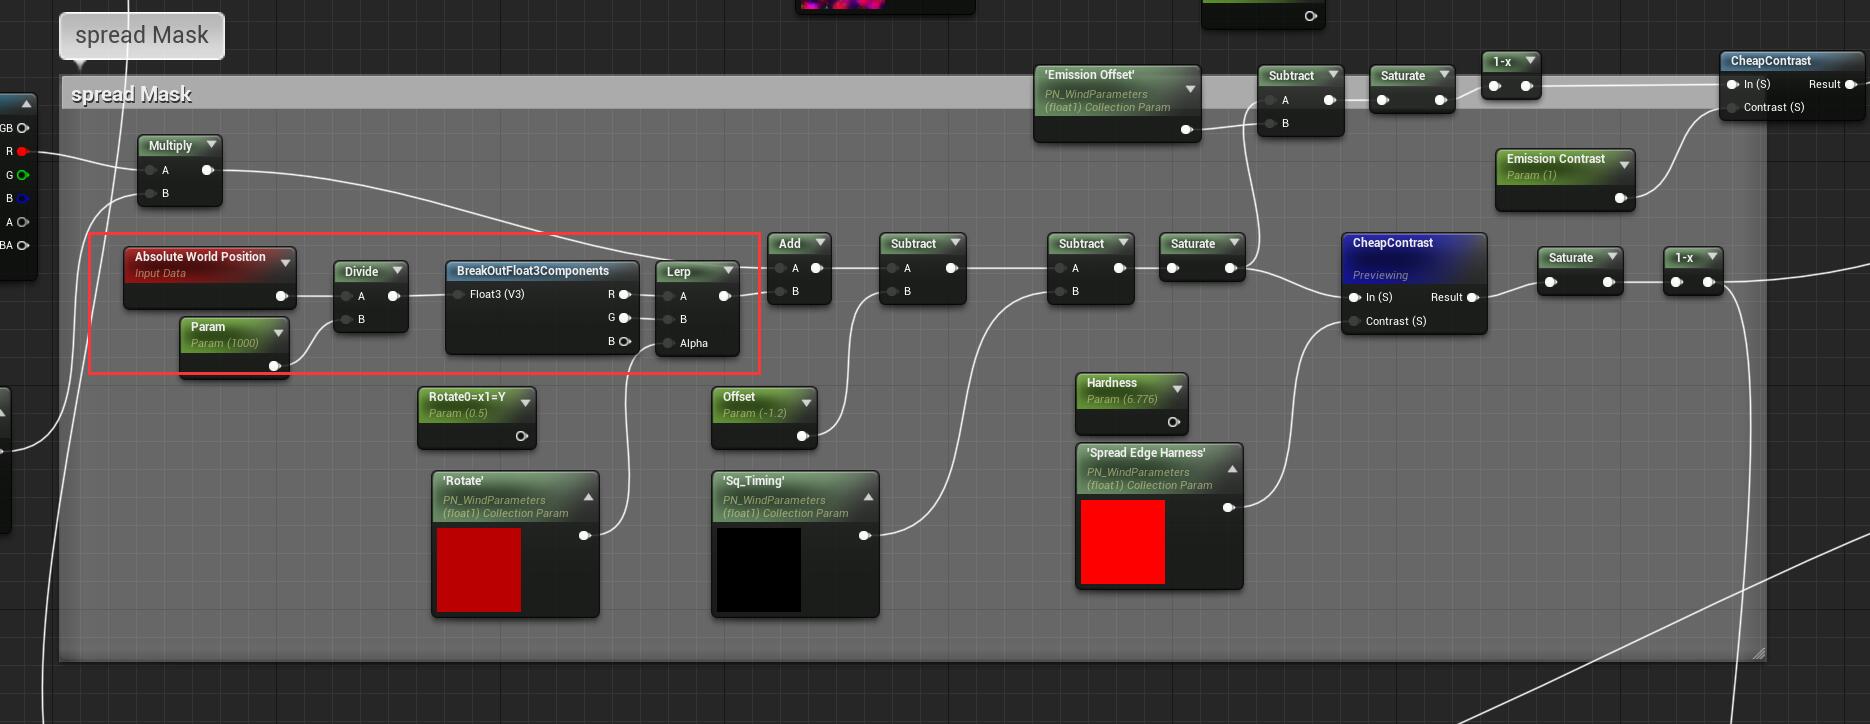
The Glittering
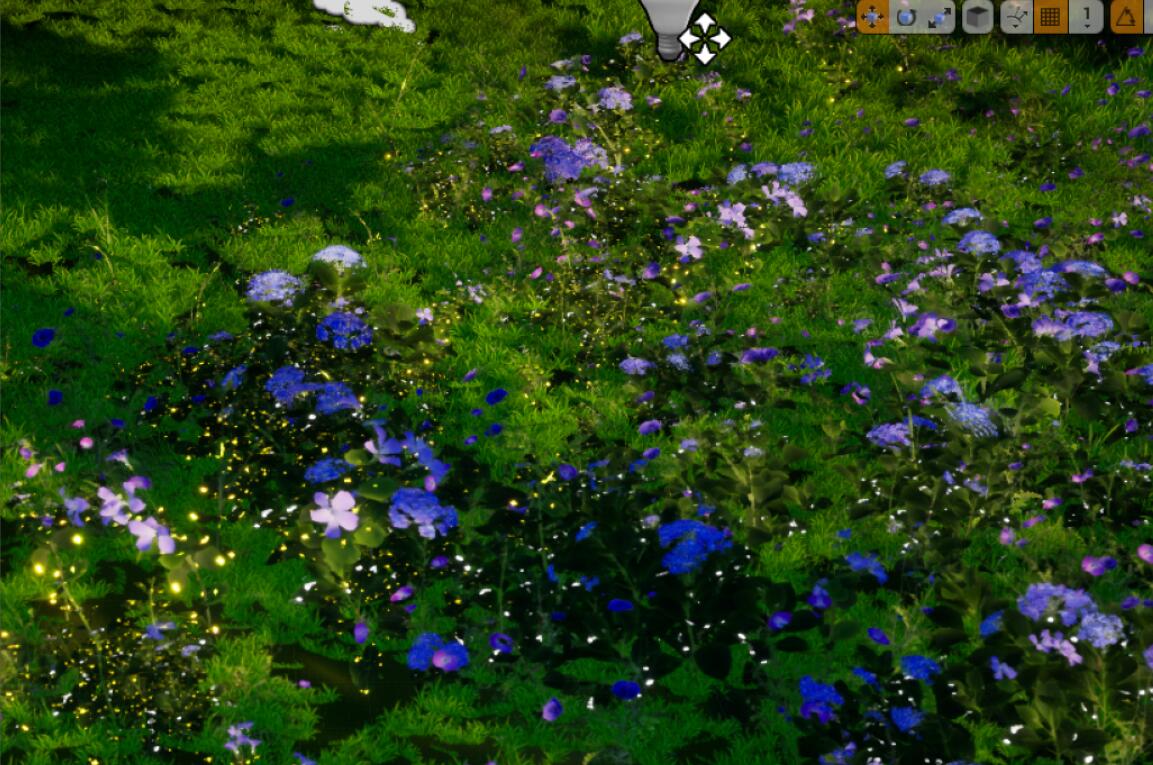
The director asked for a magical representation to emphasize the growing process. As the growing and spreading effect is totally based on vertex animation in shader, there is no actual position information existing, which means it is hard for VFX artists to make glow particles that need to track the flowers. So I was thinking if making glitters directly on the flower shader is possible, as the lens is moving fast, it might create acceptable magical sparkles and glows.
So I make manipulate on the spreading mask, to let it only mask the front line of the growing foliage, and add glow noises:
