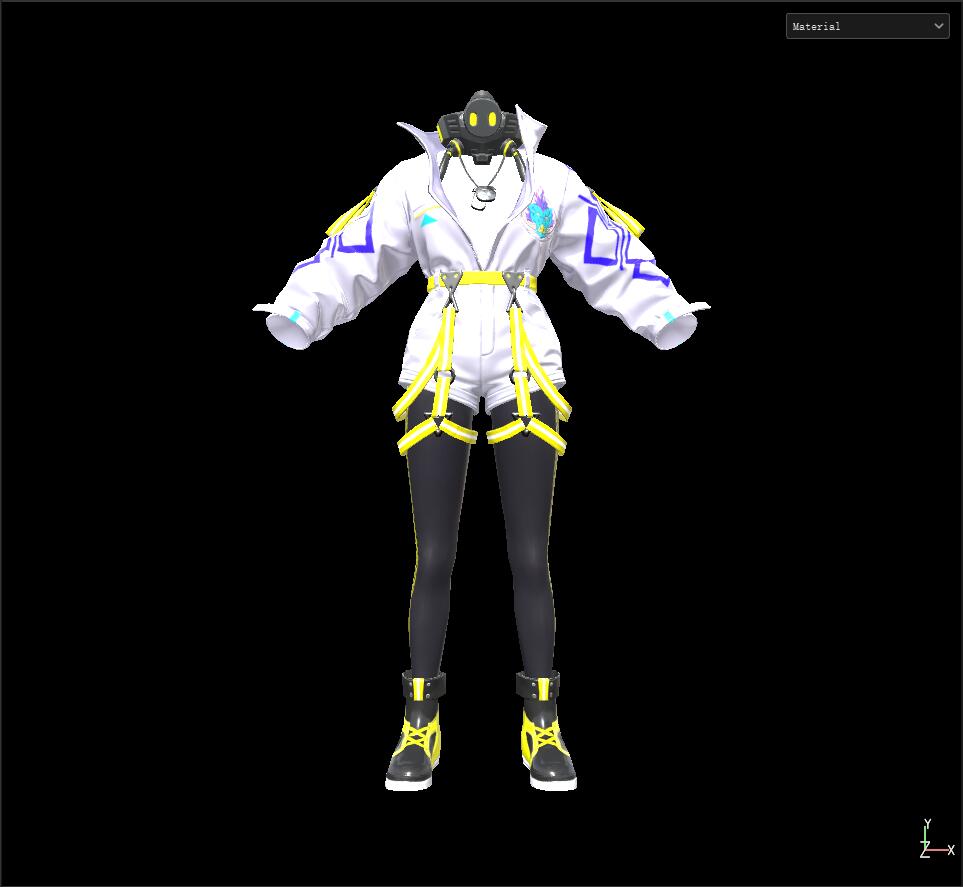
UE4 Consistency Shader in SubstancePainter/Maya
The Need
It is important for artists to work in a consistent environment no matter in the engine or DCC. Especially when the outsourced team usually doesn’t have the authority to get the project’s engine, they couldn’t test and check the final visual result in the engine after they finished the art assets. Therefore consistency between engine and DCC rendering is essential. Although DCC software usually comes with its own PBR default shader, the different engine has different render pipeline and the different project has its own shading strategy besides shading is different on mobile and PC, a custom consistency shader is needed.
To do that, it needs a well understanding of the engine shading pipeline, and I’ve already made a step by step disassembly of UE4 mobile basepass shader UE4 Mobile PBR Pipeline.
Substance Painter Unreal-like PBR Shader
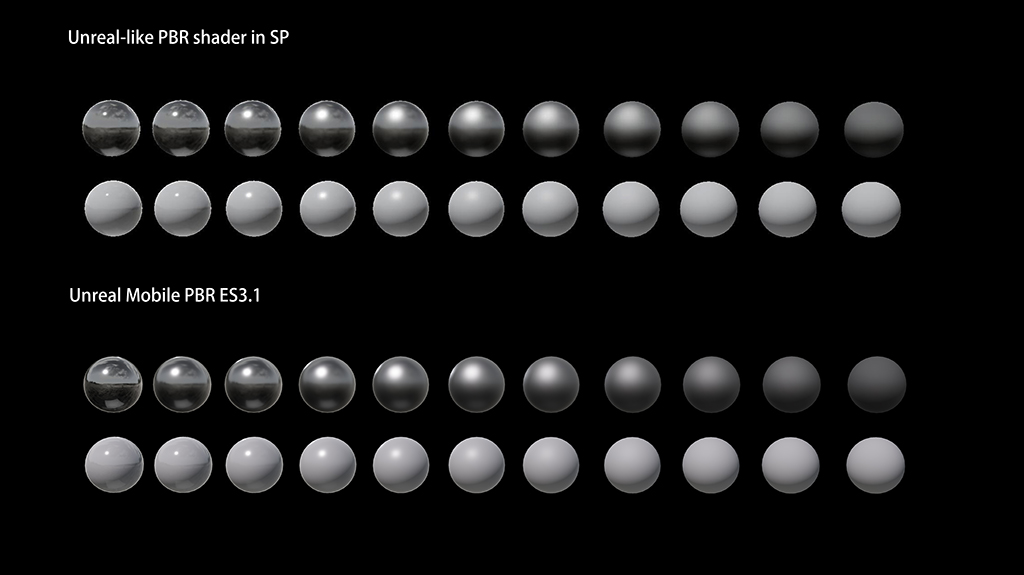
Below is the output comparison of UE4 Mobile PBR and my SP PBR.
Roughness 0 to 1. Metal top, nonmetal bottom. UE4

Roughness 0 to 1. Metal top, nonmetal bottom. Substance Painter

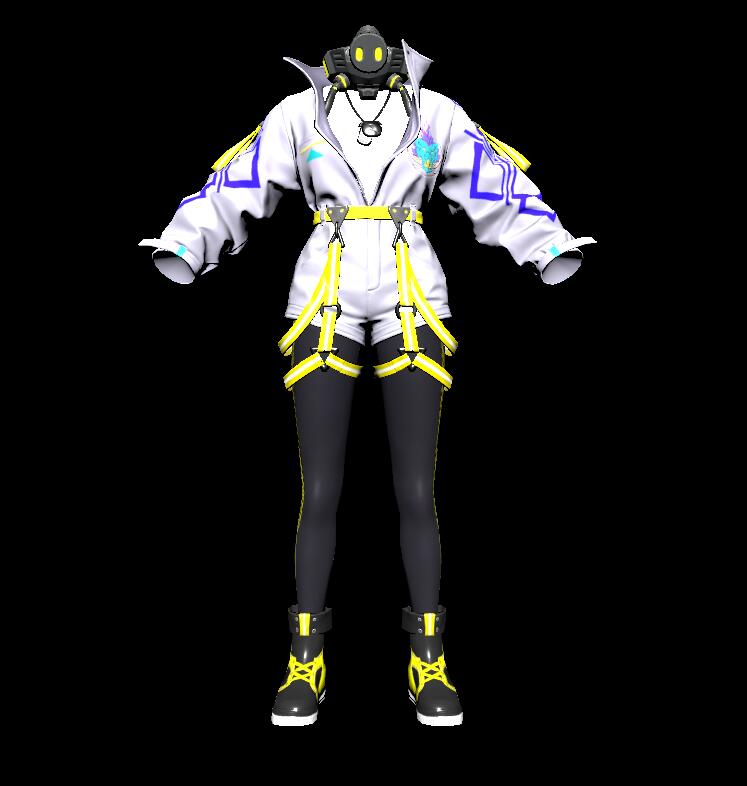
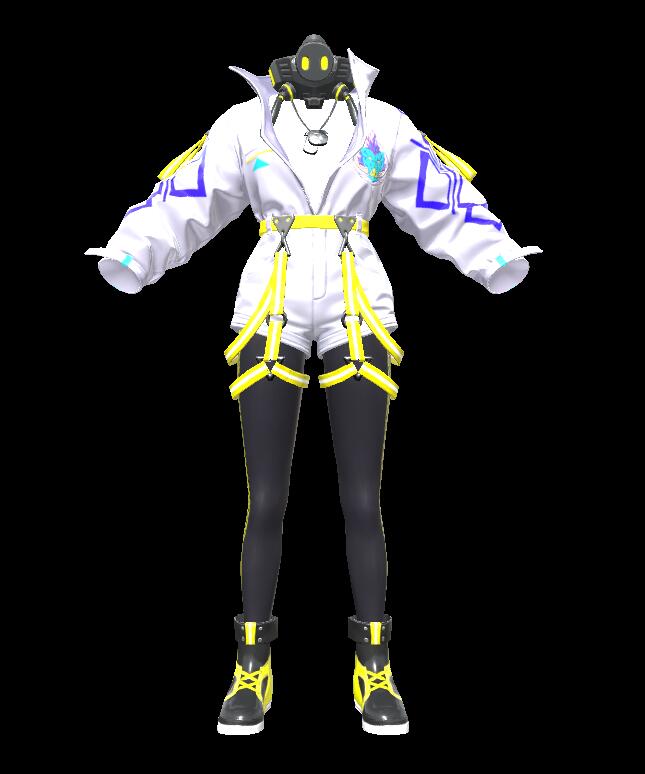
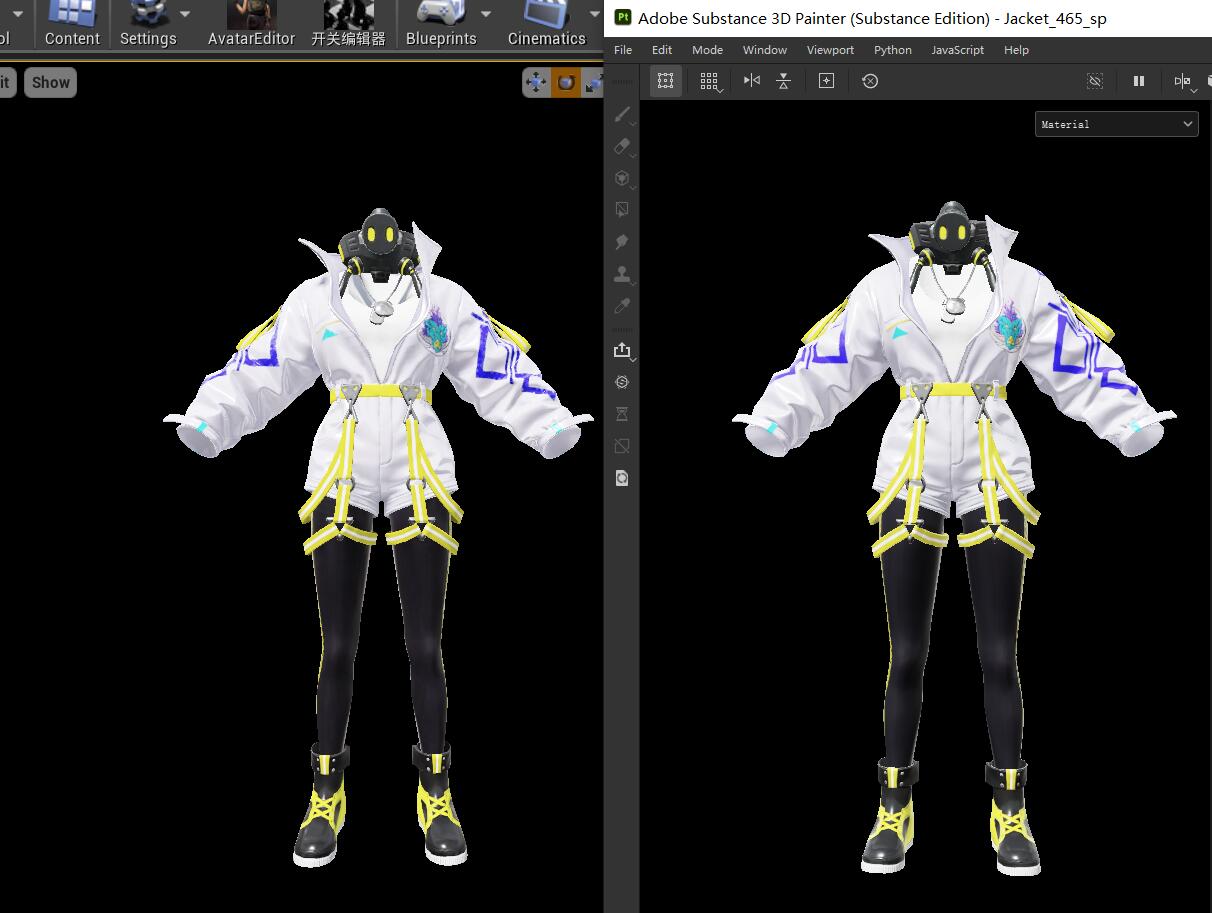
Applied on the asset of PUBG Mobile project, in UE4 and SP.
SP Shader API
Firstly, go to Substance Painter website to see their Shader API.
As well as the PBR Metal Rough shader that usually is taken as the default PBR shader in SP. 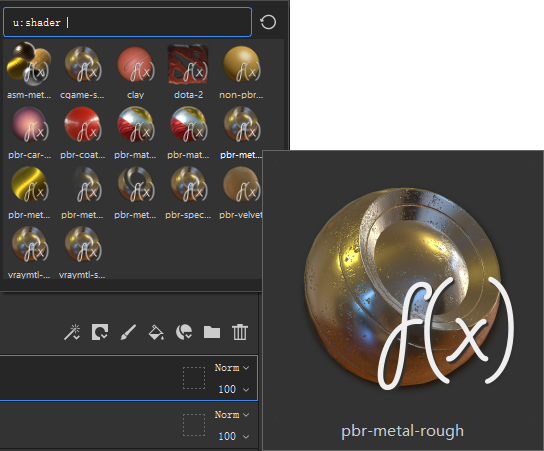
Generally, SP makes all their lib and functions in the Shader API, and there is no any actual .glsl files in directory anymore after 2018 version.
Parameters are set in comment format, which you can find in Paramters Page.
All the functions are in Libraries Page, where you can find BRDF functions, basic PBR parameters functions, samplers, etc.
SP PBR Metal Rough
Let’s see SP’s default PBR shader first:
void shade(V2F inputs)
{
  // Apply parallax occlusion mapping if possible
  vec3 viewTS = worldSpaceToTangentSpace(getEyeVec(inputs.position), inputs);
  applyParallaxOffset(inputs, viewTS);

  // Fetch material parameters, and conversion to the specular/roughness model
  float roughness = getRoughness(roughness_tex, inputs.sparse_coord);
  vec3 baseColor = getBaseColor(basecolor_tex, inputs.sparse_coord);
  float metallic = getMetallic(metallic_tex, inputs.sparse_coord);
  float specularLevel = getSpecularLevel(specularlevel_tex, inputs.sparse_coord);
  vec3 diffColor = generateDiffuseColor(baseColor, metallic);
  vec3 specColor = generateSpecularColor(specularLevel, baseColor, metallic);
  // Get detail (ambient occlusion) and global (shadow) occlusion factors
  float occlusion = getAO(inputs.sparse_coord) * getShadowFactor();
  float specOcclusion = specularOcclusionCorrection(occlusion, metallic, roughness);

  LocalVectors vectors = computeLocalFrame(inputs);

  // Feed parameters for a physically based BRDF integration
  emissiveColorOutput(pbrComputeEmissive(emissive_tex, inputs.sparse_coord));
  albedoOutput(diffColor);
  diffuseShadingOutput(occlusion * envIrradiance(vectors.normal));
  specularShadingOutput(specOcclusion * pbrComputeSpecular(vectors, specColor, roughness));
  sssCoefficientsOutput(getSSSCoefficients(inputs.sparse_coord));
}
In this shader, it fetch material parameters from the texture input, through sampling and some manipulations*, then feed to 5 ShadingOutput. The most basic rendering equation for computing the fragment color is: emissiveColor + albedo * diffuseShading + specularShading.
Well, I want to rewrite the shader so I’ll just put my final result into the diffuseShadingOutput and ignore others.
*You can find what the generateDiffuseColor generateSpecularColor getRoughness getBaseColor, etc. does in this page:Lib Sampler.
The differences between SP and UE4
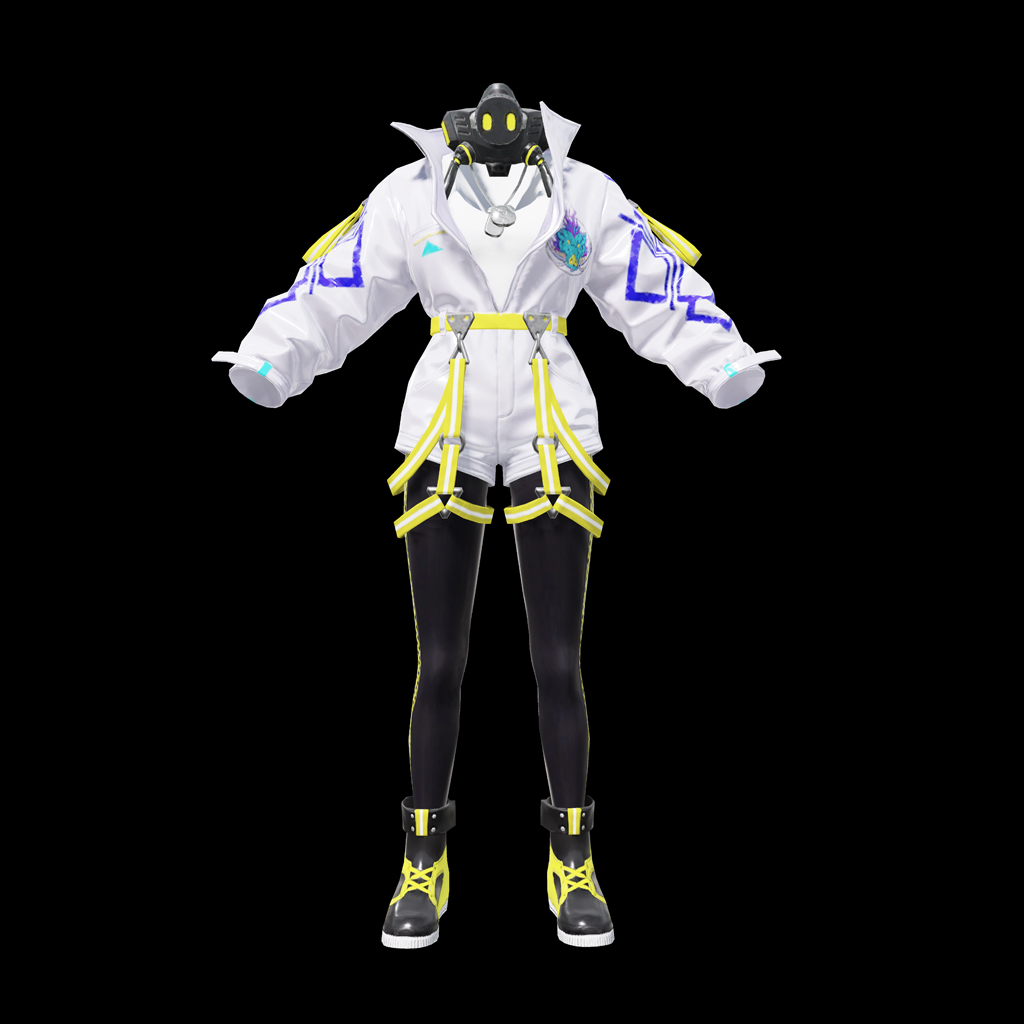
The asset in the standard Lookdev scene in UE4 Mobile ES3.1
The asset in SP with default PBR shader
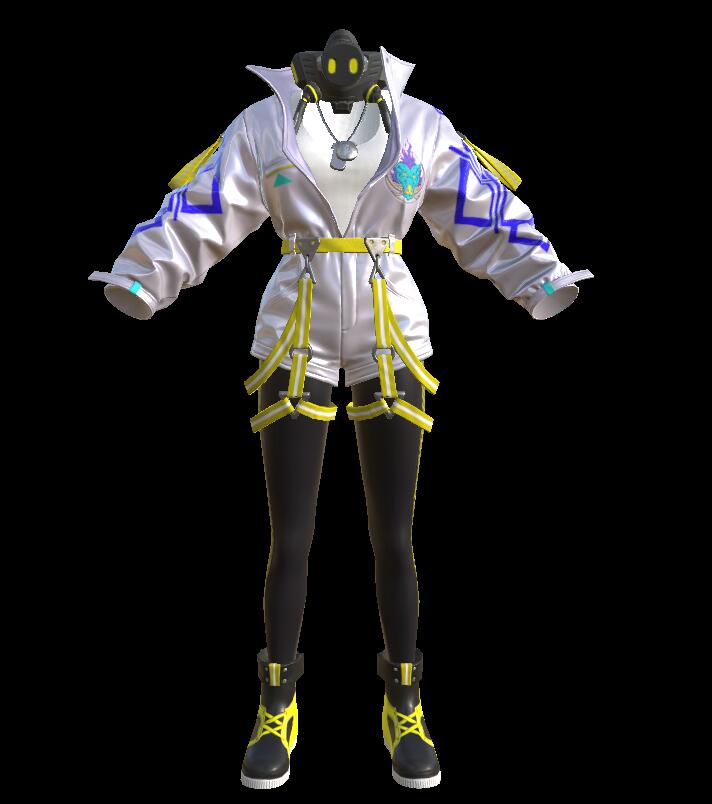
Very different, huh? So read the PBR-metal-rough shader above, lighting of SP is from the image-based lighting by envIrradiance() function, which return the irradiance for a given direction, the computation is based on environment’s spherical harmonics projection. As well as a pbrComputeSpecular() works in the specularShadingOutput, which compute the microfacets specular reflection to the viewer’s eye. If I remove those two functions, the output is like:
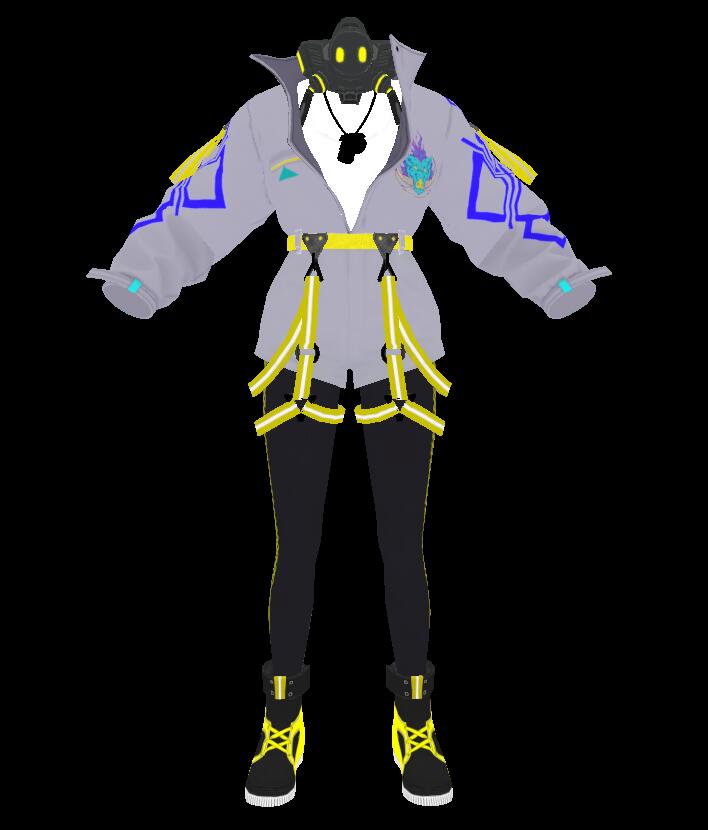
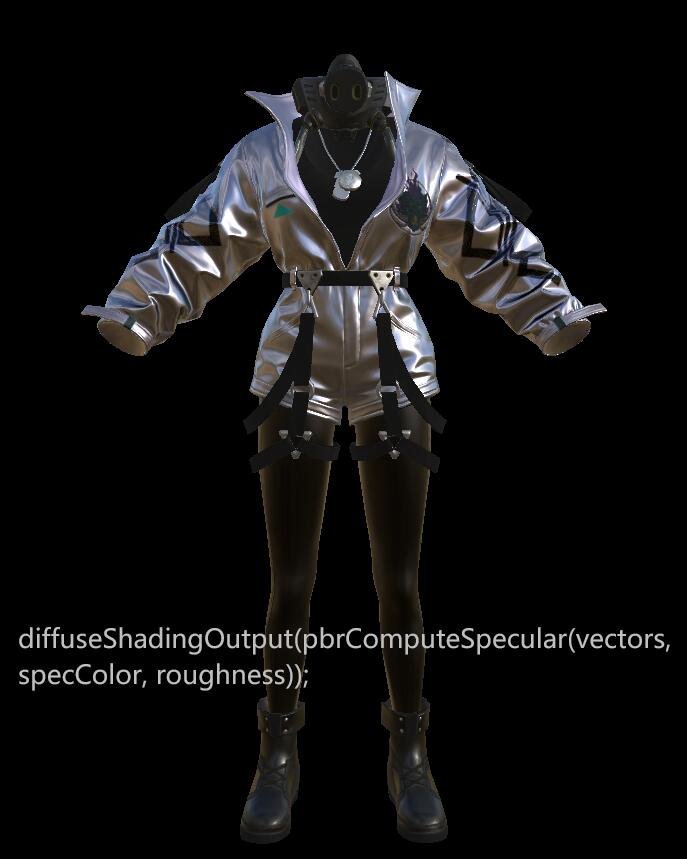
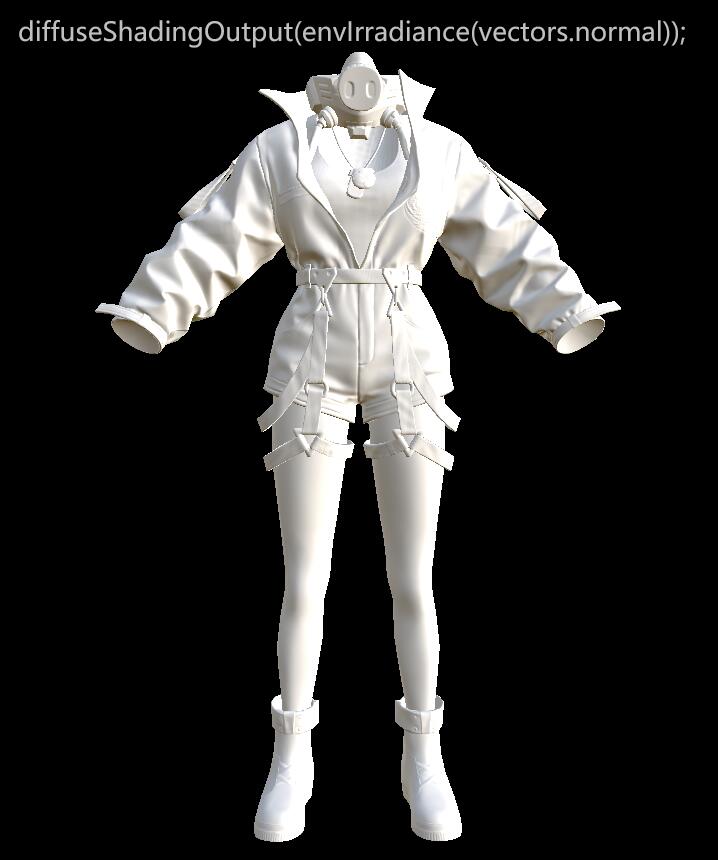
While for UE4, it has at least a directional light, SH SkyLight, and image-based lighting (IBL), as well as some approximate calculation I talked in the last post UE4 Mobile PBR Pipeline. That’s quite different.
My SP Consistency Shader
fetch basic parameters
Starting at void shade(V2F inputs), fetch basic parameters from the meterial textures:
  vec3 baseColor = getBaseColor(basecolor_tex, sparse_coord);
  float roughness = getRoughness(roughness_tex, sparse_coord);
  float metallic = getMetallic(metallic_tex, sparse_coord);
  float occlusion = getAO(inputs.sparse_coord);
vec3 N = vectors.normal;// computeWSBaseNormal(inputs.tex_coord, inputs.tangent, inputs.bitangent, inputs.normal);
vec3 L = (getLightDir(inputs.position));
vec3 V = getEyeVec(inputs.position);
vec3 H = normalize(L + V);
vec3 reflectDir = normalize(-reflect(V, N));
float NoL = saturate(dot(N, L));
float NoH = saturate(dot(N, H));
float NoV = saturate(dot(N, V));I have all basic parameters I need now, let’s follow the pipeline of UE4 mobile basepass pixel shader. First I need ShadingModelContext.SpecPreEnvBrdf, ShadingModelContext.SpecularColor, ShadingModelContext.DiffuseColor. In SP glsl, they will be:
  float dielectricSpecular = 0.08 * 0.5; //0.5 is the default GBuffer.Specular
  vec3 DiffuseColor = (baseColor - baseColor * metallic) * DiffuseCol;
  vec3 SpecPreEnvBrdf = (dielectricSpecular - dielectricSpecular * metallic) + baseColor * metallic;
  vec3 SpecularColor = EnvBRDFApprox(SpecPreEnvBrdf, roughness, NoV);
Lighting.Diffuse, Lighting.Specular
The second part we need is Lighting.Diffuse and Lighting.Specular:
//UE4 codes
Lighting.Specular = ShadingModelContext.SpecularColor * (NoL * CalcSpecular(GBuffer.Roughness, NoH));
Lighting.Diffuse = NoL * ShadingModelContext.DiffuseColor;
Just copy CalcSpecular() function from UE4 MobileShadingModels.ush file and MobileGGX.ush. Implement in SP:
 vec3 Specular = SpecularColor * (NoL * CalcSpecular(roughness, NoH));
 vec3 Diffuse = NoL * DiffuseColor;
Next, add them on Color:
  vec3 Color = vec3(0.0, 0.0, 0.0);
  float shadow = getShadowFactor();
Color += shadow * LightIntensity * LightColor.rgb * (Diffuse + Specular);SpecularIBL
//UE4 codes
Color += SpecularIBL * ShadingModelContext.SpecularColor;
For the sampling of IBL in SP, if I go back to see UE4’s codes of sampling the cubemap and delete all the macros but just see the actual lines:
//UE4 codes
void GatherSpecularIBL(....)
{
	....
    // Fetch from cubemap and convert to linear HDR
    half3 SpecularIBL = 0.0f;

    half AbsoluteSpecularMip = ComputeReflectionCaptureMipFromRoughness(Roughness, ResolvedView.ReflectionCubemapMaxMip);
    half4 SpecularIBLSample = ReflectionCube.SampleLevel(ReflectionSampler, ProjectedCaptureVector, AbsoluteSpecularMip);

    SpecularIBL = RGBMDecode(SpecularIBLSample, MaxValue); // rgbm.rgb * (rgbm.a * MaxValue);
    SpecularIBL = SpecularIBL * SpecularIBL;
    ...
}
The operation here is to sample the cubemap, RGBMDecode it and power it. There are parameters such as ProjectedCaptureVector, AbsoluteSpecularMip, MaxValue, which are hardly able to get in SP, I just ignore them. It might affect the final result accuracy, but we just can’t make it 100% the same, since the environment in engine is also not absolute. In my SP code, I used SP’s function pbrComputeSpecular from the lib but deleted the computeLOD part, leaving the envSampleLOD:
SpecularIBL = GetSpecIBL(roughness, reflectDir, V, H, N, vectors); vec3 GetSpecIBL(float roughness, vec3 R, vec3 V, vec3 H, vec3 N, LocalVectors vectors)
{
vec3 SpecularIBL = vec3(0.0f);
for(int i=0; i<256; ++i)
{
vec2 Xi = fibonacci2D(i, 256);
vec3 Hn = importanceSampleGGX(Xi, vectors.tangent, vectors.bitangent, vectors.normal, roughness);
vec3 Ln = normalize(R + Hn);// -reflect(vectors.eye,Hn);
vec4 SpecularIBLSample = SampleEnvLOD(Ln, 1);
SpecularIBL += SpecularIBLSample.rgb;
}
SpecularIBL /= float(256);
return SpecularIBL* SpecularIBL;
}Add on Color: Color += SpecularIBL * SpecularColor;
So far I got:
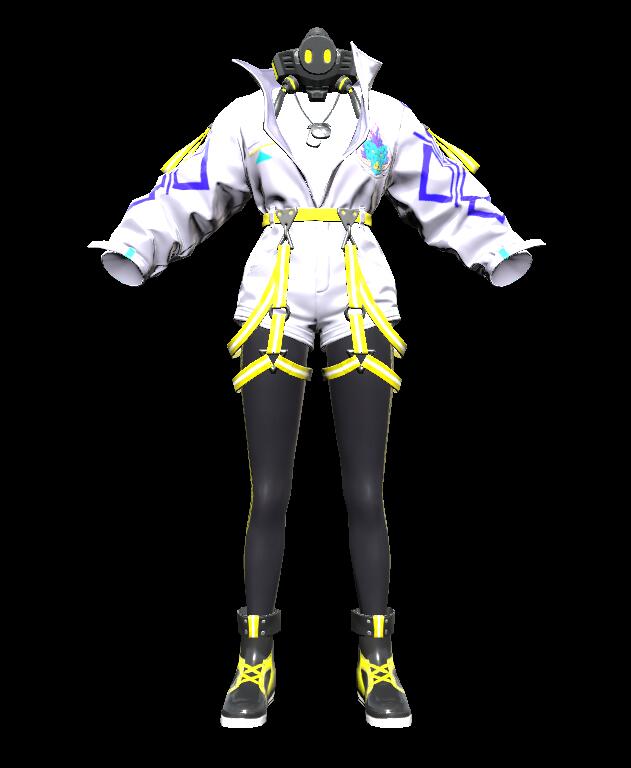
SkyDiffuseLighting
//UE4 codes
Color += SkyDiffuseLighting * half3(ResolvedView.SkyLightColor.rgb) * ShadingModelContext.DiffuseColor * MaterialAO;
SkyDiffuseLighting is the indirect irradiance from the skylight. So I just use SP’s function envIrradiance() from the lib.
vec3 envIrradiance(vec3 dir)
{
  float rot = environment_rotation * M_2PI;
  float crot = cos(rot);
  float srot = sin(rot);
  vec4 shDir = vec4(dir.xzy, 1.0);
  shDir = vec4(
    shDir.x * crot - shDir.y * srot,
    shDir.x * srot + shDir.y * crot,
    shDir.z,
    1.0);
  return max(vec3(0.0), vec3(
      dot(shDir, irrad_mat_red * shDir),
      dot(shDir, irrad_mat_green * shDir),
      dot(shDir, irrad_mat_blue * shDir)
    )) * environment_exposure;
}
Add on together in addition with AO,
Color += envIrradianceCustom(N) * DiffuseColor;
Color *= occlusion;ToneMapping
The purpose of the Tone Mapping function is to map the wide range of high dynamic range (HDR) colors into low dynamic range (LDR) that a display can output. The Filmic tonemapper that is used in UE4 matches the industry standard set by the Academy Color Encoding System (ACES) for television and film. With Unreal Engine 4.15, the Filmic tonemapper using the ACES standard is enabled by default, you can’t shut it down. Which means, if I want the color in SP shows almost same with UE4, I need to apply an ACES tonemapping.
Where we can see that before tone mapping, the light area has no detials.
vec3 Tonemapping(vec3 x)
{

  float a = 2.51;
  float b = 0.03;
  float c = 2.43;
  float d = 0.59;
  float e = 0.53;

  vec3 result = saturate((x*(a*x+b))/(x*(c*x+d)+e));
  return result;
}
This is my ACES tonemapping function that referenced from ACES Filmic Tone Mapping Curve by Krzysztof Narkowicz, and make a change on e which is the toe strength, to 0.53 that used in engine.
After tonemapping, the output is:
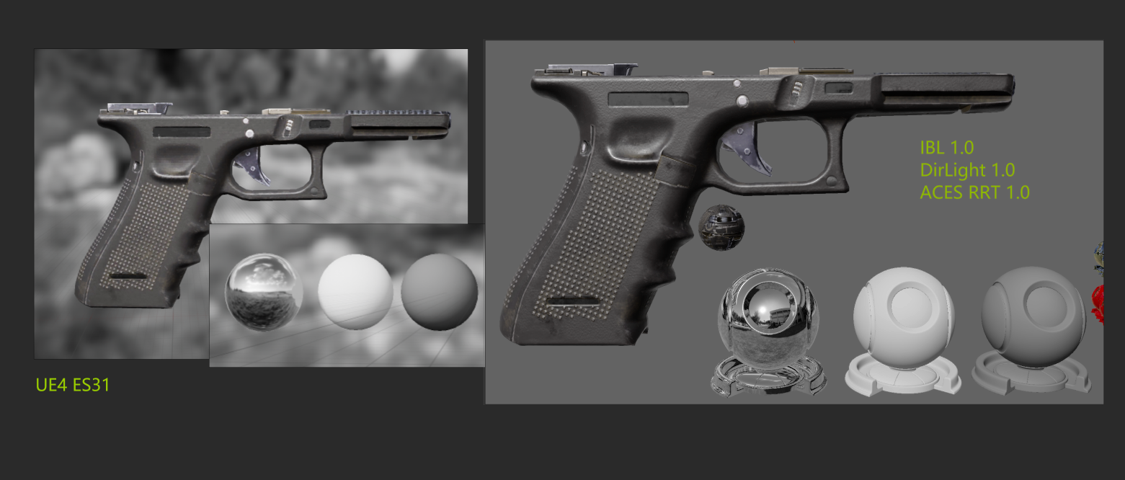
Comparison between UE4 and SP in ES3.1 
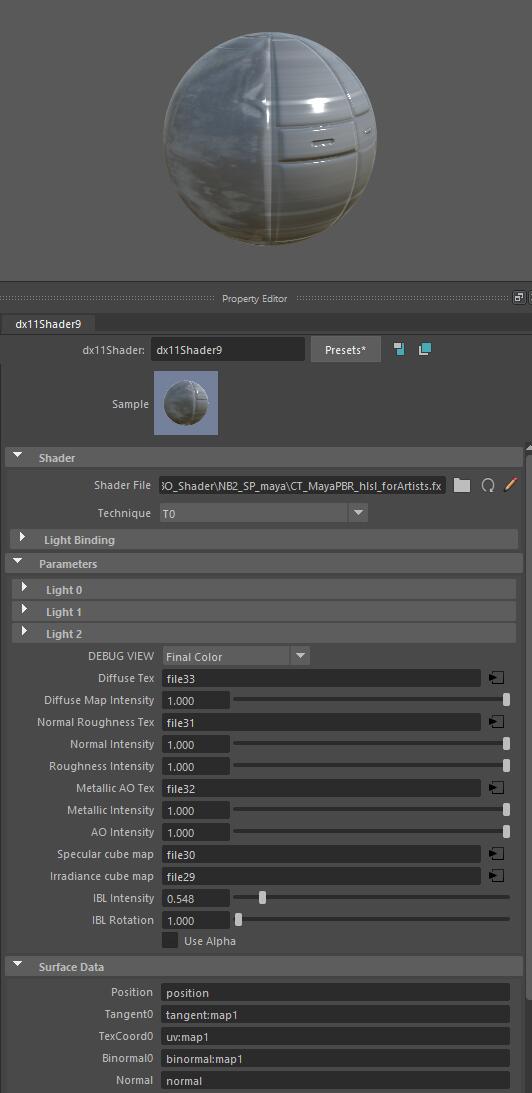
Maya Unreal-like PBR Shader
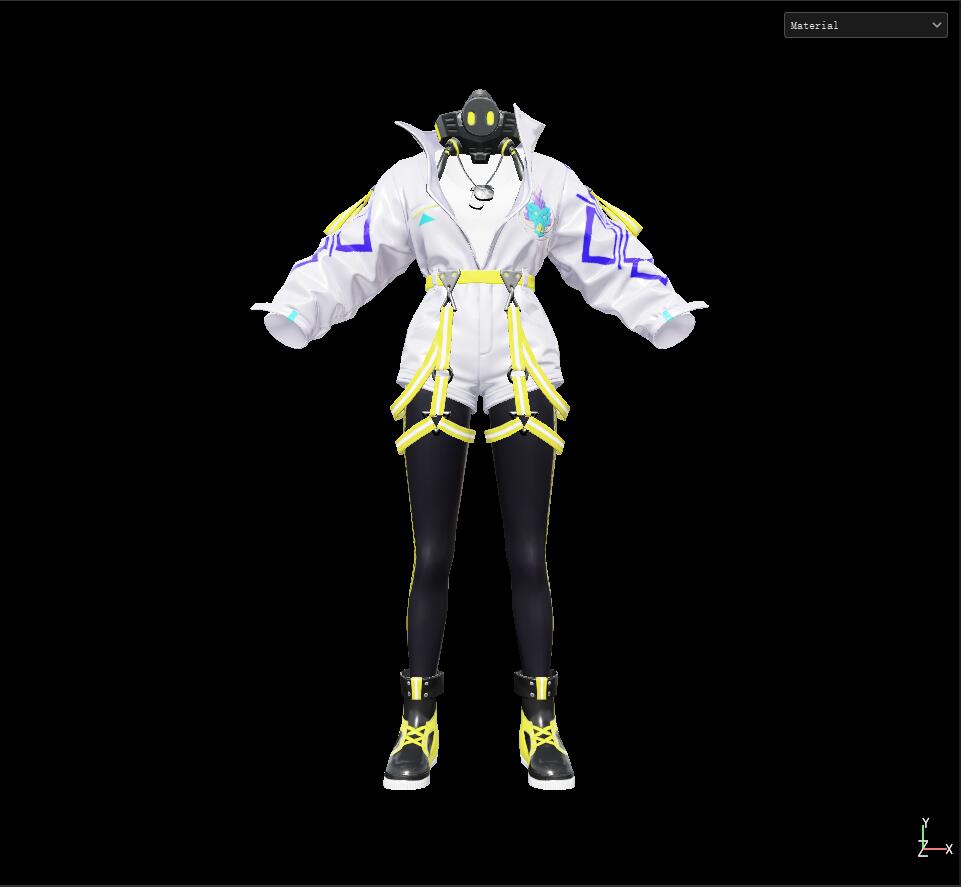
With same approach, it’s easy to develop an Unreal-like Maya PBR shader as well. I’m not gonna talk it in details, as it is basically just transform the SP glsl shader above into hlsl.

NPR Consistency Shader

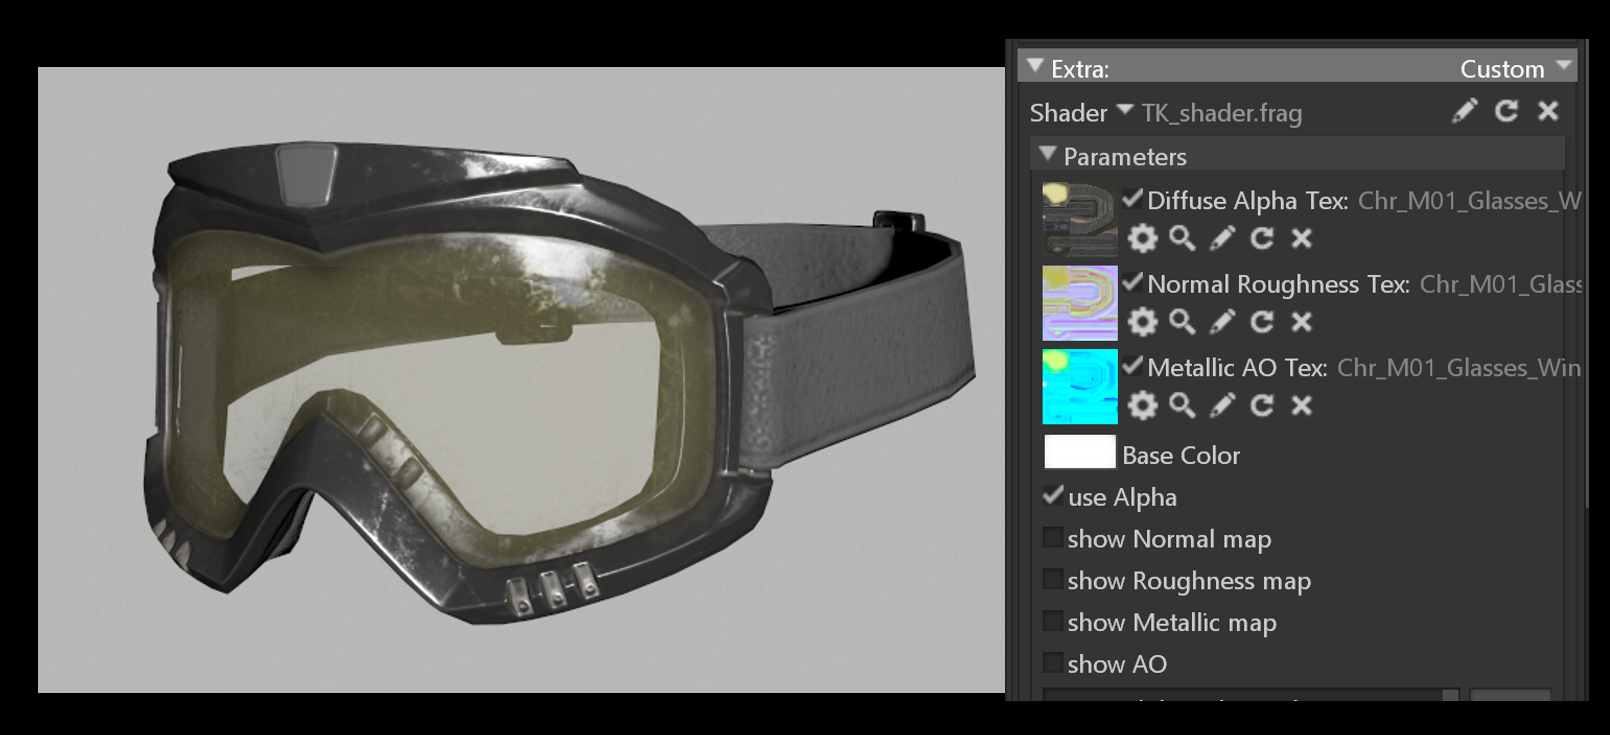
Cel shader cross platform. In UE4, SP, Maya, from left to right.
